Showing posts with label Spiderman. Show all posts

Tuesday, 14 July 2020

'Spiderman with Dinosaurs' Mango Sticky Rice Macarons on Mangoes n Cream Cake

My friend wanted a dinosaur and Spiderman themed mango birthday bake for her son so this was what I came up with!

Mango sticky rice macarons on top of a mangoes n cream chiffon cake! 

I used the Swiss meringue method to make the macaron shells.

No mean feat to include so many colours and intricate details into this set! 

Freshly baked shells! I had leftover batter which I used to pipe some pretty swirl macarons! Look at the full shells made from leftover batter! 

I decorated the shells with edible markers. I usually work on multiple projects concurrently, thats why the dessert themed macarons appear on the right

Filling the macarons with a ring of mango sticky rice filling and mango compote in the middle. You may refer to this blog post for the detailed recipe of the filling. 

Inspired by what my client did with my dino macs during the circuit breaker period, I decided to create a landscape out of rocky road too, and put the character macarons in it. She used a store-bought rocky road but I decided to make my own from scratch. Here was what she did...
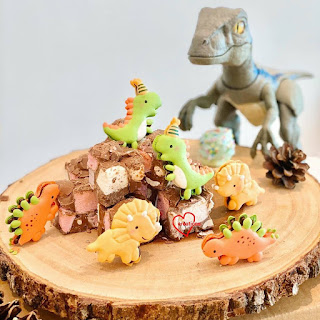
So super cute 😍

I used a modified version of Nigella's rocky road recipe, and then realised that I should have taken into account Singapore's hot and humid climate *slaps forehead*. Despite reducing the amount of butter and cornsyrup from Nigella's recipe, I still had difficulty working with the blocks of rocky road. It was a challenge to stack them without leaving gooey streaks of chocolate on my fingers. But they were delicious because I took the liberty of adding some pistachios and macademia nuts into the cookie and marshmellow mix!

I mounted the dinos and Spiderman onto the rocky road landscape. Spiderman is being cheeky here! 

The mangoes n cream cake recipe can be found here. It is almost the exact same cake, except that I cut the mango pieces into a cloud/ half flower shape.

I layered the vanilla chiffon sponge with some homemade mango sauce, fresh mango slices and whipping cream

Looks like some sunshine in these dark days! 


I inserted jumbo straws as dowels into the cake such that the dowels take the full weight of the rocky road wth character macarons on it.

Thank God the whole creation was very well received!

With love,
Phay Shing

Read More »

Tuesday, 27 March 2018

'Our Favourite Characters' Cookies n Cream Macaron Playground

My friend's Bible study group was planning to have a combined birthday celebration for everyone with birthday that falls in the month of March. What better way to personalize the birthday bake for everyone than to create a playground where their favourite character is!

All macarons are filled with cookies n cream filling

Back view of the playground. You don't get to see the steps of the slide that well from the front.

Here's a short video of how the playground works!

This is the second time I am making a macaron playground. Checkout my cute overload version that I made in January over here.

I used the reduced sugar recipe for the macaron shells here. Both regular and reduced sugar recipes can be found here. You may refer to my Creative Baking: Macarons book for a systematic presentation of the basics and complex shaped macarons. You may refer to my video tutorials for macaron basics and piping of complex shapes on the blog too.

Just to share some pictures of the process...

Piping the characters

Freshly baked shells

Decorating the shells with royal icing and edible marker.

You may find the recipe for cookies N cream filling that is suitable for outdoor display over here.

Filling the shells. I have a couple of extra macarons to fill that aren't included in the playground.

Checkout the awesome feet!

Thank God it was very well received with the kids eating up every single edible part!

With love,
Phay Shing

Read More »

Friday, 24 November 2017

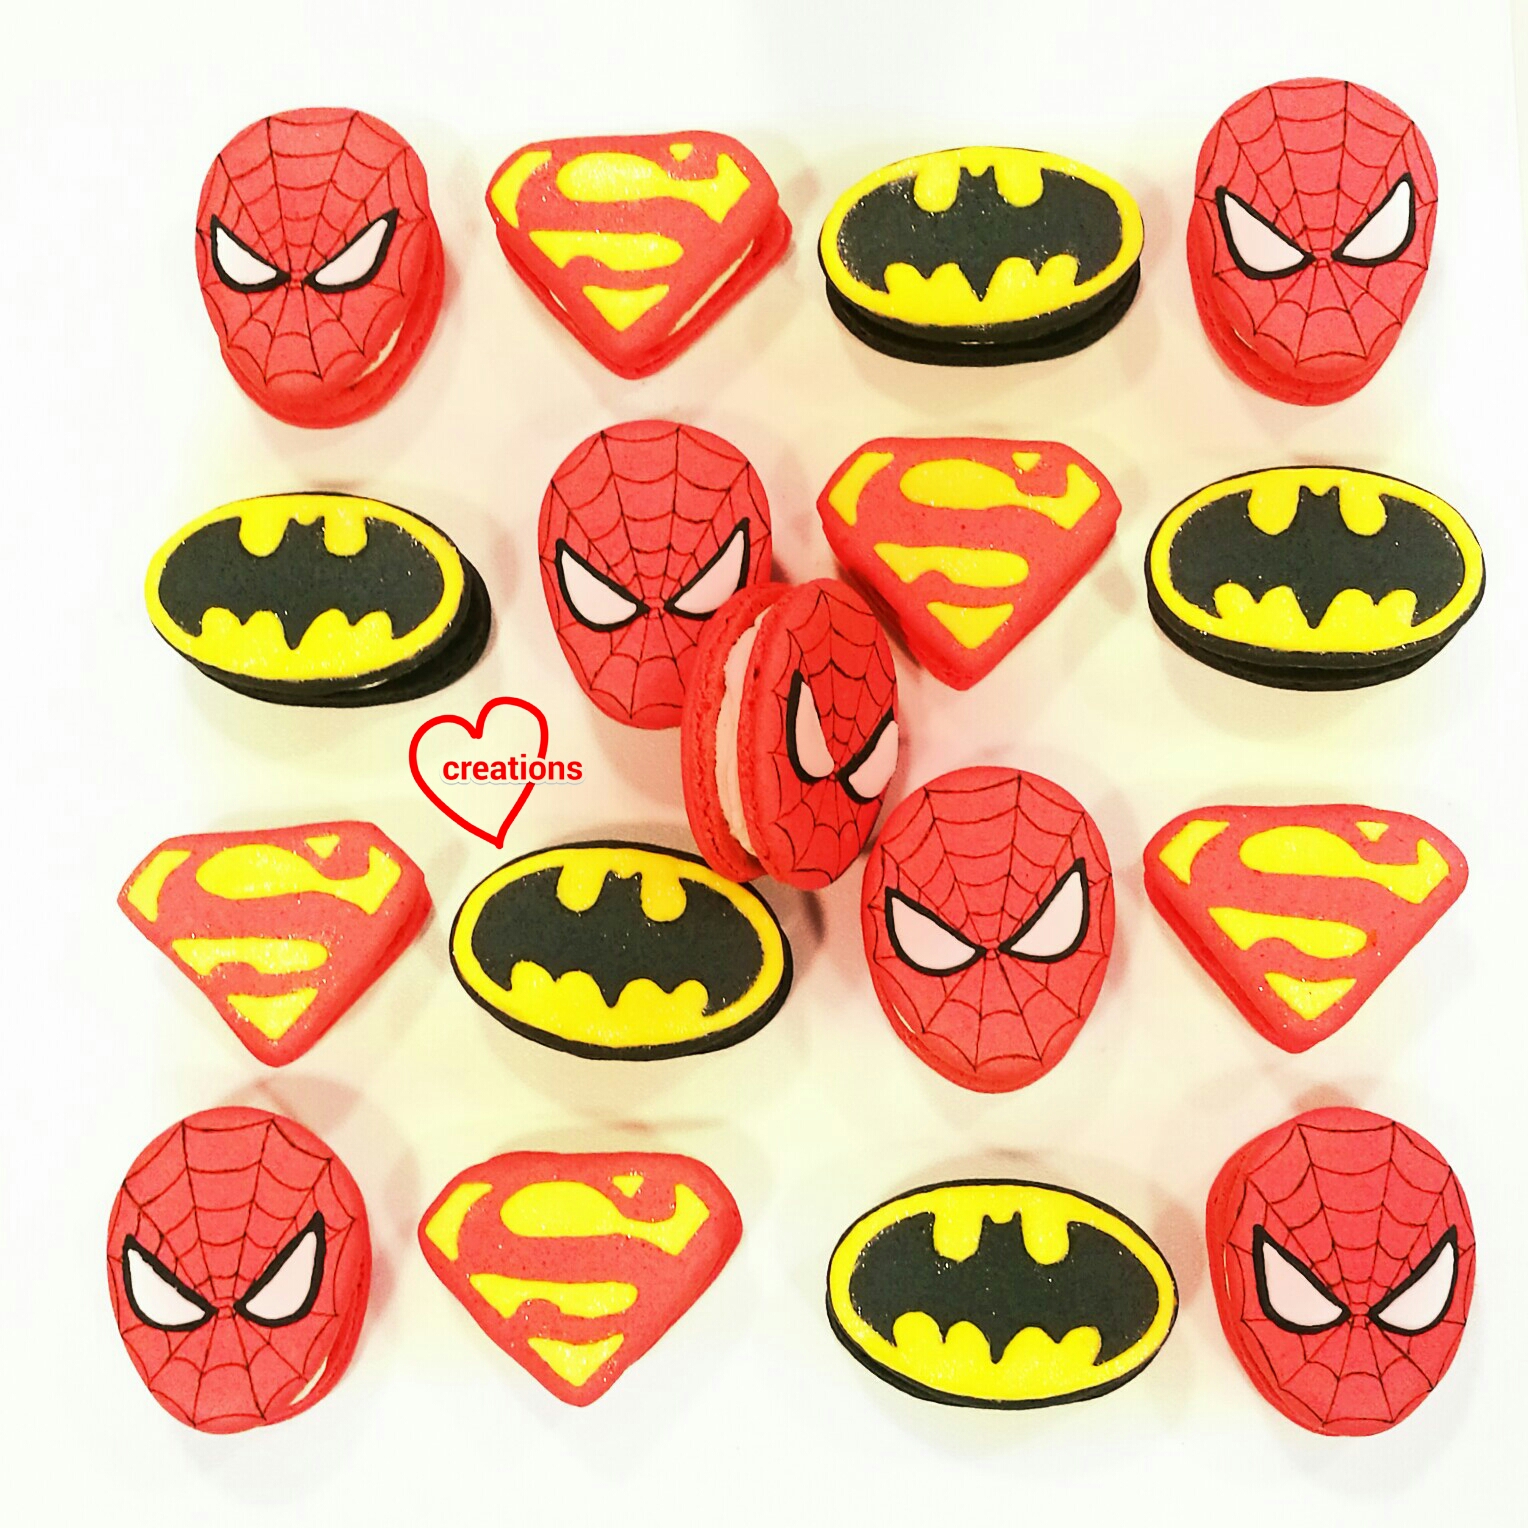
Superhero Themed Vanilla Macarons (Tips on how to colour shells deep red and black)

I have a request for superhero themed macarons for a little boy!
He loves vanilla so I filled the shells with vanilla Swiss meringue buttercream

The purpose of this blog post is to share how I achieve a deep shade of black and red when making black and red macaron shells. Certain shades of colour may be difficult to achieve if you don't know how to and these two colours are examples. I will also share how I decorated the shells with adequate precision by hand.

I used the reduced sugar recipe for the macaron shells here. Both regular and reduced sugar recipes can be found here. You may refer to my Creative Baking: Macarons book for a systematic presentation of the basics and complex shaped macarons. You may refer to my video tutorials for macaron basics and piping of complex shapes on the blog too.

Although I used the Italian method, the ratios specified here should be applicable for French and Swiss methods as well.

For black colour, add 1g of charcoal powder for every 10g of almond meal along with an additional generous chopstick dip of black gel food colouring for every 30g of almond meal.

For red colour, use 1/2 tsp red yeast powder* for every 45g almond meal, and 1/8-1/4 tsp red powder colouring for every 90g almond meal. I use the red powder colouring easily available from supermarkets that is more for local desserts such as Ang Ku Kuih as a little bit goes a long way. I use in combination with gel as I find powder alone tends to stain my fingers and baking paper. This is more of personal preference so you may stick with just powder colouring. I add a drop of red gel colouring for every 30g almond meal.

*Red yeast powder doesn't colour the batter much but serves to dull down the brightness of super red artificial colouring and give it a more earthy tone. Note that too much red yeast powder will cause meringue to deflate and results in denser macaron shells. Omit this if you are unable to obtain it. I prefer using natural sources wherever possible.

Just to share some photos of the process...

Piping the various shapes

Freshly baked shells. Check out the feet!

In order to get nice identical logo prints on the shells, I made stencils out of paper by cutting out the shapes with a craft knife. I traced the outlines using edible marker (yellow colour to match the royal icing colour), and then decorate with royal icing. Feel free to use a toothpick to nudge the icing where necessary. To give it a slightly glittery effect, I brushed on a little gold dust on the yellow icing after it is dried.

Decorating Superman shells

Decorating Batman shells

The fine webbing of Spiderman was done using a fine tipped edible marker.

Really tedious to draw by freehand. I took on an average of 8-10 minutes for each one!

Keep a picture of Spiderman's head right next to your macaron shell so that you can copy each line as accurately as possible. I treated the web pattern like a complicated Chinese character and "wrote" it as such :p. After a couple of heads, I get the hang of it and memorized the steps to "write" the web pattern.

Spiderman's eyes were added on with royal icing.

I filled the shells with reduced-sugar vanilla Swiss meringue buttercream.


With love,
Phay Shing

Read More »

Saturday, 21 February 2015

Superheroes 3-Tier Chiffon Cake


This is a Superheroes 3-Tier Chiffon Cake for my friend’s 3 fabulous boys celebrating birthday together! The 3 tiers represent different superheroes: top is Captain America, middle is Superman and the bottom is Batman! It’s somewhat like the coming together of my previous chiffon cakes (Navy Stripes Gun, Superman Boxers and Spiderman). I wanted the cake to have some sort of a "super" old-school Hollywood glamour feel hee. Really thankful my friends shared the cake was super yummy and well-received!

Happy birthday to the boys and happy new year everyone!! Hope everyone is having a SUPER (huat) new year!

With love,
Susanne

Read More »

Wednesday, 3 September 2014

Spiderman Chiffon Cake (with Blue pea flowers)


This is a Spiderman chiffon cake I made for a dear Devon who just turned 6! I love to bake for my favourite people and I am so thankful for the chance to try out something so fun too! The cake is vanilla chiffon cake coloured with beet/red yeast powder while the blue cake is vanilla chiffon cake coloured mostly naturally with blue pea flowers which I fell in love with. I was pretty happy that I could reduce the amount of blue food colouring tremendously with it.

The piping technique and protocol is similar to my Hello Kitty chiffon cupcakes/pops, so I will not go into detail. I further added 1/2 tsp cake flour to the black batter so that it will be less runny as this requires intricate piping. I baked the face in an oval glass bowl I inherited from my parents (remember to colour the face red here). You will have some spare red batter which you can pour into a 6-inch tray to cut out the letters later. The recipe for the vanilla chiffon cake with blue pea flowers is below. I bought these online from a nice friend.

Ingredients
3 egg yolks
20g castor sugar
40g vegetable oil
27g water
15g blue pea flower tea (50+ blue pea flowers soaked in 15g hot water)
5g vanilla extract
60g cake flour
Dip of blue gel food coloring (optional)

4 egg whites
45 g sugar
1/4 tsp cream of tartar

Method
1. Prepare the blue pea flower tea. Soak 50+ flowers in 15g hot water and let it simmer for at least 20 min. *Fresh flowers are much more intense than dried flowers.


2. Preheat oven to 160°C. 
3. Beat egg yolks with sugar with whisk till pale yellow before stirring in oil, water, vanilla extract and blue pea flower tea (sieve and press out the liquid).
4. Add in sieved flour and whisk till no trace of flour is found. *If you use fresh flowers, no blue coloring needs to be added. If you use dried flowers, you may want to add a dip of blue coloring to darken the shade.
5. Meringue: Beat the egg whites with ¼ tsp cream of tartar till firm peak, mixing in caster sugar in 2 additions.
6. Fold in the meringue gently into the batter 1/3 at a time.
7. Pour into tin and gently tap the tin on table 3x to remove air bubbles.
8. Bake the cake for 15 min at 160°C then 31 min at 140°C or until skewer comes out clean.
9. Invert immediately once out of the oven to cool.
10. Unmould by hand after the cake is cool (see video tutorial).

I heard that he loved the marshmallow surprise inside the cake!


Using the same recipe, I baked an extra black and white chiffon layer cake to do the detailing for the buildings and eyes. These were done by carving patterns out of the cake (mostly freehand) using a sharp carving knife.


The buildings were "built" onto the chiffon cake using melted marshmallows. Spidey is really to jump from building to building!


Happy birthday to Devon!!

With lots of love,
Susanne


Read More »