Showing posts with label Pineapple. Show all posts

Wednesday, 26 March 2025

Sugar-Free Pineapple Chiffon Cake

 I am happy to share that I am finally revealing my sugar-free chiffon cake recipe with prebiotic fibres added in this class!


I use fresh pineapple puree to make this cake. Prebiotic fibres has the added benefit of further lowering the glycemic index of the cake that simply using sugar replacements don't. The flour and sometimes the liquid used in the cake contribute to the GI so adding prebiotic fibres helps to reduce the effect on blood sugar levels from those ingredients. After years of experimenting on and off, I am finally satisfied with this sugar replacement - prebiotics combo. Choice of sugar replacement is selected based on taste as well. The prebiotics are also beneficial for gut health and cholesterol management. And the best part, it tastes great! No artificial aftertaste and weird mouth feel.


Studio class:

https://www.bakersgym.com/service-page/sugar-free-pineapple-chiffon-cake?referral=service_list_widget


Online class:

https://www.bakersgym.com/product-page/online-classes-sugar-free-pineapple-chiffon-cake-ready-by-31-may-2025


with love,

Phay Shing

Read More »

Thursday, 30 January 2025

Pompompurin's Valentine's Day Marshmallows

 I couldn't resist making these after making pineapple tart marshmallows for class display!


I used reduced fresh pineapple juice to make these reduced sugar marshmallows so they smell and taste heavenly! I used meringue powder instead of fresh egg whites too so the batter overall was less robust and prone to breaking down faster than fresh egg white and full sugar versions. I mentioned earlier that using meringue powder instead of fresh egg whites doesn't make a difference when making character marshmallows. After using meringue powder for a longer time, I find that this is true for water, tea and coffee based marshmallows. When using fruit puree, using fresh egg whites will yield a more stable batter that doesn't deflate too quickly when melted gelatin is added so I will likely stick with fresh egg whites when fruit puree is used. Nonetheless, this method still works if you are able to work quickly and the characters are 2D.

I melted some red marshmallows in storage, set them in a tray and cut out little red hearts for Pompompurin to hug. As I wanted this to be an interactive type of marshmallow where the heart is removable and the arms can flap around a little, the arms are piped on a separate tray and stuck onto the main body.

Piped Pompompurins without the arms

You may see the process of piping these in the reel:

https://www.instagram.com/reel/DE4eGq4S_Eu/?igsh=N3kwaWlydDFoemY3


with love,

Phay Shing

Read More »

Saturday, 9 September 2023

Pineapple Chiffon Roll Cake


Rolling into good times with this Pineapple chiffon roll cake🍍💕 ! Ong Lai Huat ah =). For the uninitiated, the pineapple was the symbol for our newly elected president! Some Chinese also like to roll the pineapple through a new house/office. I was inspired to make this pineapple chiffon from a roll cake, and it is also for a friend. It is also a tribute to our new president! The cake has pineapple whipped cream, as well as mini pineapple surprises inside =). 

 Watch the video tutorial here: https://www.instagram.com/p/Cw6XeWsP7nX

I'm opening up a Hands-on Class on Oct 6th for Pineapple chiffon cake, following some requests from friends. Sign up here if you are keen =). 

With lots of love,

Susanne


Read More »

Monday, 30 January 2023

Pineapple Tart Marshmallows

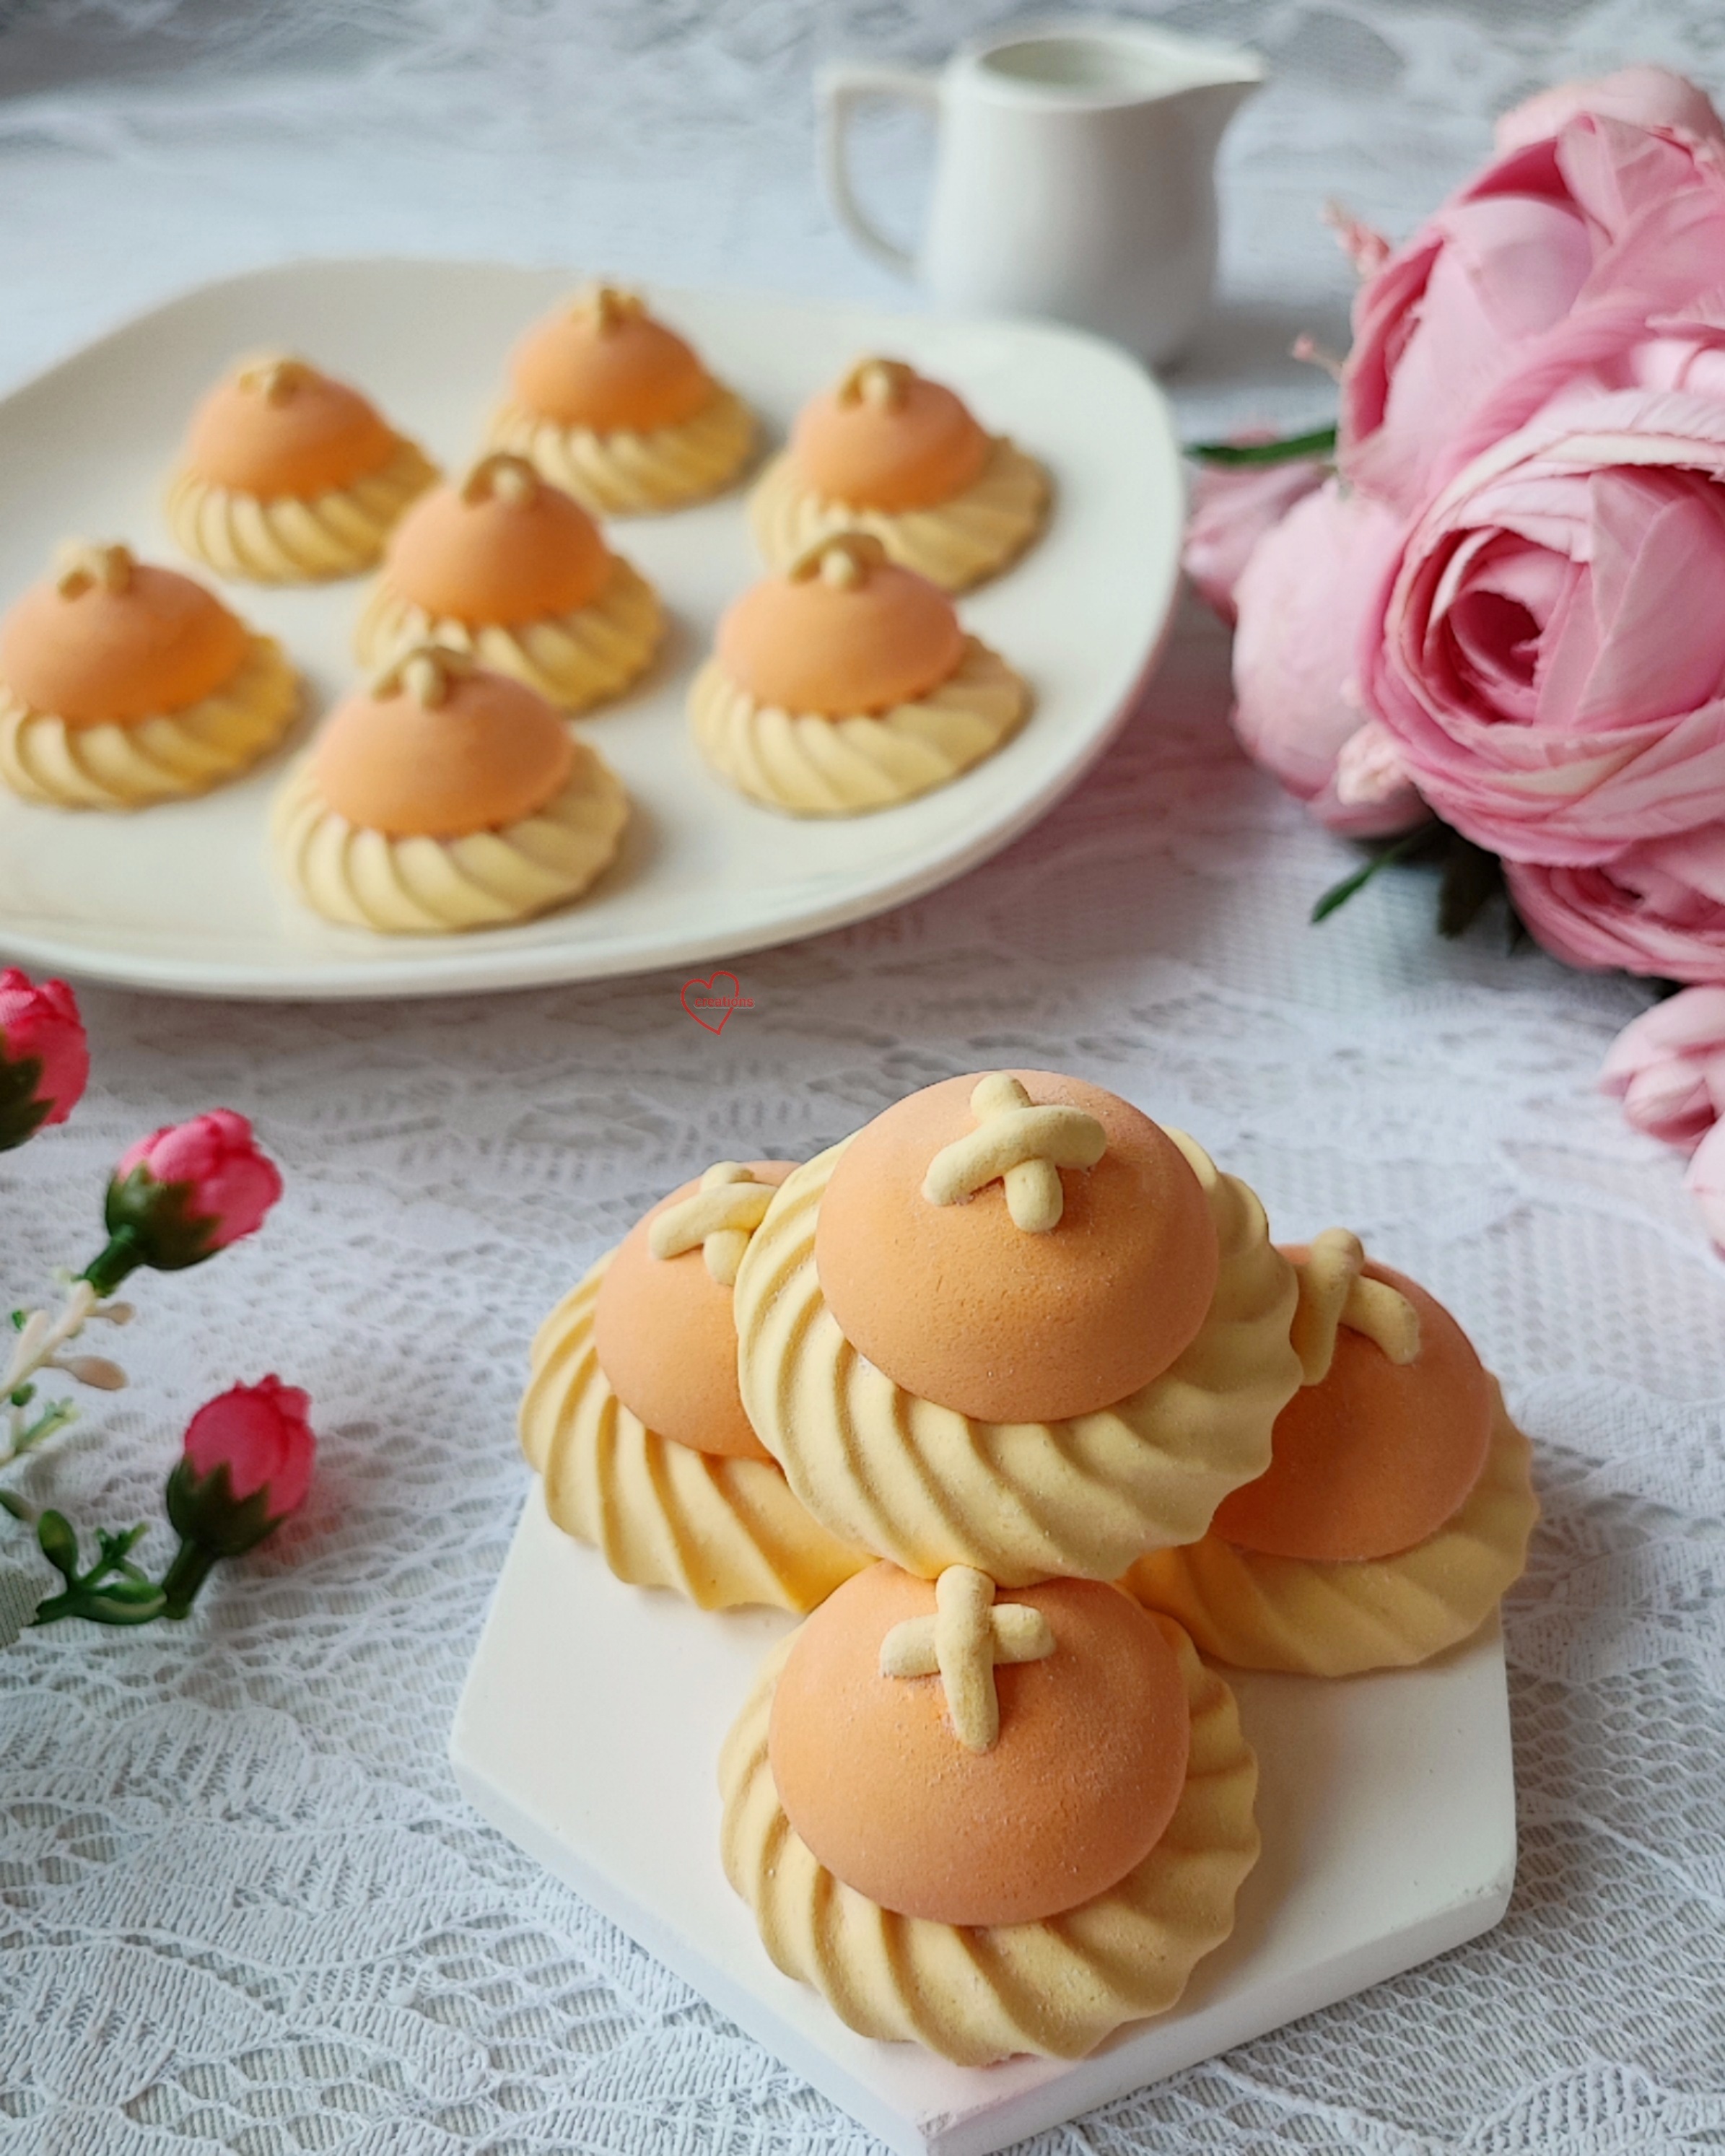
 I have not only one but two awesome AND simple Lunar New Year themed marshmallows to share! The first one is pineapple tart marshmallows!


I made these marshmallows with reduced pineapple juice so the marshmallows are naturally pineapple flavoured and has a tartness to it which is always lovely in marshmallows. I apologize for sharing this so late into the new year because I just came up with it😅.

Please see my reel below for a sneak peek at how I piped these and how squishy they are!

https://www.instagram.com/reel/CoEE5qIA3e6/?igshid=NTdlMDg3MTY=

Stay tuned for my other CNY marshmallow creation!

This pineapple tart creation will be in my upcoming Deco Marshmallows book!


with love,

Phay Shing

Read More »

Wednesday, 11 January 2023

Rabbit Pineapple Creampuff

 Lunar New Year is just around the corner and many bakers are baking pineapple tarts. I have decided to share a creampuff version of this well-loved pastry in cute bunny form to welcome the Year of the Rabbit!


I made the pineapple jam from scratch using the Ninja Foodi Power Blender Ultimate System from Ninja Kitchen Singapore. I was amazed at how easy it was to get pineapple puree that is so evenly blended at the touch of a button! There wasn't a need to manually pause & scrape down the blender multiple times. See it for yourself in the video below! It was super easy to clean too as the blade is removable.

https://www.instagram.com/reel/CnQUOEkAmZa/?igshid=NTdlMDg3MTY=


Please use my promo code: PSCB402 to enjoy $150 off original price of $499 for the blender! Visit Ninja Kitchen Singapore's website if you would like to make the purchase.

I used the pineapple jam on its own & added a sieved portion to whipped cream as filling for the creampuffs.

PINEAPPLE JAM
Ingredients:
1kg fresh pineapple flesh, cut into chunks (about 2 pineapples)
120g caster sugar
30g brown sugar
1/8 tsp salt
1 cinnamon stick

Steps:
1. Blend pineapple chunks
2. Cook pineapple puree with rest of ingredients over low heat till reduced to half (500g).
3. Discard cinnamon stick
4. Store in airtight glass jar in the fridge until ready to use.

Baker's Notes:
- Jam for pineapple tarts is reduced to 20% original weight of puree. But for choux pastry it's reduced to 50% for a softer & moist filling to complement the whipped cream & light, buttery pastry case. Taste isn't compromised! It tastes like a creampuff version of pineapple tarts!
- Adjust sugar according to taste & tartness of pineapples
- Add lemon juice if you like it really tart
- Add cloves/vanilla if you like
- Extra jam can be reduced further for making pineapple tarts 

CHOUX PASTRY
Please refer to chapters 7-9 on my YouTube channel on the basics of choux au craquelin for more details on the technique involved. Over here for chapter 7 on craquelin, over here for chapter 8 on basics of choux pastry batter, and over here for chapter 9 on piping and baking choux buns. I will just briefly describe the steps in this blog post.

Ingredients (makes about 18 mini choux buns):
Craquelin
21g unsalted butter, softened
18g sugar
21g plain flour, sifted

Choux batter
1 egg, lightly beaten (about 50g)
30g plain or bread flour, sifted 
1/4 tsp salt
1/2 tsp sugar
55-60g water
20g butter 
1/2 tsp vanilla extract (optional)

Decoration
Toasted almond slices
Dark chocolate couverture/chips
A little shortening or oil

Steps:
1. Make craquelin. Briefly cream butter and sugar together. Fold in flour. Roll the dough to thickness of 2-3mm between parchment paper. Freeze until firm. Cut out 3cm circles and place on lined baking tray, and freeze the cutouts again until ready to use.

2. Preheat oven to 200C(fan)/220C. Line baking tray with perforated mat (preferable) and 2.3cm circle template. You may line with parchment paper if you don't have the mat. Perforated mat helps choux pastries to retain better shape and have a flat base.

3. Make choux batter. Place water, butter, salt, sugar and vanilla into small saucepan. Heat on low heat to melt butter while stirring. Once butter is melted, quickly bring to roiling boil, stirring occassionally. Remove from heat and pour all the flour in at once. Stir until a ball of dough forms. Make sure all lumps of flour are mixed in. Cook on medium-low heat until some water from the dough is cooked off for about 2-3min (about 10% reduction in weight of dough). Transfer to bowl to cool for 10min.

4. Add half of egg and mix well until batter is smooth. Add half of remaining egg. Mix until batter is smooth. Add the remaining egg a tsp at a time, mixing until smooth with each addition, until batter is able to fall off spatula in 3 seconds.

5. Transfer to piping bag fitted with a 8mm round tip (Wilton #12). Pipe batter onto prepared tray. Dab some water around the piped batter. Carefully place craquelin on top of piped batter.

6. Put tray in oven. Immediately reduce temperature to 180C (fan)/190C and bake for 20-25 min. Reduce temperature to 140-150C and bake for another 20-25min or until thoroughly crisp. We need it crisp all the way as we are adding decorative pieces on the choux case. Do note that baking temperature and time may vary as each oven is different so adjust accordingly.

7. Cool completely before decorating by cutting the top one-third off. Carefully pierce 2 slits on the top piece before inserting almond slices for the ears. Paint or pipe on the eyes and nose of the bunny cap using melted chocolate with a little oil or shortening. Addition of shortening or oil helps the chocolate stay in piping/painting consistency for a longer time. Store in airtight container while preparing the pineapple whipped cream.

PINEAPPLE WHIPPED CREAM
Honestly I would prefer using pineapple diplomat cream to pair with the pineapple jam in the middle for filling but it would be conflict of interest to share my class material here. I chose to share a simple filling that is much faster to make and uses less ingredients so that you may be encouraged to give this a try!

Ingredients*:
150g Whip Topping (non-dairy whipping cream)
50g heavy cream (35% fat dairy cream)
80g sieved pineapple jam

*You may choose your preferred choice of cream depending on climate and where you are serving the pastries. Full dairy cream tastes the best and you may use double cream (45% fat) if you wish. Use stabilizers like gelatin and add a little sugar if using dairy cream. Singapore is very warm so I use non-dairy whipping cream with some dairy cream mixed in. Non-dairy cream is very stable and is pre-sweetened but doesn't taste as good as pure dairy cream. Adjust amount of sieved jam according to taste too.

Steps:
1. Whip whipping cream of choice until firm/stiff peak. Be careful not to overwhip if using purely dairy cream. 

2. Whisk/fold in sieved jam a little at a time.

3. Transfer a little cream into small piping bag with a small hole cut or Wilton #7 tip attached. Transfer the remaining cream into a large piping bag fitted with a large round tip (e.g.  Wilton 1A which is around 13mm in diameter)

ASSEMBLY
1. Fill the choux pastry with whipped cream until about half to three-quarters full. Use the rounded base of a half teaspoon to push the cream against the base and sides of the pastry case to create a well.

2. Fill the well with a heap of pineapple jam.

3. Pipe a generous mound of whipped cream over the jam from large piping bag for the bunny head.

4. Use cream from small piping bag to pipe on the paws, snout and ears. 

5. Add eyes using melted chocolate. Add rosy cheeks if desired. I coloured a little whipped cream with pink gel colouring for the rosy cheeks but you may use natural sources of food colouring like beetroot or red yeast if you like.

I was in a hurry racing against the sunset as it was getting a little too dark to take good videos and photos! I was also multi-tasking by working on this and cooking dinner at the same time 😆😅.

6. Place top piece of pastry case on top of bunny head and you are done!

Keep refrigerated for up to 3 days, or in the freezer for a month in airtight condition. The frozen pastry tastes like ice-cream filled creampuffs, and the chilled version tastes like creampuff version of pineapple tarts!

I tried to keep the design simple and artificial colouring minimal so that you can give this a try!

Please see my second reel below for making of the choux pastry, pineapple whipped cream and assembly:


Read More »

Thursday, 24 November 2022

Pineapple Bunny Choux Pastry in Macaron Teacup Class

 Let's welcome the Year of the Rabbit in 2023 with these cute Choux Pastry Bunnies in Macaron Teacups!


Filled with sweet and tangy pineapple jam and pineapple diplomat cream!


This class for learning two genres of bakes, macarons and choux pastries, will happen in January 2023. Please click on this link for more information on class details or to register .


with love,

Phay Shing

Read More »

Saturday, 5 February 2022

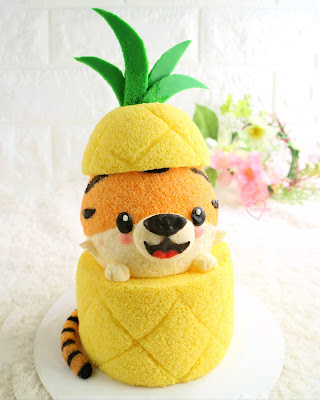
Tiger Pineapple Chiffon Cake

 
Pineapple creation inspired by the cutest @mediacorp Hu Tiger mascot!🐯😍

Have you wondered why pineapple tarts are so popular during CNY? Apparently it's to do with pineapple sounding like 'ong lai' in dialect hehe!🍍

I've been making the cny mascots every year to show my support! Missed seeing the plushies around the last 2 years. Hope that my 3D impression of the cute cartoon makes you smile too!😀💕

Hu tiger (from the pineapple) sending lots of love!❤❤🥰

Love,

Susanne


Read More »

Thursday, 31 January 2019

'Piglet Hugging Pineapple' Chiffon Cake


Those who knew me in school know that Piglet was my favorite character when I was young! This Piglet hugging an "Ong Lai" (Pineapple) is so apt for Chinese new year too, because the Year of the Pig is coming and 'Ong lai' which is translated to prosperity come in Hokkien and Taiwanese lol. The pineapple is actually made from lemon chiffon cake, and the piglet from strawberry chiffon cake. Quite a bit of sculpting was involved, and thankful cake was very well-received by my friend =). Someone on Instagram actually PM me and asked if this was a stuff toy or cake lol.. this is chiffon cake =).

Wish you all 生体健康,富贵平安 in advance!

With lots of love,
Susanne


More creative chiffon cakes here. The 2nd book Deco Chiffon Cakes features a CNY cake section:


Read More »

Thursday, 24 January 2019

'Melt-in-the-mouth' Salted Egg Yolk 'Piggy' Golf ball Pineapple Tarts


What a mouthful for a title =p. I've always been a fan of salted egg yolk! Recently I saw some being sold, and just had to try my own version! I like 'melt-in-the-mouth' type of pineapple tarts, so this is adapted from my previous post, with yummy added salted duck egg yolks!

'Melt-in-the-mouth' Salted Egg Yolk 'Piggy' Golf ball' Pineapple Tarts

Pineapple jam: I used Premium Redman pineapple jam (nice blend of sour and sweetness that I like!)

Cookie Dough (for 60 golf balls):
250g of plain flour, sifted
175g of cold butter cut into small pieces
30g icing sugar
One egg (lightly beaten)
100g salted duck egg yolk crumbs
1 tsp vanilla extract
A pinch of salt

600g pineapple jam (divided into 60 pineapple jam balls of 10g)

Method:

1. Mash the egg yolks of the boiled salted eggs and pass through sieve to obtain fine salted egg yolk crumbs. One salted egg yields around 14g of salted egg yolk crumbs for me. I used around 7 salted eggs to make 100g salted egg yolk crumbs. See previous post for more details.

2. Divide into the pineapple jam in to 10g balls with cling wrap separating the layers of balls (remember to wet your hands so they don't stick). Keep in the refrigerator until use.

3. In a big mixing bowl, use the fork or finger tips to rub the cut butter cubes and sifted flour together until it becomes crumbly. Add in sifted icing sugar, salt and salted egg yolk crumbs and continue to rub until well mixed.

4. Add lightly beaten egg and vanilla extract and gently work until it becomes a dough. Chill in the refrigerator for 30 mins (makes dough easier to handle and makes clearer imprints).

5. Roll out the chilled dough to about 5 mm thick. *I rolled the dough between two pieces of cling wrap to prevent dough from sticking to surfaces.

6. Remove one side of the cling wrap and use a circle cutter (5-cm) to cut out the dough. Wrap the dough around each pineapple ball and roll into a smooth ball. For the piggies, use an oval cutter to cut out the nose from the dough and stick onto the face. Cut more ovals, dividing the ovals into 2 for each ears and limbs.

*Tip: If you cannot work quickly enough, I will suggest to remove the dough from the chiller in batches to shape and bake for best shape and results.

7. Prepare the egg wash. Lightly beat 1 egg yolk with 1 tbsp water and a few drops of oil.

8. Lightly brush with egg wash and bake the piggies in the middle rack at 180°C for 15 min.

9. Leave to cool and store in airtight containers until consumption.

*Can keep up to 14 days outside in a cool, dry place, and months in the fridge.

*Other tips:
If you like milky flavour, you can substitute some of the flour with milk powder (10g).
Some recipes also call for cornflour or custard powder (substitute 10g flour with custard powder) for extra melt-in-the-mouth, but final tart may be more crumbly and harder to handle.

My Piggies!

Cross-section... yummy!

Hope you enjoy the tarts too! Happy CNY in advance!

With love,
Susanne


Read More »

Friday, 15 June 2018

Spongebob Surprise in Pineapple Chiffon Cake


I am really honored and thankful for the opportunity to film with Food Network! <3

It was the most challenging chiffon cake I have made to date, a Surprise Spongebob face in a Pineapple!

The request was given by Food Network. I didn't think I was able to make it initially. Really thank God so much for providing!! <3 

As it's my first time trying out the concept, I almost had a heart attack when we sliced into the cake! =D I didn't have enough time to try out the cake beforehand as one cake took 2.5 days to make!

Video tutorial can be found here from Food Network FB. They had wanted to commemorate Spongebob Squarepants musical at the Tony awards!

Hope it made you smile too!! =)

With lots of love,
Susanne

Vide


Read More »

Sunday, 25 June 2017

'Pineapple Watermelon' Fruits Chiffon Cake


This yummy fruity tier cake is made entirely from Fruit-flavoured Chiffon cake! The "Pineapple" top tier is made from Lemon Chiffon Cake. The "Watermelon" bottom tier is made from Strawberry Yoghurt-Pandan Chiffon Cake. I had originally wanted to use strawberry chiffon, but the Korean strawberry season is over, so I couldn’t find those nice sweet juicy strawberries (only the sour types), so yoghurt was used instead. The small juicy fruits décor are also from chiffon cake: "lemon" from lemon chiffon, "cherries" and "strawberries" from strawberry yoghurt chiffon.

The cake is naturally coloured using natural coloring (Magic colours brand and PME, from baking supplies shops e.g. Bake king) and lemon zest.


Lemon Chiffon Cake (6-inch tube pan) – which makes the "Pineapple"
3 egg yolks
30 g castor sugar
40 g vegetable/corn oil
24 g lemon juice
24 g water
Zest from 1.5 lemons
60g Prima cake flour, sifted
Yellow coloring, few drops (natural, Magic colours brand)

Meringue
4 egg whites
1/4 tsp cream of tartar
46 g castor sugar

1. Preheat oven to 160°C. Prepare a tray of water under the lowest rack for steambaking. *Optional but helps to increase moisture and control oven temperature for ogura-like texture.

2. Beat egg yolks with sugar with whisk till pale and light before stirring in oil, lemon juice and water.

3. Add in sieved flour and lemon zest and whisk till no trace of flour found.

4. Meringue: Using an electric mixer, beat the egg whites with ¼ tsp cream of tartar till frothy. Add in half the castor sugar for meringue and whip till soft peaks. Add in all the castor sugar and whip till firm peaks form or just to the point of reaching stiff peak.

5. Gently quickly fold in the meringue into respective batter in 3 additions.

6. Pour the batter into the tube pan and gently tap to remove air bubbles.

7. Bake the chiffon cake for 15 min at 160°C and then 140°C for 25-30 min, or until skewer inserted into centre of cake comes out clean. *You can also bake at 140°C for 55 min, or until skewer comes out clean.

8. Invert the chiffon cake once removed from oven and allow to cool completely.

I used a knife to make cuts on the chiffon cake for pineapple-like patterns.


Recipe for "Watermelon" Chiffon Cake can be found here in my previous work. I’m also starting work on a new Basics of Deco Chiffon cookbook that is written Textbook style with more in-depth, increased step-by-step pictures/instructions on layering the batter for the cake (out year end!). Hopefully it will address some of the questions I get from PMs! =)


"Pineapple leaves": Cut from pandan chiffon sheet cakes. Glued with melted marshmallows.

"Lemon": I baked leftover lemon chiffon batter in a 5-cm cake pop. The white details were piped on using Candy melts.

"Korean Strawberries": baked from hearts chocolate molds.

"Cherries": baked from 3-cm cake pop molds.


With lots of love,
Susanne


*Updates: Deco Chiffon Cakes now available at Naiise in Malaysia!

Read More »