Saturday 25 February 2023

Cinnamoroll Brown Sugar Cookies

 My friend who has been buying bakes from me for her daughter's birthday every year since 2015, requested for Cinnamoroll brown sugar cookies. She loves the taste of my cookies because they are really fragrant with caramel notes. 


I used my default brown sugar cookie recipe and royal icing. I made a template for cutting out the shape of the cookie dough.

Cookie dough cutouts on perforated mat lined baking tray before baking

As the details on this design are rather complex, I made royal icing transfers for the flowers and cupcake on Cinnamoroll.


I couldn't resist taking photos of the two bakes she requested: macarons and brown sugar cookies! See my previous post for the recipe for the macarons.


Stay tuned for a third Cinnamoroll creation that I made for her!


with love,

Phay Shing

Read More »

Thursday 23 February 2023

Couple Bear Chiffon Cake Mugs with a Hidden Message


Couple Bear Mugs with a Hidden Message! ❤️🥰  

Watch the Video tutorial reel here

Hope you had a blessed Valentine's with your loved ones. 

With lots of love, 

Susanne 


Read More »

Sunday 19 February 2023

Hot Cross S'mores

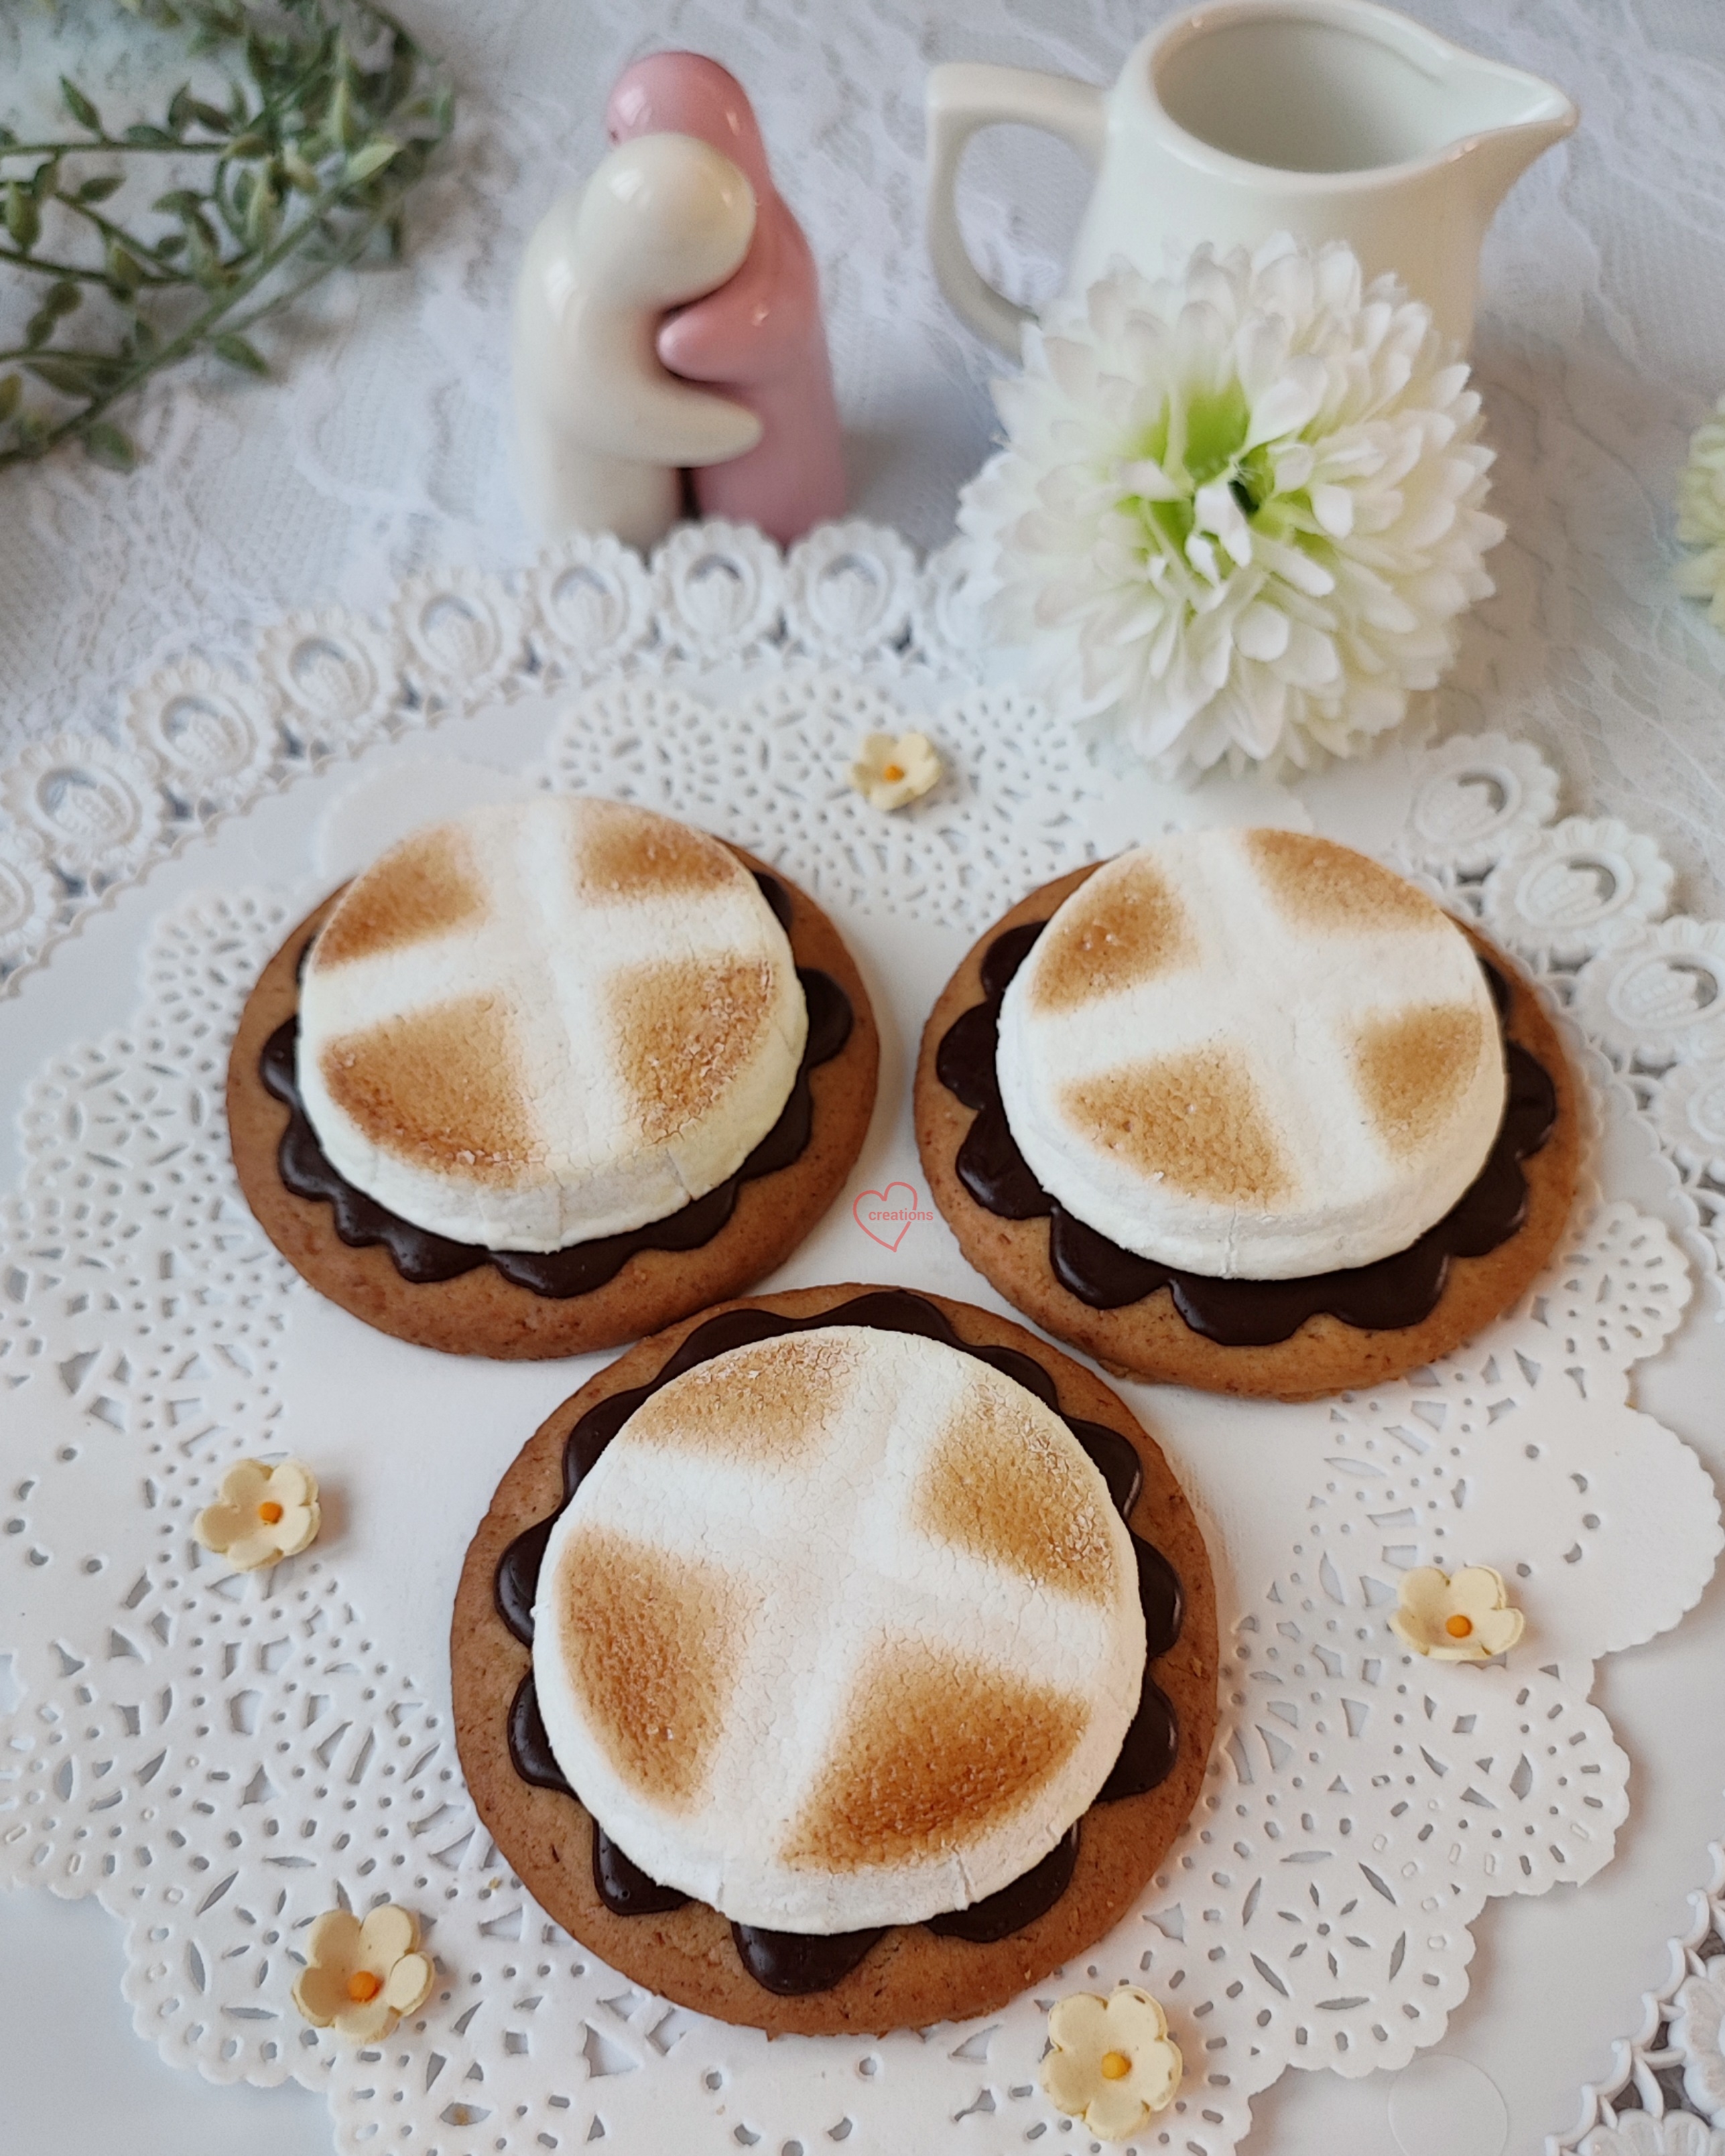
 Here's my marshmallowy twist to the classic hot-cross buns--- hot-cross S'mores!


I am in charge of coming up with the item for April's Culinary Arts event with the church and since it is scheduled near Good Friday and Easter, a theme that relates to Jesus' death and resurrection is appropriate. 

S'mores was the reason I fell in love with marshmallows when I don't have a sweet tooth. The complementary flavours and textures of the components are so delightful! Although Graham crackers are the classic cookie base for S'mores, I am using digestive biscuits for convenience because they come in rounds and the size is just nice. You could also make the Graham crackers from scratch but I am trying to keep things simple for the event and keep the marshmallow bit as the only technical part.


Hot-cross S'mores recipe
(Makes about 15-16)
Ingredients:
15-16 digestive biscuits*

Piping chocolate*
80g chocolate couverture (percentage of cocoa up to personal preference)
4g vegetable shortening

Marshmallow (to set in 15-16 44x35mm cupcake cases)
8g (3/4 tbs) gelatin powder (I used bovine 170bloom)
40g ice cold water
2 tsp vanilla extract
150g sugar
1/8 tsp salt 
60g light corn syrup
1/16-1/8 tsp cinnamon powder
40g water
canola oil spray
Cornstarch or tapioca starch for dusting

* If you want to simplify it further, use chocolate coated digestive biscuits and omit the extra step of melting and piping chocolate. You may also use Nutella but note that it is sweeter than dark chocolate but has that hazelnut flavour added.

Steps:
1. Bloom gelatin by scattering gelatin over cold water and whisk until well combined in large mixing bowl. Add vanilla over the gelatin bloom. Add cinnamon powder if you wish. Set aside.


2. Heat sugar, salt, water, corn syrup in saucepan till 115C without stirring. Gently swirl the saucepan. Use medium-low heat.

Monitoring syrup temperature with a candy thermometer.

3. Pour onto bloomed gelatin and stir with spatula until gelatin is melted.

4. Beat with electric mixer for 5-7 min, starting with low speed and gradually increase to high speed. Volume of mixture should increase by about 3x.

Marshmallow mixture should become fluffier and thicker as you whip.

5. Transfer into piping bag and pipe into greased cupcake cases until about 1 inch high or 15g. Tap down any peaks with damp finger. (Tip: Easiest way to quickly and effectively grease the cupcake cases is to spray with an oil spray from pressurized can but you may also wipe with paper towel dipped in oil or melted butter).


6. Leave to set overnight at cool room temperature or in the fridge for 30min. Note that gelatin in the marshmallow will continue to set with time for up to 24 hours.

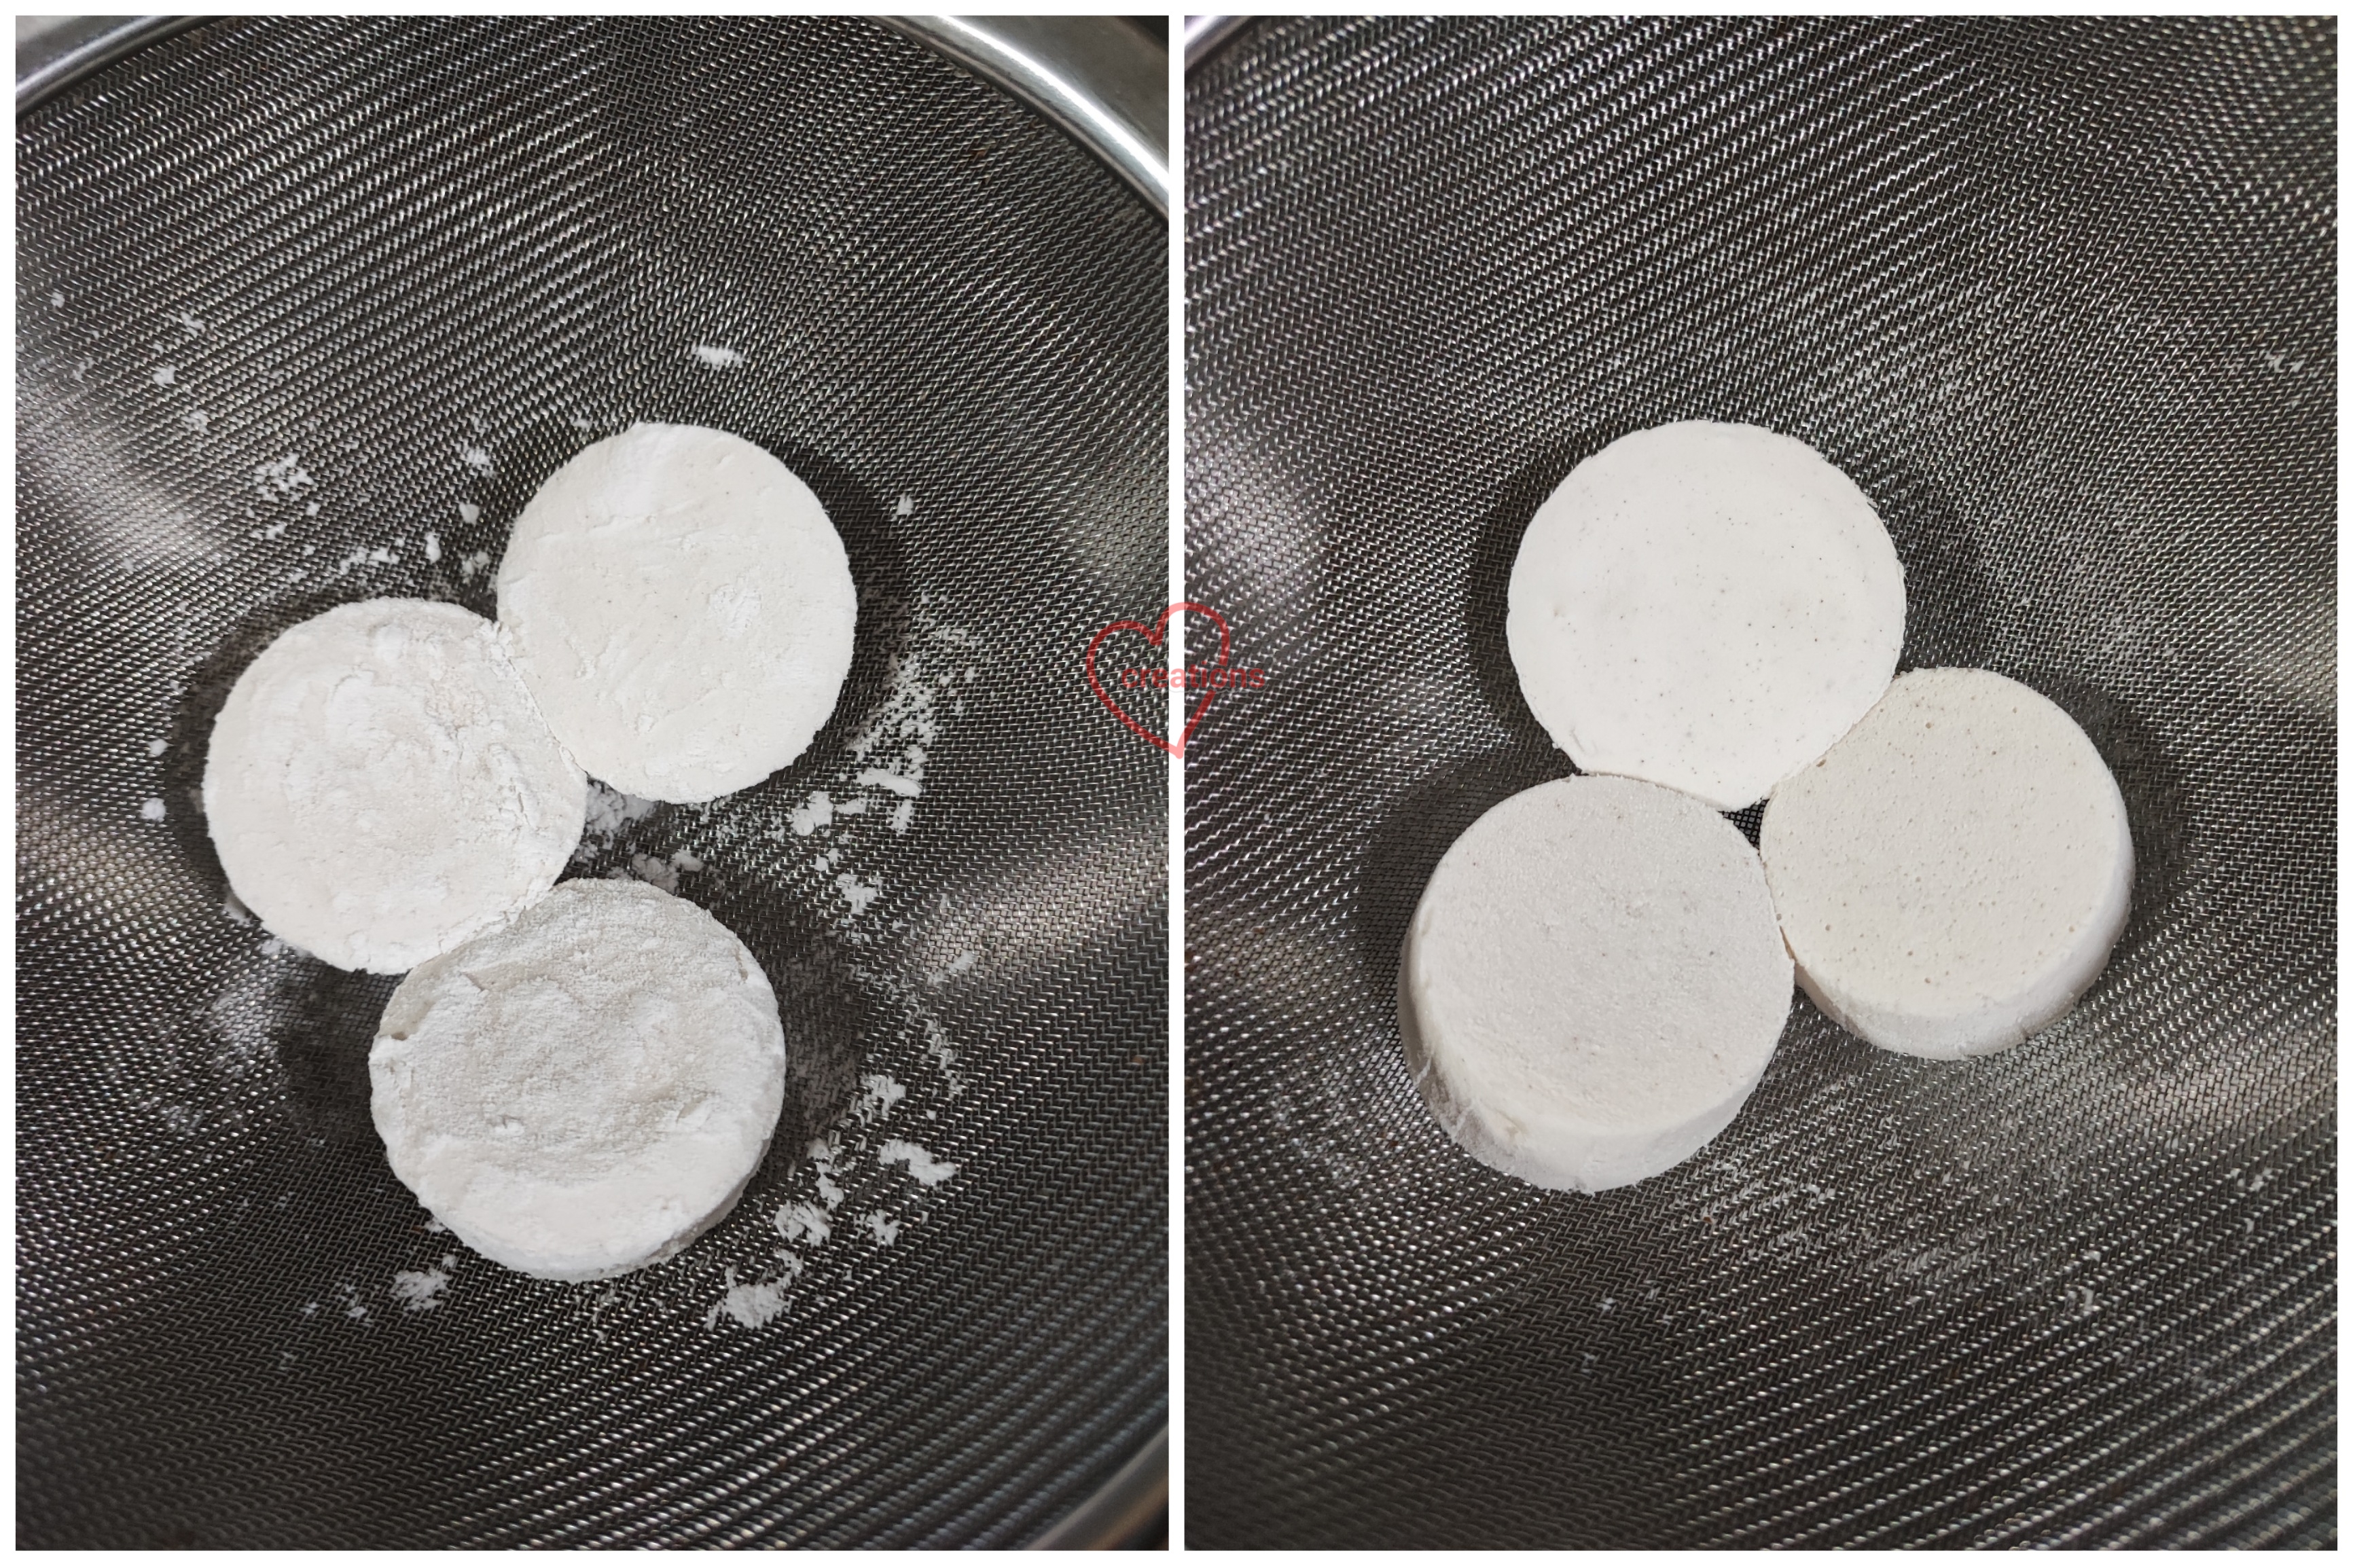
7. Unmold the marshmallow onto a bed of cornstarch. Coat with cornstarch or tapioca starch and remove excess by tossing it around in a sieve. 

Put a teaspoon of corn/tapioca starch on top. Open up the sides of the cupcake case.

Invert the cupcake case and deposit the marshmallow on corn/tapioca starch. Coat it well.

Tossing coated marshmallows.

8. Let the marshmallows dry out in the open or loosely covered (preferably aircon environment as Singapore is very humid) for 2-4 days before using it as toasted marshmallows. Marshmallows will melt into a puddle easily if they are too moist when toasted.

9. Melt chocolate with shortening and pipe onto biscuits. You may pipe the chocolate decoratively if you wish!

10. Place dried out marshmallow on top and toast. Enjoy the S'mores freshly toasted! See the notes below on how to create the foil cross and how to toast.

Storage
Freshly made marshmallows may be stored in airtight container and kept at cool room temperature for two weeks if you are not toasting or consuming immediately. For longer storage, keep in the freezer.

Flavour variations
Although marshmallows can be easily bought from supermarkets, homemade ones taste better and are less sweet. You can also customize it with your own favourite flavour by replacing water with juices or purees (except highly acidic juices or juices that contain enzymes that break down gelatin), tea and coffee, or use different types of flavouring extracts. Just make sure you avoid using fresh fruits containing enzymes that will break down gelatin like kiwi, mango and pineapple. You may use them if you simmer for 20minutes before using as the prolonged heat will destroy the enzymes. Make sure all liquids used for blooming gelatin are chilled in the fridge before using.

You may replace light corn syrup with honey, glucose syrup or dark corn syrup if you wish.

You may also replace white sugar with brown sugar but keep in mind that the syrup will boil higher so you may have to use a taller saucepan or stir occassionally to prevent the syrup from boiling over. Stirring won't cause recrystallization of sugar if you have added an invert sugar like light corn syrup/honey/glucose syrup/dark corn syrup.

Aluminium Foil Cross 
In order to create the cross shaped marking on top of the marshmallows, you will need to make a mask.

1. I used a 5mm wide and 11cm long wooden stirrer available from SKP in Singapore to help with folding the foil. You may work without it if you wish. Just fold the foil with the help of a ruler and your fingers. Create a rectangular piece out of foil around 5mm x 8-9cm.


2. Repeat step 1 to make another rectangular piece.


3. Place the two foil pieces perpendicular to each other. Cut a slit that is as long as the width of the foil pieces (around 5mm) as shown in the picture below. Carefully slide one end of the perpendicular piece into the slit and pull it through. Flatten the pieces to form the cross.


Notes for toasting:
- Lightly coat the foil cross with a little oil before placing on top of marshmallow
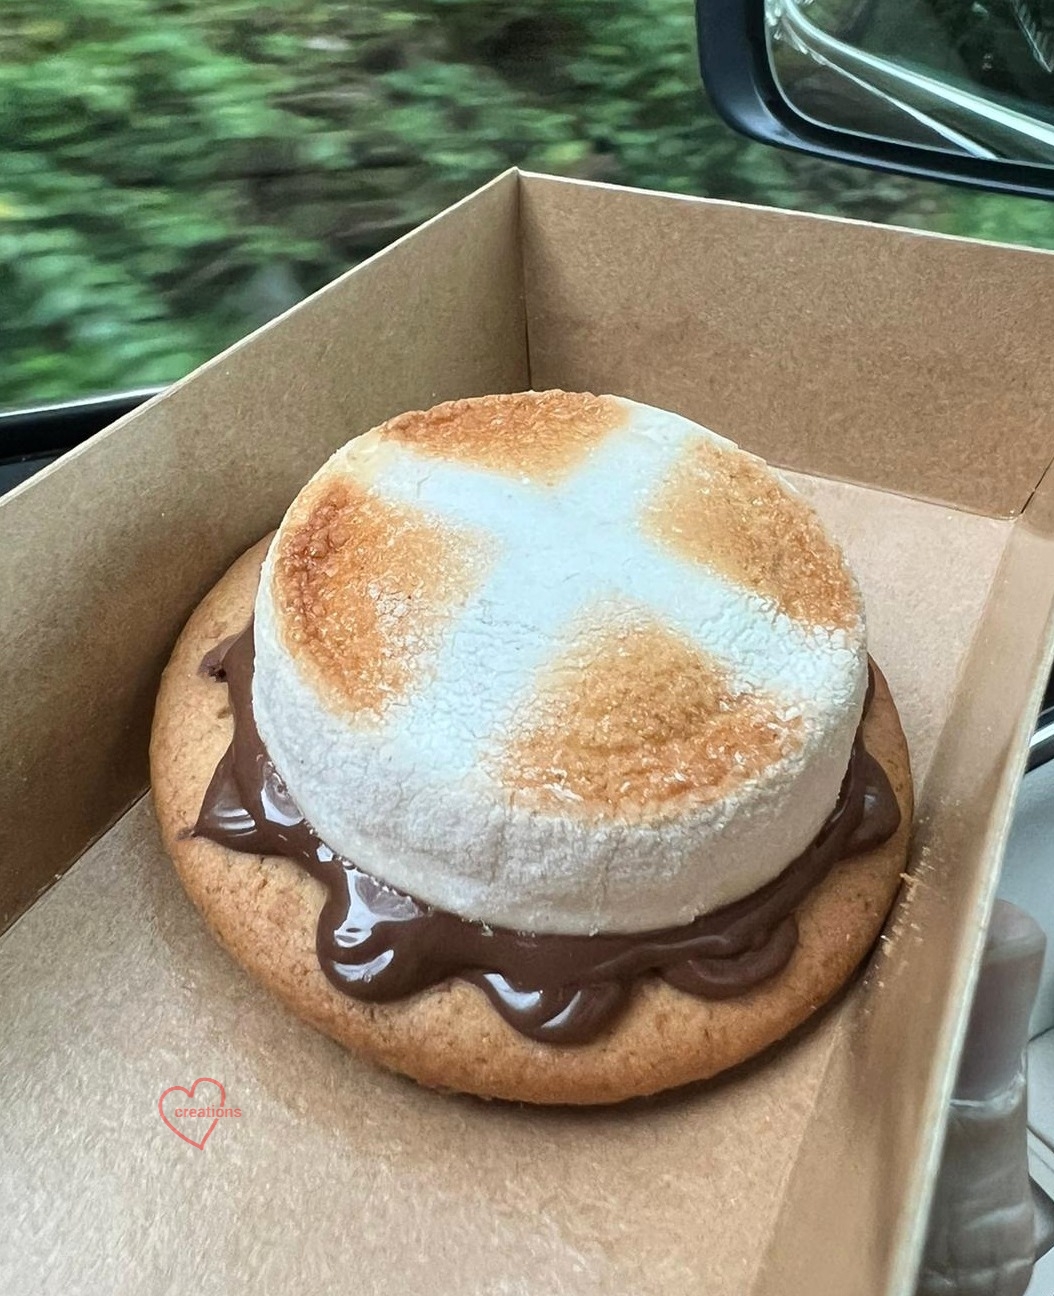
- Make sure marshmallow is not too moist or it won't retain the shape well. Dry out for 2-4 days in aircon room.
This is what happens if you toast your marshmallows while they are too moist😆

- Place the digestive cookie with marshmallow close to top heating element, about 4-5 cm away. Avoid placing too close to bottom heat or the whole marshmallow will melt instead.
- Toast for 30 sec-2 min or until browned at the tops. Check every 30 sec in the beginning and every 10 seconds once it shows signs of browning to avoid burning.
- Carefully remove foil with tweezers or chopsticks.

Remember to eat the S'mores when they are freshly toasted as that's when it tastes the best!

Update:
Here's a lovely photo taken by someone at the event. I couldn't have taken a better photo!


with love,
Phay Shing

Read More »

Wednesday 15 February 2023

Cartoon Cloud Chiffon Cake


CARTOON Cloud Chiffon Cake! ☁️😍 Is the toon version cuter? 
Video reel of the making here

Ingredients (7" angel cake pan) 
1 whole egg 
27 g castor sugar 
52 g oil 
52g milk 
7g vanilla extract 
80g cake flour, sifted 

Whisk all ingredients above till smooth. Add 1/2 tsp spirulina powder (or blue food color) to half the batter. 

5 egg whites 
1/4 tsp cream of tartar 
65 g castor sugar 

Whip egg whites till firm peaks. Fold half meringue into plain and blue batters respectively. Pipe clouds and fill with blue batter. Bake at 140C for 55 min. 💕' 

With lots of love, 

Susanne 


Read More »

Cinnamoroll Mixed Berries n Cream Macarons

 My friend requested for some Cinnamoroll macarons and brown sugar cookies (sharing in another post) for her daughter's birthday. I filled the macarons with strawberry Swiss meringue buttercream and strawberry-raspberry compote.


This friend started off as a customer who bought macarons and brown sugar cookies from me during my early years of baking and she has been ordering from me every year for her daughter's birthday ever since! This is the 9th year I am baking for her! 

I used my default swiss meringue method recipe for the macarons. 

Piped batter

I added in the details using royal icing to decorate.

Mixed berry compote
Ingredients:
300g frozen or fresh strawberries/raspberries (sieve raspberries to remove pips if you prefer smoother compote)
30g sugar (or to taste)
Pinch of salt
1 tsp lemon juice

Steps:
Cook everything together in saucepan until reduced to 60% original weight on over low heat. 

Mixed berry Swiss meringue buttercream
Ingredients:
75g egg whites
50g caster sugar
Pinch of salt
135g unsalted butter, cubed and slightly softened
50g mixed berry compote

Steps:
1. In a clean, grease-free mixing bowl, double-boil egg whites, caster sugar and salt while whisking constantly until the egg whites reach 71.1C. Remove from heat.

2. Beat the egg whites at medium-high speed until cooled to room temperature and stiff peaks.

3. Add softened butter one cube at a time, waiting for each addition to be incorporated before adding the next. Continue beating for another 2min.

4. Add compote a little at a time, mixing well with each addition. You may add a little strawberry paste if you wish to enhance the strawberry flavour further.

Fill the macarons by applying a thin layer of buttercream on the bottom shell before piping a ring of buttercream. Fill the middle with compote. Pipe a little buttercream over the compote before sandwiching with top shell.


with love,

Phay Shing

Read More »

Tuesday 7 February 2023

Sugar-Free Apple Raspberry Marshmallow Bouquet

 I have finally gotten started at writing my marshmallow book! In the process of writing, I need to test out the recipes and of course make the items for photography for the professional photographer to shoot in due time. I made zephyrs before but wondered if sugar-free versions will work as well. Zephyrs are agar-based marshmallows so they are vegetarian-friendly. I am pleasantly surprised the use of sugar replacements was all right and the marshmallow batter remained in a workable consistency!


I tried to use natural food colouring as far as possible. I used matcha powder for the green leaves and raspberry puree for the pink. I did use a little strawberry paste from commercially sold source but most of the colouring is natural.

Here's a closer look at the tulips piped using  Russian tip.


And a closer look at the roses piped using a petal tip.


Using Granny Smith apples as the fruit base helps a lot as the pectin content is high. It's tartness also helps to temper the sweetness level of these marshmallows so they end up being only mildly sweet but full of fruity flavour!

I love the fact that besides looking pretty, these marshmallows are low in fat, high in fiber and the only contribution to glycemic index is from the fruit used!

See these marshmallows in squishy action and their cross sections over here:

https://www.instagram.com/reel/Cn6z4U0AOfJ/?igshid=NTdlMDg3MTY=

Detailed recipe will be shared in my upcoming book Deco Marshmallows.


with love,

Phay Shing

Read More »

Monday 6 February 2023

Miffy Patterned Cake


This is another Miffy creation I made for PokkaxMiffy. Hope you like it! 

Watch the piping video tutorial here

I've also shared the recipe in my post. 

Piping batter 
1 egg, 50g flour, 50g icing sugar, 50g butter 
Divide into 3 colors: black, white and pink 

Chiffon cake (12" cake) 
Egg yolk batter 
4 egg yolks 
54g oil 
54g milk 
1.5 tsp vanilla 
80g cake flour 
Pink food color 

4 egg whites 
85g sugar 

Mix all ingredients in piping batter and pipe Miffy pattern. Chill in the fridge. 

Mix ingredients in egg yolk batter. Whip egg whites with sugar till firm peaks. Fold and pour over the Miffy pattern. Bake at 160C for 25 min. 

With love,
Susanne


Read More »

Wednesday 1 February 2023

Mandarin Orange Marshmallows with Yuzu Mandarin Orange Filling

 This is the second Lunar New Year themed marshmallow creation that I wish I thought of making earlier. But it's ok, this will appear in my upcoming book Deco Marshmallows as well!

This is a rather nostalgic design because it looks so much like my chiffon cake mandarin oranges that I discovered 9 years ago. How time flies! I remember the excitement of discovering how I could make realistic looking mandarin oranges out of mandarin orange chiffon sponge so many years ago! What I did differently this time for the marshmallow version, is to add a filling to boost that citrusy kick! The filling is yuzu with mandarin orange zest and the marshmallow itself is made with mandarin orange juice.


Here's a video of it in squishy action! Perhaps you can fool your family and friends next Lunar New Year with these 😉

https://www.instagram.com/reel/CoHktm0gWdk/?igshid=NTdlMDg3MTY=


with love,

Phay Shing


Read More »