Monday, 26 June 2023

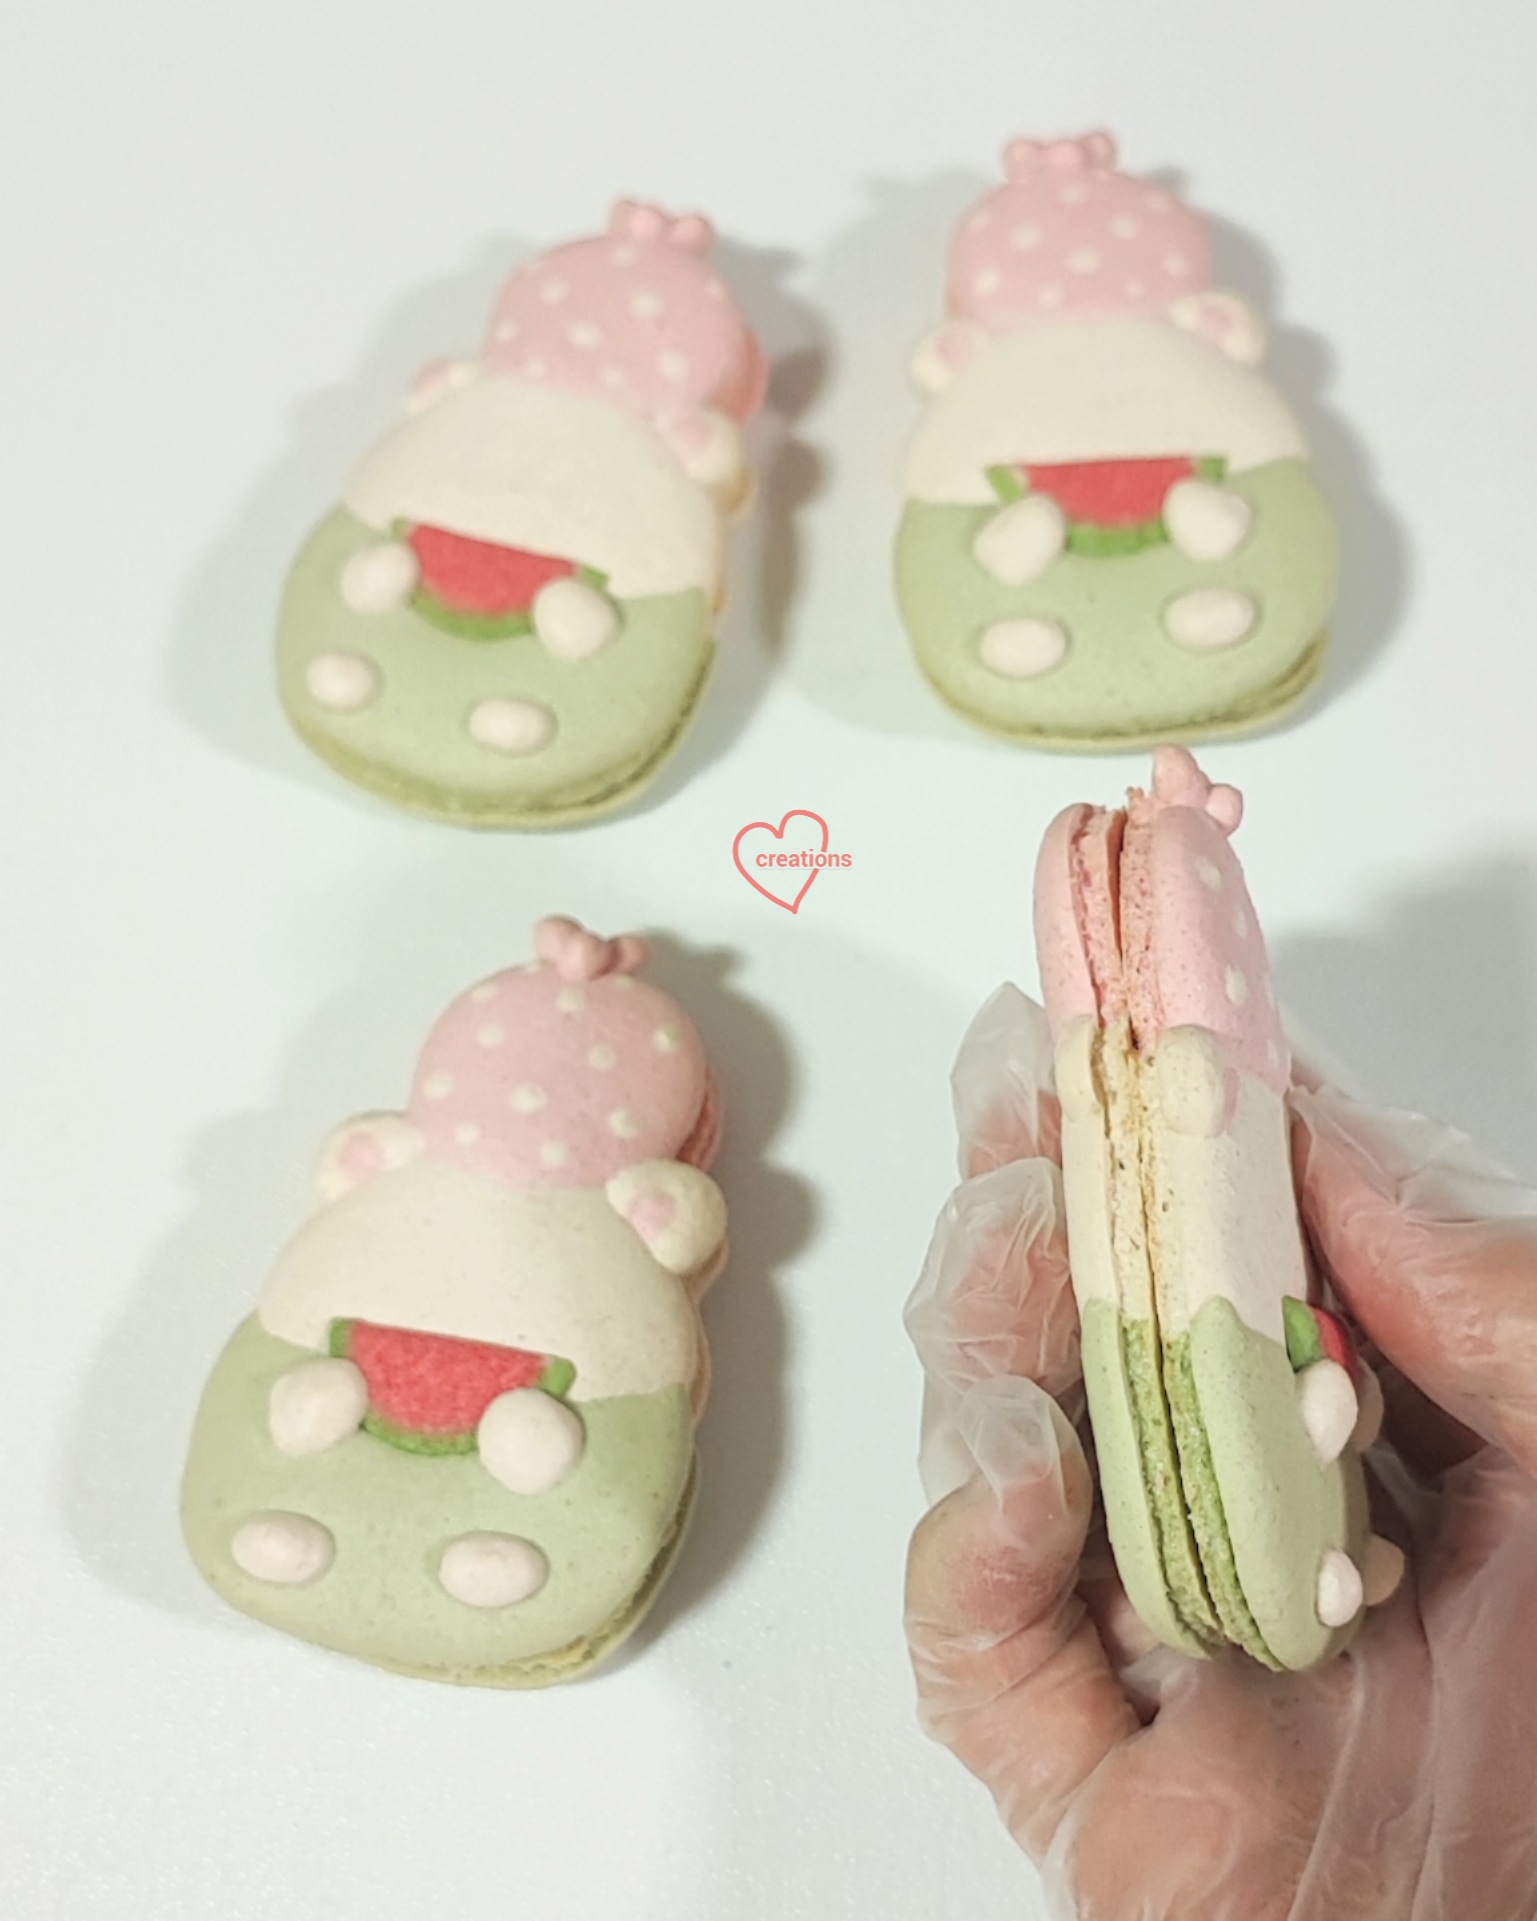
Shirokuma and Furoshiki Vegan Macarons

 I had requests for vegan macaron classes so I have been doing rigorous testing for vegan macaron recipes. After trying French and Swiss meringue methods, I decided to try Italian meringue because Italian meringues have the added advantage of the stabilizing effect of sugar in the form of sugar syrup. After some attempts, I am satisfied with this Italian meringue method recipe especially since it is stable enough for a creation like this!


It's summer in the Northern hemisphere now and this year has been especially hot with the El Nino effect going on. Watermelons are definitely welcomed! Shirokuma thinks so too! 

You may ask why did I choose this theme and subject? It's because of the testing I have been doing for class material. I have decided on making simple character Hanami dango macarons with the colours pink, white and green so naturally this image of Shirokuma and Furoshiki came to mind! Note that this design is not for class material. I will be sharing the simple character vegan macaron class material soon so you can sign up for it with Tottstore.

Piped batter. I am sure you can't tell the difference between vegan and egg white based!

Freshly baked shells!

I used royal icing transfers (vegan of course) for the watermelon slices. They can be baked together with piped macaron batter, just like regular macarons.

These macarons are filled with the filling I will be sharing in my class too, which is matcha, vanilla and strawberry vegan white chocolate ganache.

See my reel for the piping process and the filling!


Stay hydrated and cool during this hot spell!


with love,

Phay Shing

Read More »

Wednesday, 21 June 2023

Hidden Superhero Chiffon Cake


Finally back after a few weeks away! Here's my belated Father's day post!
There's a Mighty Superhero inside every Dad! Happy Father's Day!❤️
With lots of love,
Susanne


Read More »

Tuesday, 20 June 2023

My Melody and Kuromi Macaron Carousel

 My friend requested for a My Melody and Kuromi macaron carousel and this was what I made!


I used my default Swiss meringue method recipe for the macaron shells.


Here's a video tutorial on how I create My Melody's lop-eared fold. A secret I have kept for many years! Some people asked how I did it way back in 2017 but I wasn't ready to reveal it yet.

The details are added on using royal icing and edible marker. I made royal icing transfers for My Melody's flower

I like to experiment and change designs along the way so this time round, I did something a little different for the carousel frame.


These are some of the standard pieces.

I included some small flowers piped using #2D tip from underfolded batter.

Blueberry ganache is the logical choice for filling to match the purple frame so that's what I used as the filling. The natural purple from fresh blueberries is lovely! I used a stiffer and darker coloured ganache for the middle of the carousel frame, hidden from sight by adding some freeze-dried blueberry powder to impart a stronger blueberry flavour without adding moisture. 

Blueberry yuzu ganache
Blueberry compote:
150g blueberries
15g yuzu juice concentrate (or lemon juice)
15g sugar

Light colored ganache:
150g white chocolate (finely chopped from bar or use couverture chips)
75g compote
15g unsalted butter, slightly softened at room temperature

Dark colored stiffer ganache:
150g white chocolate
45g compote
5g yuzu juice concentrate (or lemon juice)
20g freeze dried blueberry powder
10g unsalted butter, room temperature

You may not use all the ganache for the carousel but they cam be kept frozen for longer storage.

Steps:
1. Prepare blueberry compote. Cook over medium-low heat until reduced to about 140g in total. Press through sieve to remove the skins.

2. Melt white chocolate over double-boiler or using microwave at medium-low power in 10 second bursts, stirring between each heating cycle.

3. Mix warm compote with freeze-dried blueberry powder and yuzu for the stiffer ganache. Heat it up again slightly if it has cooled down after mixing.

4. Pour warm compote/compote mixture over melted chocolate. Stir in one direction until well mixed. Use an immersion blender if you wish.

5. Add softened butter and mix well. Press cling wrap onto surface and refrigerate for at least half an hour or until ready to assemble.

I added some chopped toasted hazelnuts coated in dark chocolate in the middle of the larger macarons like the base and the roof. I used a 1:1 ratio for nuts: dark chocolate by weight.

In order to support a softer filling than I normally use for load-bearing macaron structures, I piped a ring of medium-stiff royal icing for the central pillar pieces of the carousel frame.

I also reinforced the straw with royal icing so that the characters don't have the risk of sliding down the straw.

As usual, I let the weight bearing pieces rest overnight after partial assembly before adding on more load. This is to allow the royal icing time to harden fully.

I think the carousel frame looks lovely on its own 😍

Here's a reel of the assembly process:

https://www.instagram.com/reel/CttiocAAq95/?igshid=MzRlODBiNWFlZA==


with love,

Phay Shing 

Read More »

Wednesday, 14 June 2023

Easy Custard Pudding (Father's Day Special)

Wondering what easy and delicious treat to make for Father's Day that can be adapted for a variety of preferences? This easy pudding can take on many flavour variations and you can set it in tart shells to make them into tarts! Scale portion according to your needs.


I shared the custard pudding earlier in 2020 (see this post) but made slight modifications to it in this updated post.

Custard pudding

Ingredients:
6g gelatin, bloomed in 30g ice water
2 egg yolks
40g sugar*
Pinch of salt
100g + 160g milk**, room temperature
1 tsp vanilla extract
1/4 tsp caramel flavouring (optional)

Steps:

1. In saucepan, heat 100g milk until hot but not boiling

2. Whisk yolks, salt & sugar in heavy jug/bowl

3. Pour hot milk in thin stream into egg mix while whisking continuously

4. Pour back into saucepan & cook over medium-low heat, whisking continuously

5. Once custard starts to thicken or reach 71C, remove from heat.

6. Wait for 1 min or until custard is 60C. Add gelatin & whisk until melted

7. Sieve mixture through fine sieve. Add vanilla & 160g milk. Whisk until smooth. Spoon into jars/tart shells to avoid bubbles. Pop bubbles with skewer if need be

8. Refrigerate for at least 2h or overnight. Consume within 3 days. Highly recommend to serve with maple syrup if you are keeping it plain.


* Adjust amount according to taste. Replace/mix with brown sugar for a caramel note.


**🥛Richer: Replace part or all with cream

🥥Non-dairy: Replace with other types of plant milk

🍵Infusion: Heat milk with herbs, tea leaves/flowers

☕ Coffee: Replace part with coffee

🍫Chocolate: Add finely chopped dark chocolate to hot custard, reduce amount of gelatin

🥞Caramel: Sub a small portion with maple syrup & reduce sugar. Use brown sugar

🍓Fruity: Replace half with reduced fruit puree. Reducing over low heat destroys gelatin-destroying enzymes & intensifies fruit flavours.

This is a great way to use up excess yolks too!

Catch a glimpse of the texture and how jiggly it is in my Instagram reel:

https://www.instagram.com/reel/CteLk-kAwPu/?igshid=MzRlODBiNWFlZA==

In case you are wondering what the black decorative parts are made of, it is marzipan naturally coloured and flavoured with black cocoa powder. I didn't wait for it to dry at all before placing on the pudding, thinking that it is just for photography so I was going to take photos/videos shortly after decorating. It turned wet so quickly😆. Feel free to use chocolate for the decoration instead. Marzipan works too but make sure you dry it thoroughly and only place it on shortly before consuming. Homemade marzipan, uses only a few ingredients, tastes great and it is easier to work with than chocolate, especially in hot and humid kitchens in Singapore. It works like fondant but tastes much better.

Black cocoa marzipan 

Ingredients:
24g superfine almond flour
18g icing sugar + extra as necessary*
4g black cocoa powder
1/2 tsp water
1 tsp honey (about 4-5g)

* I use icing sugar with cornstarch already added. 

Steps:

1. Sift together almond, icing sugar and cocoa powder. 

2. Add honey and water and mix until a ball of dough forms. 

3. Roll out between parchment paper to 2-3mm. Cut to desired shapes. Dust very lightly with icing sugar if it gets too sticky.

4. Leave marzipan cutouts to dry in the open or loosely covered box at least overnight before using it to decorate. Store any unused marzipan cling wrapped in airtight condition for up to 6 weeks at cool room temperature.


with love,

Phay Shing

Read More »

Thursday, 8 June 2023

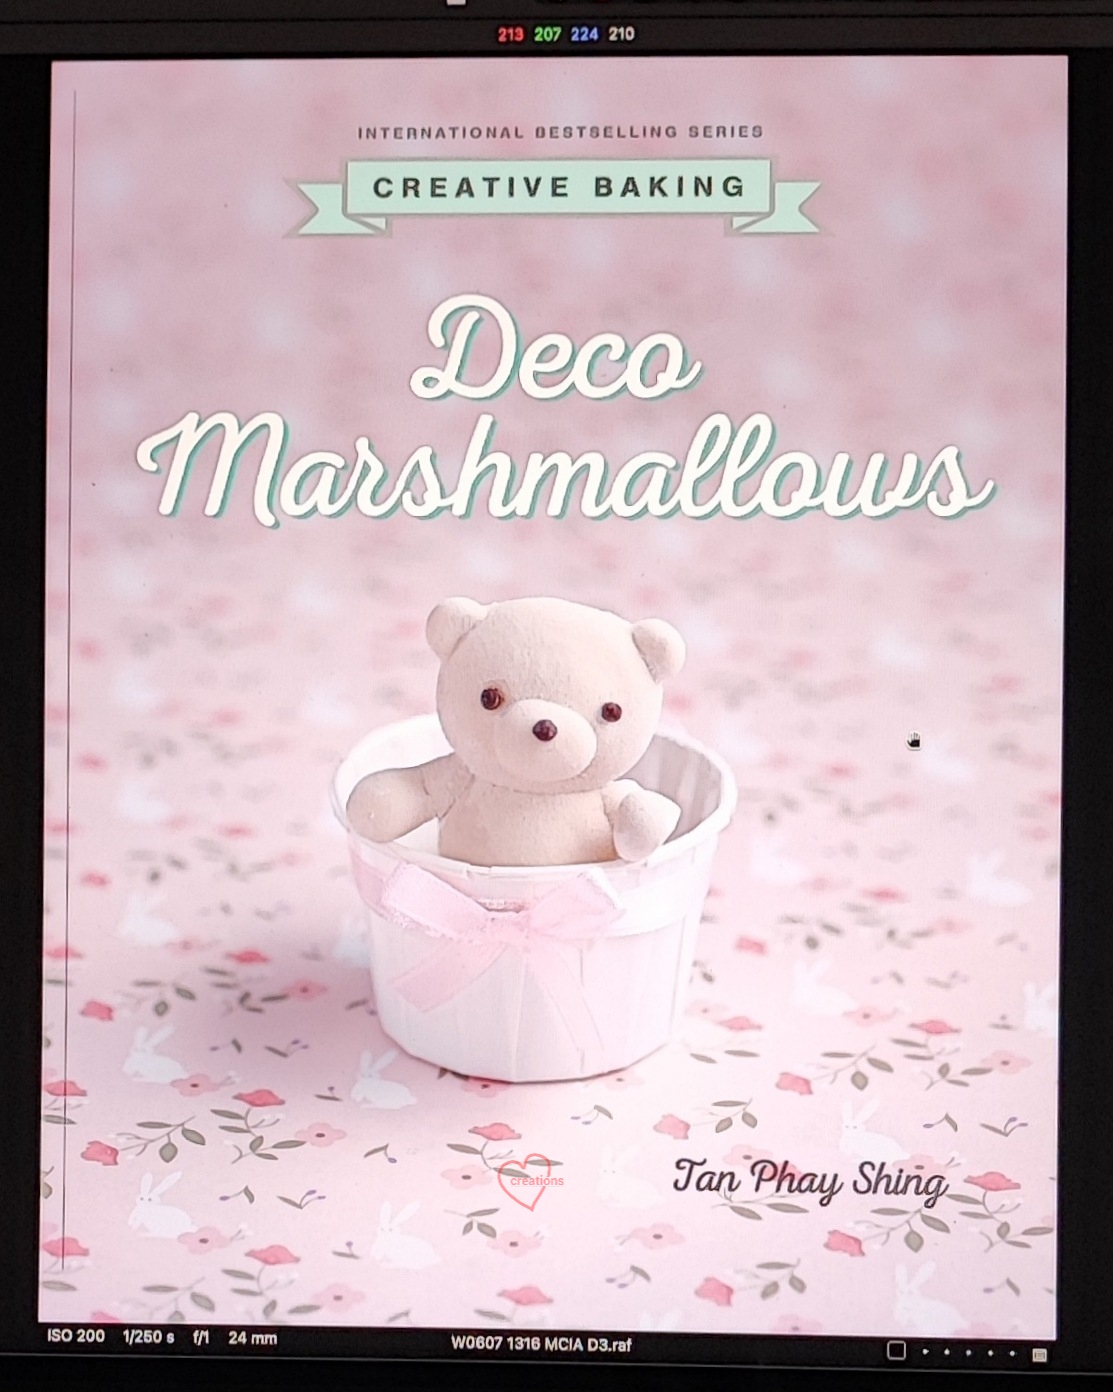
Deco Marshmallows

I am super excited to share what Deco Marshmallows is about and will update this blog post periodically once I receive any news from Marshall Cavendish about the book.

ISBN: 9789815084191

Here are the dates of release for various sources that I received from the publisher and what I gathered from the internet and people who notified me.

Singapore: Available at Popular, Kinokuniya and Amazon Singapore.

UK*: Available on Amazon and other bookstores  (no longer available from 1 Sept 2024)

Australia and New Zealand: October 2024 (Already available for pre-orders on Angus & Robertson)

Malaysia: Available at MPH

Thailand: Available at Kinokuniya 

USA*: October 2024 (Already available for pre-orders on Amazon US and Barnes & Noble) (Will not be available from 30 Dec 2024)

Ebook: Amazon, Google, Kobo and Overdrive in due time

I have received many of requests for getting the book earlier overseas when unfortunately the wait for it to be on Amazon or ebook forms is a long one. You may try this service that matches travellers to buyers if you would like it earlier at a more affordable shipping cost.

*********************************************

I stumbled into the arena of marshmallows by accident because I had no intention of exploring what to me a couple of years ago, was simply one-dimensional tasting candy. Someone wanted to learn character marshmallows and one of the  baking studios I work with asked if I could teach. One thing led to another and after discovering the endless possibilities and depth of flavour you can achieve, I decided to do a book to share my discoveries!

What motivated me to write yet another book despite knowing the tremendous amount of work involved was precisely what I am going to share in Deco Marshmallows:

1. You can use templates to create piped shapes more consistently instead of using freehand piping. Great for the artistically challenged!

2. You can do away with piping on a bed of dusting so you save a lot on dusting.

3. You can use gelatin or agar-agar as gelling agents according to your dietary preference so vegetarians can have a go at marshmallow-making too! (Note that egg whites are still used so it is not vegan but I have a vegan option mentioned in the book)

4. You can make it sugar-free if you like and it will not look any different from marshmallows made with regular sugar! Diabetics can have a taste of cute marshmallows too!

5. Many types marshmallow flavours from natural ingredients, various fillings and coating options are covered in the book to show you how to make marshmallows much more than one-dimensional tasting candies.

6. Marshmallows can be paired with other pastries or confections too to create something extraordinary!

7. I like to make use of common kitchen items like foil, zester/grater, citrus juicer, skewers and scissors as tools so you don't have to own a large collection of specialized tools for making cute marshmallows.

I am sharing what went on during four days of photoshoot. We took it at a more relaxed pace this time, spreading over more days than previous books. Note that these pictures were taken with my phone camera off the screen of the photographer's laptop or tablet so quality isn't the best but you can get the idea!


Back cover

Title page

Page fillers. My favourite shots because they are super whimsical and hilarious!

The gingy on the table looks like he is happily running towards his friend in the mug. "Wait for me! I want to join you in the hot chocolate onsen!"

I think this one is hilariously self-explanatory 😆

Grumpy octopus is not too thrilled about being with a cheeky friend and having an audience of narwhals

Cats in watermelon wonderland. This one has more of a subtle sweet feel and will be used with the acknowledgements/dedication pages.

The design portion of the book is broken up into three sections.

Pretty Awesome covers everything that is not a creature so it is mainly plants and objects.


Cute and Magical covers all kinds of creatures...well... cute and magical.


Update 06/10/23: There has been a delay in the book hitting the shelves due to potential copyright issues with one of the entries in this section "Cute and Magical". We have taken out the princess and replaced it with a cute girl dressed up for the Lunar New Year instead.

Perfectly Matched covers how marshmallows can be paired with other pastries, confections or desserts.


Here's a special behind-the-scenes reel I shared on Instagram! 

As with all our Creative Baking books, we cover the basics, techniques and frequently asked questions/troubleshooting in detail so you can apply what you learn for your own designs. My motto has always been "Teach people how to fish and not simply feed them the fish."

Having seen all these, are you as excited as me?
Stay tuned for periodical updates!

UPDATE 25/07/2024:
All the recipes in this book are based on the use of fresh egg whites. If you have concerns about having unbaked egg whites in your food or if the sale of food with unbaked egg whites is not allowed in your country, you may use egg white powder or meringue powder as replacements. I mentioned this briefly in the book but if you need exact ratios and method of using these replacements, please watch the reels and read the caption for :

Egg White Powder

Meringue Powder 

I also included a point-by-point comparison of all 3 forms of egg whites in the caption of the meringue powder replacement reel so that you can see which type is most suitable for your needs.


* UPDATE 09/08/2024:
I just received news from the publisher that their third party warehouse and book distributions partner in the UK has gone into administration. This means that my books will no longer be available in the UK market and on Amazon UK with effect from 1 Sept 2024, and will cease to be available in the US market and on Amazon US with effect from 30 Dec 2024.

So if you have been considering getting my books, you should try to get them before the dates given. In the meantime the publisher is trying to find other sources to reach the international audience. Book distribution within Singapore is not affected. Digital version is also not affected.


with lots of love,

Phay Shing


Read More »

Friday, 26 May 2023

Diabetic-Friendly Pumpkin Spice Latte Cake with Marshmallow Flowers

 I decided to make a simple cake that is assembled in a container for mum's birthday because this bake happened towards the tail end of my preparation for Deco Marshmallows' photoshoot.


The cake is a coffee chiffon sponge with thin layers of maple dark chocolate ganache and chopped toasted hazelnut, pumpkin spice diplomat cream and coffee jelly. I tried to make the components as diabetic-friendly as possible but had to use some maple syrup and Maltitol as Allulose alone doesn't taste as good. Maltitol is a sugar replacement often used as a sweetener for sugar-free chocolate but still contributes to glycemic index. Maple syrup is a tasty refined sugar-free syrup substitute that has a low GI. Why this choice of flavour combination? Because I have leftover pumpkin puree from making an entry in my marshmallow book 😆. 

The florals are made of agar-based marshmallows. I used apple or pumpkin puree for them. The yellow roses are naturally coloured from pumpkin and are made sugar-free. The other florals and leaves were extras I kept from making for the book.

I will share the detailed recipe for the four components of the cake. Feel free to vary the ratio of components during assembly according to taste. You may assemble in smaller cups too for individual sized treats! Freeze the whole thing and it's an ice-cream cake! Diplomat cream frozen is like ice-cream 😋

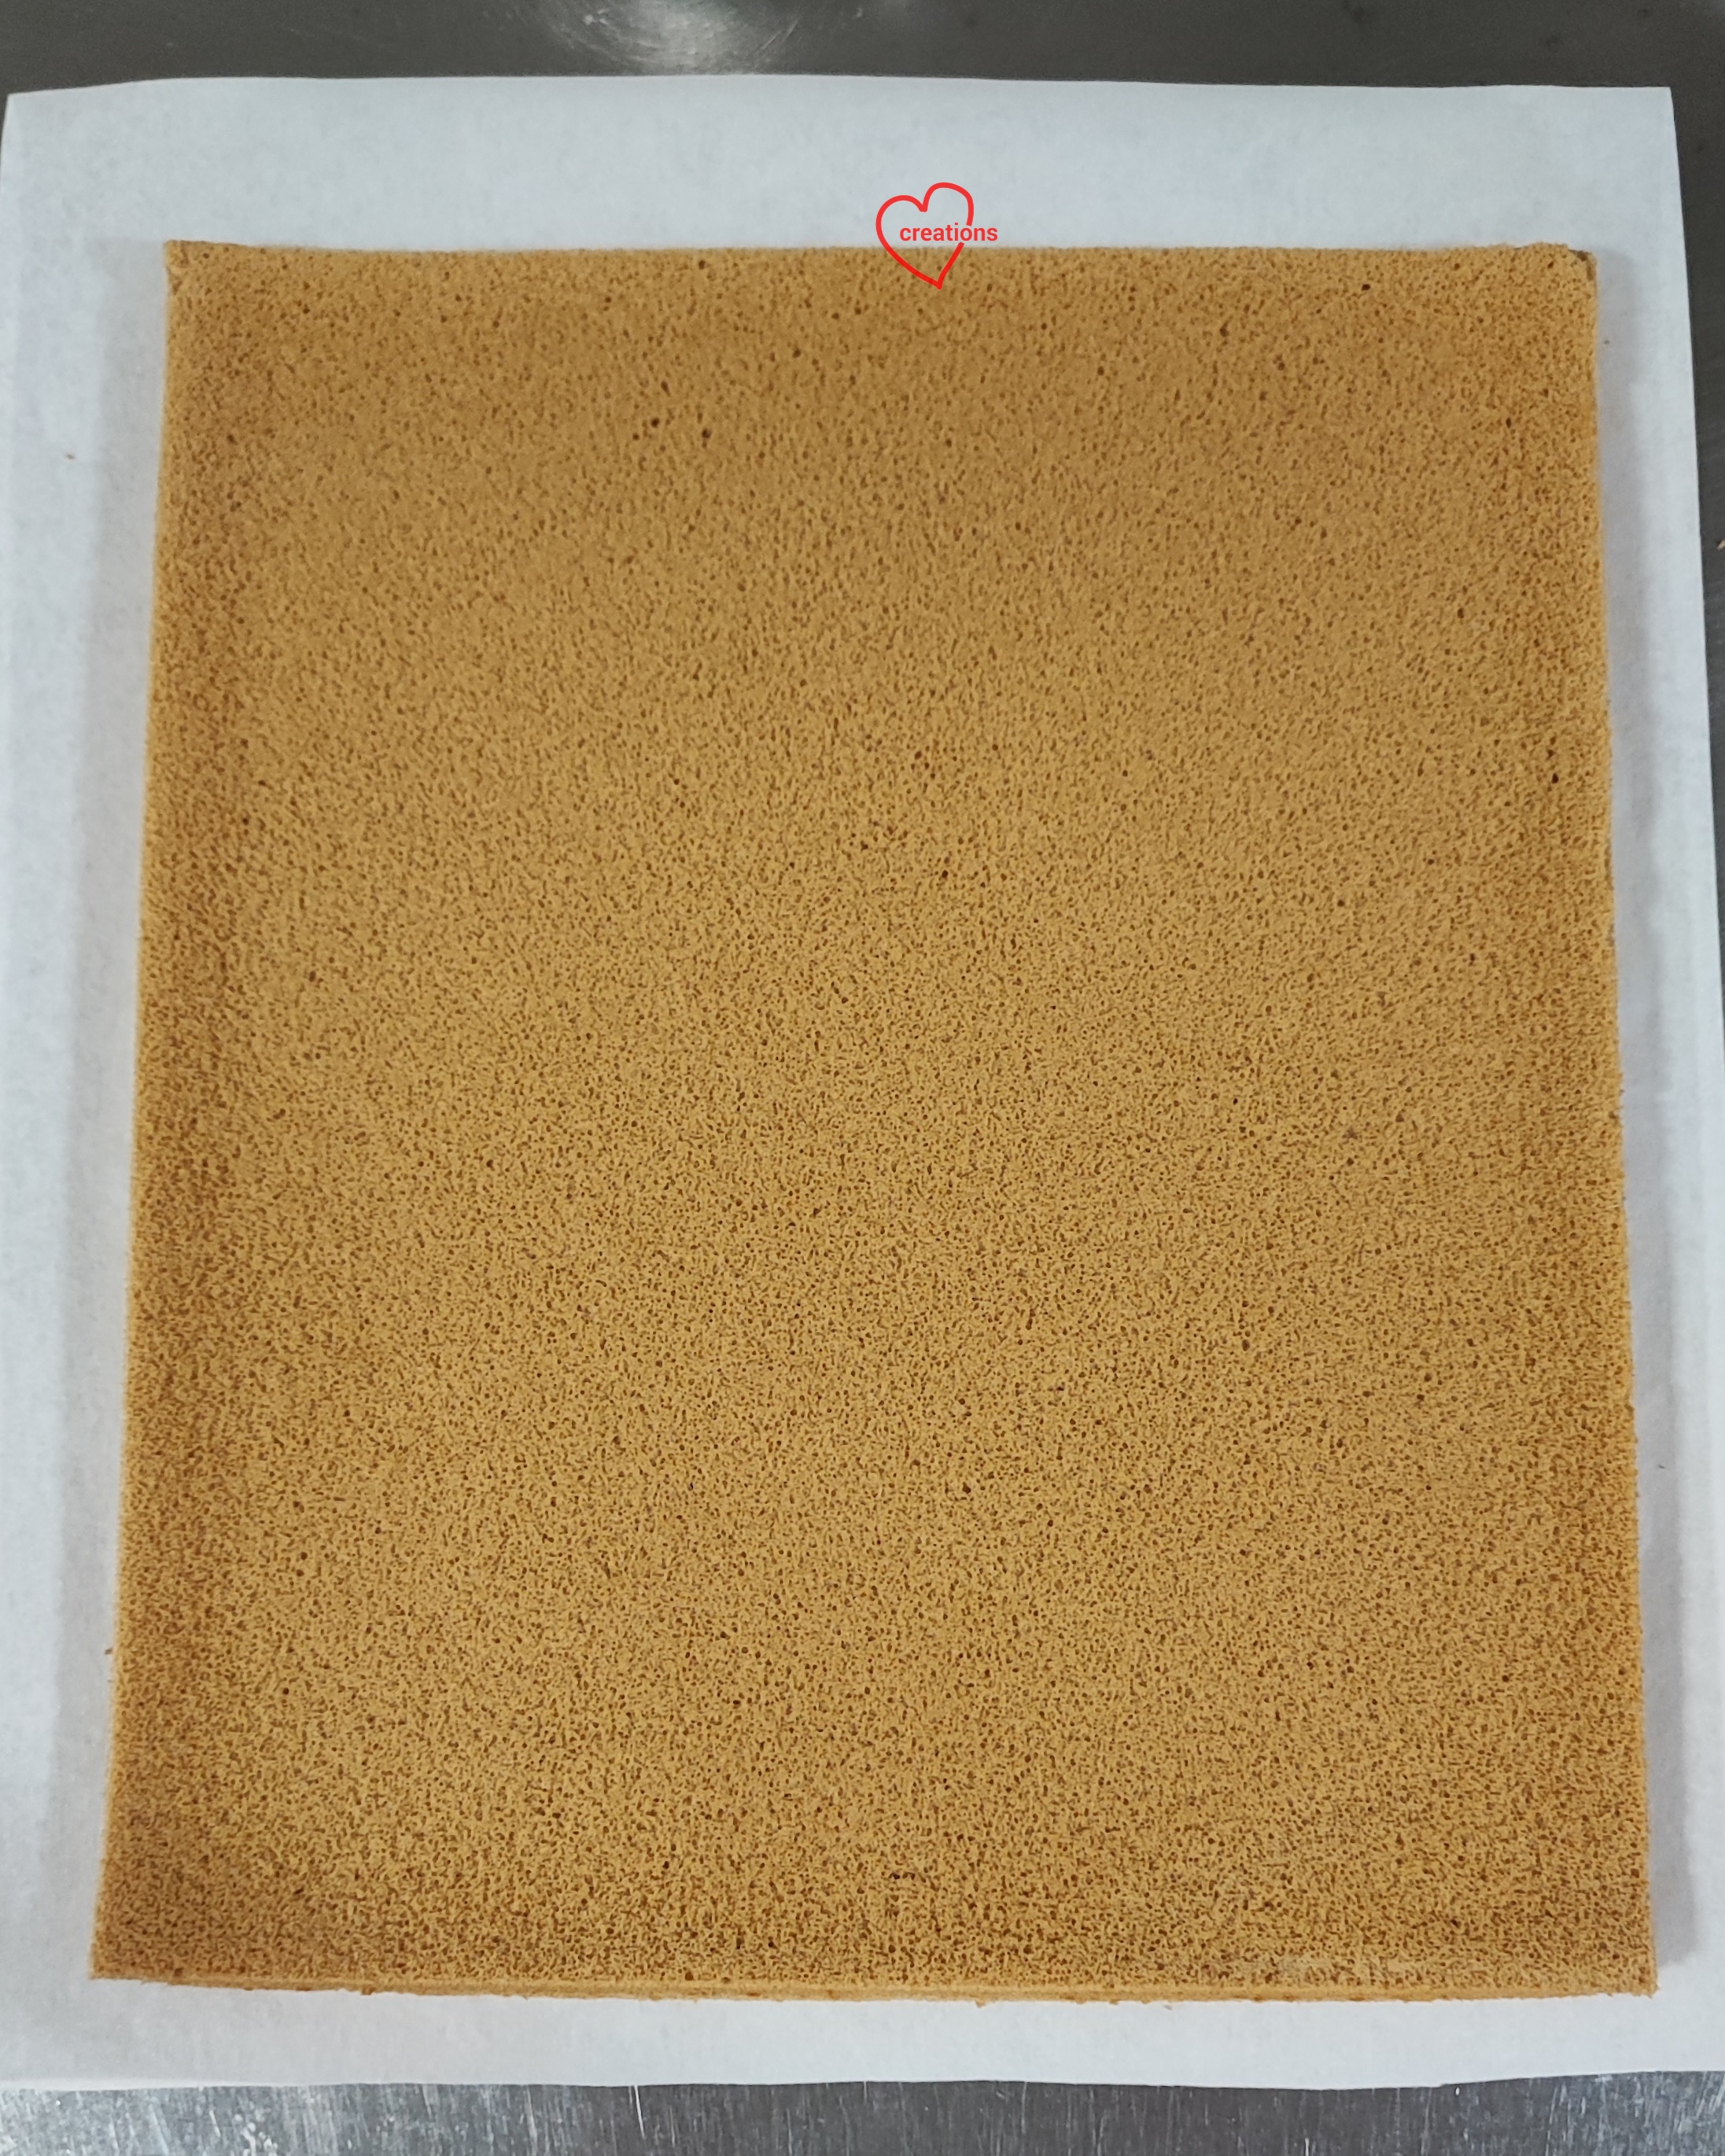
Sugar-free coffee chiffon sponge 
(10 x12" sheet cake)
Egg yolk batter
3 egg yolks
10g maple syrup (replace with zero calorie sugar replacements for totally sugar-free sponge)
30g vegetable oil
20g fresh milk, warmed (increase to 30g if using dry sugar replacements)
6g instant coffee
1tsp vanilla extract
Pinch of salt
45g cake flour

Meringue
3 egg whites
20g Inulin or Alchemy fibre
50g Allulose
1/4 tsp cream of tartar

Steps:
1. Line 10 x 12 tray with Teflon sheet or parchment paper. Preheat oven to 170C (top and bottom heat only). Dissolve instant coffee in warm milk. Add vanilla and salt to the mixture and set aside.

2. Make egg yolk batter. Whisk egg yolks with maple syrup until thick and pale. Add oil and whisk until well combined. Add coffee milk and whish until well combined. Gradually sift in flour and whisk until no trace of flour is seen.

3. Make the meringue. In a small bowl, whisk together Allulose and Inulin. Set aside. In a clean metal bowl, beat egg whites with cream of tartar until foamy. Gradually add sugar and beat until firm peaks. Use medium speed to beat to build up the meringue slowly for a more stable meringue and finer air bubbles. Make sure you are able to consistently get firm peaks before you stop beating to ensure meringue is sufficiently firm.


4. Gently but quickly fold meringue into egg yolk batter in three additions until no trace of meringue is seen. Pour into prepared tray.

5. Bake for 12-13 minutes or until skewer comes out clean. Immediately flip onto fresh parchment paper and cool completely covered with another parchment. 


Sugar-free pumpkin spice diplomat cream
1 egg yolk
20g Allulose (or sugar of choice, quantity according to taste)
Pinch of salt
9g cornstarch
100g milk
150g pumpkin puree, sieved*
1/2 tsp vanilla extract
3/4 tsp Pumpkin spice**
100g whipping cream of choice***

* Bake pumpkin until softened and press through a fine sieve to get the puree. If your puree is very wet, you may reduce it over low heat if you wish. I didn't want to be too heavy handed with the spice component so adjust quantity according to taste.

** I didn't have pumpkin spice mix so I used what I have at home, which was 1/2 tsp cinnamon, 1/8 tsp ginger and 1/8 tsp Allspice

*** You may use dairy or non dairy, add sugar or omit it according to taste and type of cream. Pumpkin is naturally sweet. I used a pre-sweetened non-dairy whipping cream. You may use Everwhip for a sugar-free dairy-free whipping cream that is pre-sweetened with sugar replacements.

Steps:
1. Heat pumpkin puree, milk, pumpkin spice and vanilla in saucepan until steaming hot (not boiling).

2. In the meantime, whisk together egg yolk, Allulose, salt and cornstarch until smooth in a heatproof heavy bowl or glass jug. 

3. Pour hot pumpkin milk in a thin stream into the egg yolk mixture while whisking the egg yolk mixture continuously. Pour everything back into saucepan. Cook over medium-low heat while whisking continuously. Once mixture starts to thicken and bubble, whisk for another 1 minute before removing from heat.

4. Transfer into a bowl and press cling wrap on the surface. Refrigerate for at least 2 hours or overnight.

5. When ready to assemble the cake, whip whipping cream of choice to firm peaks. Briefly whisk pumpkin spice pastry cream to loosen it. Fold whipped cream into pastry cream in a few batches. Transfer into piping bag with a hole cut.


Sugar-free coffee jelly
(set in lined 7x7" tray)
16g gelatin sheets
120g ice water
4g instant coffee
120g hot water
20g Maltitol (or sugar of choice, according to taste)

Steps:
1. Soak gelatin sheets in ice water in a microwave-safe bowl. Set aside.

2. Dissolve Maltitol and instant coffee in hot water. 

3. Microwave bloomed gelatin to melt it using medium power for 10 seconds. Stir and repeat heating if necessary. 

4. Add coffee to melted gelatin and stir until well mixed. Pour into prepared tray. Refrigerate until firmly set. Cut into squares or small pieces, place on a lined tray and refrigerate.

Maple dark chocolate ganache with toasted hazelnuts
90-100g chopped toasted hazelnuts
50g no sugar added chocolate (I used the ones from Pascha)
60g heavy cream
30-40g Maltitol
25g maple syrup
Pinch of salt
20g unsalted butter, softened

Note: If you are using pre-sweetened chocolate, omit the Maltitol. Use dark chocolate if possible so it doesn't end up too sweet. You may use more chocolate as well if not using unsweetened chocolate due to the difference in fat content.

1. Place chocolate, finely chopped or use chips in a heatproof bowl.

2. Heat cream, maple syrup, Maltitol and salt in a saucepan. Stir until sugar and salt dissolves and mixture just starts to bubble a little at the edges. 

3. Pour hot cream mixture over chocolate and let it sit for a minute. Stir in one direction gently until chocolate is melted and smooth.

4. Add softened butter and mix well. Add hazelnuts and mix well.


Assembly
1. Line base container with sponge (cut to size of container). Brush with diluted maple syrup (hot water : maple syrup, 1:1)

2. Cover with thin layer of diplomat cream before coating with a thin layer of chocolate hazelnut. Coat with another thin layer of diplomat cream.

3. Line the sides of the container with coffee jelly. 

4. Fill up the middle of the cake with more cream and coffee jelly. 


Refrigerate for 5 minutes. 

5. Spread a thin layer of chocolate hazelnut.  Top of with some diplomat cream. 

6. Brush another layer of cut sponge with diluted maple syrup and place the sponge syrup down on the cake. Brush the top of the sponge with more maple syrup if you wish. Decorate the top circumference with some coffee bean shaped  chocolates.


Here's a peek at a cut slice! Pardon the messy cut!

My family enjoyed the cake even though it was after a buffet meal and it was a flavour that is not commonly found here❤️.


with lots of love,
Phay Shing
Read More »

Friday, 12 May 2023

Ferrero Rocher Filled Hydrangea Marshmallow Bouquet

As the dates for photoshoot draws closer, I am getting really busy with marshmallow making madness so there isn't time for new content for blogging. But I simply have to share these florals that I made for the photoshoot of Deco Marshmallows!


The blue and purple hydrangeas were made using raspberry and green apple puree. The yellow one was made from pumpkin puree but using passionfruit or mango puree along with apple puree will yield similar colour. The yellow one is sugar-free too! Ferrero Rocher makes for a very good filling!

Here's another floral arrangement that I made and hastily took a photo of. I forgot to line the plate with a doily or paper before arranging the flowers on 🙈.


The roses and tulips were made using green apple puree.

All the leaves are coloured with matcha powder.

Marshmallow florals are best made using agar-based recipes. Such marshmallows are known as zephyrs/zefirs, originate from Eastern Europe and can be piped like buttercream flowers. Agar based marshmallow batter is much stiffer than gelatin based batter so it holds up any ridges very well, giving whatever you pipe a sharp definition. My upcoming book will cover such marshmallows too! You can look forward to more agar-based entries, not just florals 😉.


Blessed Mother's Day to all moms out there!


with love,

Phay Shing

Read More »

Tuesday, 9 May 2023

Heart-shaped Roll Cake


Heart-shaped ❤️ Roll Cake Tutorial! 

I was inspired to shape a swissroll into a heart shape for mother's day. Hope you enjoy it too!🥰 

Recipe (10" cake) 
3 egg yolks 
15g castor sugar 
30g oil 
30g milk 
1 tsp vanilla extract 
45g cake flour, sifted 

Whisk all ingredients above till smooth. Add pink food coloring. 

3 egg whites 
40g castor sugar 
1/4 tsp cream of tartar 

Whip egg whites till firm peaks. Gently fold in egg yolk batter above. Bake at 170C for 22 min. Slice the cake into two. 
Fill the cake with fresh whipped cream and heart-shaped strawberries. Shaping technique in my IG video 💕 

With love, 

Susanne 


Read More »

Wednesday, 3 May 2023

Grogu Matcha Marshmallow

This was an unplanned creation as I am really swamped with making each entry in Deco Marshmallows. I was making a matcha marshmallow character for the book when I realised that May the 4th is around the corner and I can take a little time out to create Grogu, baby Yoda!

Pardon the off-colour as my phone camera doesn't pick up the true colours sometimes 


This is the correct color


A works-in-progress shot!


As I wanted to keep things as simple as possible, I used a store bought product for Grogu's body. I bought Twiggies, a cream filled sponge by Gardenia.

Watch the reel on how I made this! Recipe for matcha marshmallows will be in Deco Marshmallows.


with love,
Phay Shing


Read More »

Tuesday, 2 May 2023

Rainbow Comic Chiffon Cake


Double Rainbow Cartoon Chiffon Cake, with recipe🥰. 'Too-n' cute to eat?  

Ingredients (7" angel cake pan)🌈 
1 whole egg 
27 g castor sugar 
52 g oil 
52g milk 
7g vanilla extract 
80g cake flour, sifted 

Whisk all ingredients above till smooth. Divide the batter into 6 and add respective food coloring. 

5 egg whites 
1/4 tsp cream of tartar 
65 g castor sugar 

Whip egg whites till firm peaks. Divide the meringue into 6 and fold into each color. Pipe on the rainbow stripes. Bake at 140C for 55 min for the big cake and 25 min for the small cake. Outline with chocolate ganache.💕 

Recipe video here on my IG.  

With love, 

Susanne


Read More »

Wednesday, 26 April 2023

Lychee Cake with Marzipan Covered Walnut Brown Sugar Cookie Deco

This is a way overdue post! I didn't get around to posting it because it has so many components to this bake! I made this cake for my friend's son who was turning 21... a year ago 🙈. She wanted a theme that showcased his love for Chelsea and his stage in life as a young man about to enter business school. I made a lychee raspberry rose cake with marzipan and cookie cake topper.


It's my first time making anything remotely fondant-like as the centerpiece. Those of you who know me long enough know that I don't touch fondant because it does not taste good. Marzipan on the other hand, is still somewhat edible although sweet as well. Almond is nutritious after all 😆. 

I used Cooking Tree's recipe for marzipan, which contains more almond than sugar and doesn't use raw egg whites. The books, laptop, scarf, outer layer of soccer ball, the limbs and outer layer of the figurine were all made of marzipan. The Graham cookie base was covered with a thin layer of marzipan too.

Marzipan 
240g almond flour
200g icing sugar
50g light corn syrup (or honey but honey imparts colour)
30g water

Steps: 
1. Sift together almond flour and icing sugar.

2. Add light corn syrup and water and knead until a dough forms. Dust with extra icing sugar if it gets too sticky.

3. Add gel colouring and form into shapes desired. Keep any unused portions cling wrapped to prevent drying out. Like fondant, marzipan can be left out to dry to harden.


As I didn't want the decorative parts to contain too much sugar, I used edible cookie dough for the head, body and center of soccer ball.

Edible cookie dough with toasted walnut 
(Adapted from chefsweets.com/veganedible-cookie-dough)
38g butter (I use Golden churn)
44g light brown sugar
Pinches of salt
1/2 tsp vanilla extract
40g heat treated plain flour (microwave to reach 71.1C)
20g chopped toasted walnut

1. Briefly cream together butter, brown and salt.

2. Add vanilla extract and mix well. 

3. Add sifted heat treated plain flour and mix until a dough ball forms. Add chopped toasted walnuts (optional) and mix well. Store in airtight condition at cool room temperature until ready to use, preferably within a few days.

Here's the weight of marzipan and edible cookie dough I used for the various parts. I am recording this more for myself but it's great if you find it helpful too!

Soccer ball
The core is 8g cookie dough, followed by a layer of 8g marzipan wrapping around it. The outer surface is made up of 20 small white balls and 12 small black balls. The small balls are 1-1.5g each. The white ball in middle made up of the core and marzipan wrapping it should be about 8x bigger than smaller balls.

Marzipan soccer ball that tastes way better than any fondant 😆

Figurine
Legs 56g
Shoes 7g each
Body 52g  (marzipan + cookie)
Hands 10g each
Head 50g (marzipan + cookie)

The head and body are marzipan wrapped edible cookie dough.

I mounted the scene on a large Graham cracker base. But instead of whole wheat flour, I used plain flour for a softer texture. This firm but yummy base is necessary for anchoring the marzipan figurine to the base so it doesn't fall apart accidentally during transport. I ran a skewer from the head through the body into the cookie base. 

Graham cracker
142g whole wheat flour or plain flour
85g light brown sugar
½ tsp cinnamon powder
½ tsp baking soda
3/8 tsp salt
50g unsalted butter (slightly softened but still firm)
23g milk
42g honey
1tsp vanilla extract
Chopped toasted walnuts (optional)

1.  Line 7" round baking tin with parchment at the base and sides. Preheat oven to 150-160C.

2. Whisk together flour, sugar, salt, cinnamon and baking soda in a mixing bowl.

3. Add butter in and use fingertips to rub in until fine breadcrumbs form. Alternatively, you may use a blender, a pastry cutter, or a pair of butter knives to do this.

4. In a measuring jug, mix together honey, milk and vanilla. Pour into dry ingredient mixture and form a dough. The dough will be sticky.

5. Press dough into baking tin, making sure the top is flat. Press in some toasted chopped walnuts if you wish. Bake for 30 min. Cool completely.


Freshly baked large cookie base


I used desiccated coconut that is coloured green with vodka and vanilla extract added as the "grass". The desiccated coconut was glued onto the marzipan covered base using a little water.

Ta-dah! My first hand molded figurine cake topper!

The cake on which the cake topper sits is made of three layers of lychee rose chiffon cake filled with chopped canned lychees, lychee jelly, lychee rose diplomat cream and raspberry lychee reduction. The whole cake was then coated with lychee rose Italian meringue buttercream (IMBC).

Lychee rose chiffon cake
(makes three 9.5" cakes)
9 yolks
112g oil
113g canned lychee puree, strained
1.5-2 tsp rose syrup
1.5 tsp vanilla extract
1/8 tsp salt
190g cake flour

meringue*
9 whites
135g caster sugar
1/2 tsp cream of tartar

* Split the meringue ingredients into separate batches if you don't have multiple ovens. Bake in preheated oven at 150C for 30 min. Cool in oven for 5min with door ajar. Cool in open for 5 min before removing from pan. Line base of pan with parchment.

I didn't want to make this long post even longer than necessary so you may refer to this post on method of making the chiffon cake batter.

Lychee Rose IMBC 
( Reference recipe from Catherine Zhang over here)
300g canned lychee syrup
15g caster sugar (added to syrup that is not too sweet)
2 egg whites (76g) + 5g caster sugar
1/2-1 tsp rose syrup
300g unsalted butter, softened but cool
20g icing sugar (optional)

1. Place egg whites and 5g sugar in standmixer and mix of low speed. The little bit of sugar is to help stabilize the meringue.

2. In the meantime, heat 300g canned lychee syrup with 15g caster sugar. I added a little sugar as the syrup wasn't too sweet to begin with so I wasn't sure there was enough sugar in the lychee syrup.  Heat syrup until 115C without stirring.

3. When syrup reaches about 110C, turn mixer speed up to medium and whip until soft peaks. Turn mixer speed down if syrup is not yet 115C. 

4. When syrup is ready, turn mixer speed up to medium high and slowly pour syrup down the sides of the mixing bowl. Continue beating until totally cooled to room temperature.

5. At medium speed, add butter 1 tbs at a time. Continue beating 10minutes more until light and silky.

6. Add rose syrup and beat until well combined.

7. If your IMBC is rather soft due to low sugar content of lychee syrup, you may add a little icing sugar and beat for a couple of minutes at this point.

Refrigerate up to a week or a month in freezer

Filling in cake
10 chopped canned lychees
Lychee jelly
Lychee rose diplomat cream
Raspberry lychee reduction

Lychee jelly
Bloom 6 sheets of gelatin (12g) in 50g cold lychee syrup. Melt in microwave. Stir in 100g lychee syrup. Set in fridge until firm before cutting into small pieces.

Raspberry reduction
110g raspberry puree (strained to remove seeds)
15g lychee syrup

Cook over low heat and reduced to 70g.

Lychee Rose diplomat cream
2 yolks
20g cornflour
50g milk
150g lychee puree, strained
6g rose syrup
Pinches of salt
15g unsalted butter
100g whipping cream*
(I use non-dairy whipping cream which is pre sweetened and stabilized. If using dairy cream, stabilize with gelatin and add sugar)

Please refer to this post for the method for diplomat cream.

Here's a peek at assembling the layers. I spread some raspberry reduction before layering on diplomat cream and topping with lychee jelly and chopped lychees.


I coloured half the IMBC blue so that I could frost the cake in Chelsea colours.

Thank God it was very well received!


with love,
Phay Shing
Read More »

Monday, 24 April 2023

Burger and Fries Chiffon Cake Class


Here's my next hands-on class in May, a cute Burger and Fries Chiffon Cake Class! Hope they made you smile! 

Best wishes, 

Susanne 


Read More »

Wednesday, 12 April 2023

Shiba Inu, Rilakkuma & Korilakkuma Vegan Mitarashi Dango Macarons

 This was the last project I embarked on before focusing on making marshmallows to take step-by-step photos for Deco Marshmallows. Shiba Inu, Rilakkuma and Korilakkuma Mitarashi dango macarons! 

The macaron shells, decoration and filling are all vegan except for the caramel coated Pocky stick.

This is my third attempt at vegan macarons but first attempt at Swiss method for vegan macs. I think I prefer this to the French method which I used earlier for my Hanami dango macarons. I decorated the macaron shells with vegan royal icing. The brown shells are coloured with Hojicha powder.

Inspired by Mitarashi Dango, which is a traditional Japanese rice dumpling smothered in an irresistibly sweet soy sauce glaze. The dumplings are skewered on a bamboo stick and enjoyed all year round. I filled mine with toasted white sesame ganache and soy sauce caramel, both are vegan. But the "wooden skewer" is a caramel Pocky biscuit stick which is not vegan. I can't bring myself to make that from scratch as well after all the work 🙈.

I am unable to share the recipe and method as I intend to use it for future class material. But you may have a look at my Instagram reel to see the process of making these! 


Just to share some pictures...

Freshly baked macaron shells! Although the brown is coloured with Hojicha powder, you can't taste it much as the filling is strong flavoured.


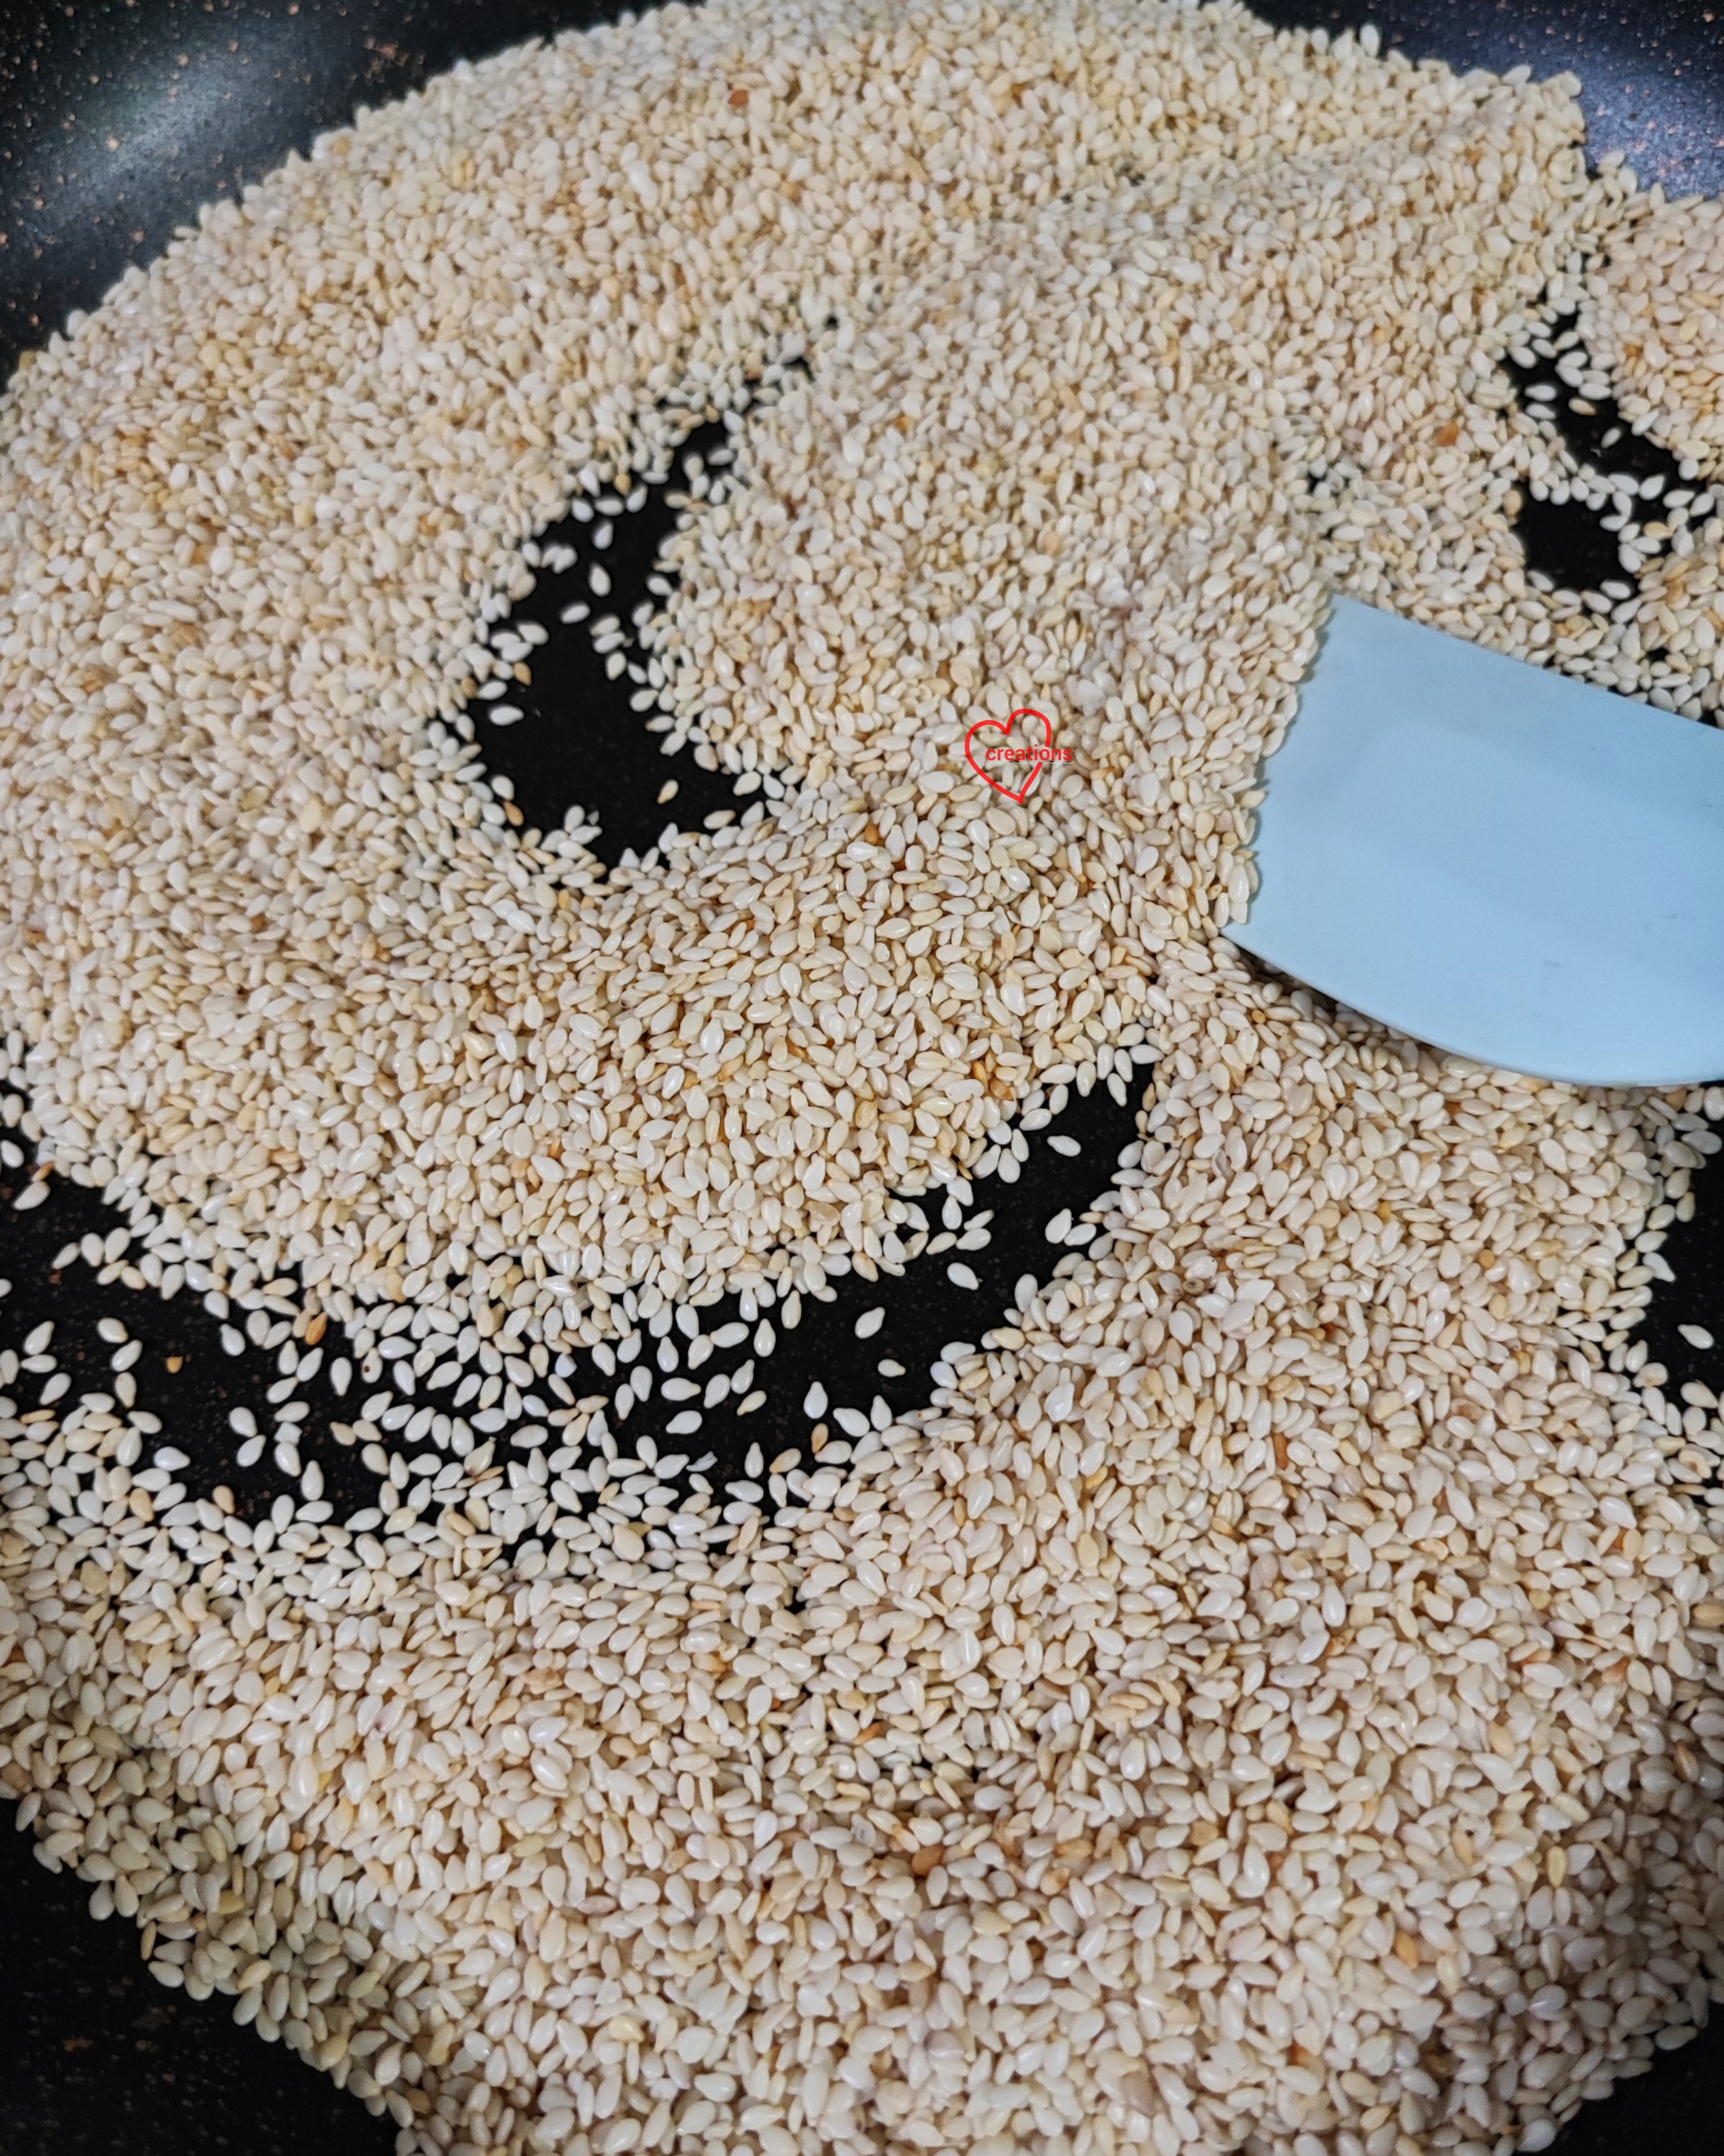
Toasting white sesame seeds until aromatic

White sesame paste made with a little peanut oil and a pinch of salt added to toasted white sesame.

Filling macaron shells with toasted white sesame soy sauce ganache and soy sauce caramel. Not forgetting the caramel Pocky stick!


These macarons have a depth of flavour that is so delightful! From the first bite until you swallow, the lingering taste in your mouth changes. My kids gave a thumbs up!

Keep a lookout for class announcement for Shiba Inu Mitarashi dango macaron class probably third quarter of this year on my Instagram!


with love,

Phay Shing

Read More »