Friday, 18 August 2023

Mooncaron and Piglet Macarons (new imprinting technique!)

 When I first tried to make mooncarons back in 2017, I tried all sorts of ways to replicate the imprints on traditional mooncakes but none of them worked. "Mooncaron" was a name I came up with in 2017 to describe my macarons made to look at taste like traditional baked mooncakes that are eaten and sold around Mid-Autumn Festival season. I resorted to laboriously piping the designs by freehand from then till now because it is the only foolproof method. But when I saw the imprinting technique shared by Hannah (@mcfonsa_macaron) on Instagram, I knew I had to try it on mooncarons. I finally managed to come up with something that is somewhat mooncake-ish by imprinting the design!

I am including the cutesie version of piglet mooncakes in macaron form this year too!

I used textured parchment sheets from Intricut Edibles. Although they have geometric designs that are similar to mooncake mold imprints, it is faster and easier (I shall explain why later) to pipe those designs using macaron batter. Instead, I chose floral designs with lots of intricate curved lines, which are more challenging to pipe consistently and quickly by freehand.


While the imprinting technique works, it is not without challenges and drawbacks:

1. Embossed designs on the parchment are a lot shallower than mooncake molds. As a result, the imprints do not appear to pop out as much as piped designs.

2. Macaron batter is meringue based so it is impossible to avoid all air bubbles under the parchment sheet. In order to fix the air bubbles, the holes have to be filled post-baking, leading to possibly more time for the whole process. Whatever time you saved from not having to pipe the designs may be lost through the longer baking time required for the first round of baking and extra time needed to patch the holes, rest and bake the second time.  Having said that, if you wanted complex floral designs, it is definitely faster to use the imprinting method, whereas if you wanted geometric designs with straight lines, it is faster to pipe them.

You may compare the set of imprinted mooncarons with my usual piped ones.

Piped designs appear to pop up more, just like actual mooncakes.

I have put together a reel to show you how to use the textured parchment sheets to make it work for you. It definitely needs some patience but it is a lot easier for those who struggle with piping intricate designs! 

https://www.instagram.com/reel/CwFedOaAu13/?igshid=MzRlODBiNWFlZA==

Let me share part of the caption of the reel in this blog post for easy reference.


DON'Ts

❌ Improper placement of parchment resulting in huge air pockets

❌ Underbaking resulting in parchment stuck or patchy-looking tops 

❌ Applying "egg wash" paint without following the contours of the designs resulting in indistinct appearance of patterns


DOs

✅ When placing parchment on top of piped batter, start from one edge & slowly work across to the opposite edge as shown in reel

✅ Bake a few minutes more than usual as batter covered with parchment takes longer to bake

✅ Outline designs with egg wash paint & use lighter coloured paint for raised portions to let the designs stand out to compensate for shallow embossed designs on parchment


You may be concerned that the shells are overbaked due to longer baking time & double-baking to eliminate holes & to add on the rim. This can be fixed by brushing the base of shells with cream or milk before filling but in my case, the filling (lotus paste based) has enough water content to soften the shells so it's not necessary.

You may see this reel for how I prepare the lotus seed puree and lotus seed paste from scratch:

https://www.instagram.com/reel/CuVTHf6gSpi/?igshid=MzRlODBiNWFlZA==

My mooncaron class with the piglet macarons this year is also up for registration, with both online and studio class options. The online class has been up before this year but we will update the class material with the new filling-- lotus paste instead of the previous mung bean paste, and also include the piglet template and video of piping and decorating it. All studio participants will have access to online class material at no extra charge.

Please click on this link for the studio class and this link for the online class


with love,

Phay Shing

Read More »

Tuesday, 15 August 2023

Love SG Raspberry Tiramisu


Going to share this Raspberry Tiramisu with vegan mascarpone cream this Sat at my church ARPC's Let's Carnival to bless the community =). As Singapore's National was around the corner, I spruced up the traditional Tiramisu, which usually has dreamy layers of mascarpone cream, coffee soaked-ladyfingers and cocoa powder, with additional red raspberry layers! The combination is really rich and refreshing at the same time! 

Tiramisu is said to have originated from Veneto in the 1800s. Authentic tiramisu using raw (or sometimes pasteurized nowadays) whipped egg whites, and separately whipped egg yolks with mascarpone to obtain super creamy mascarpone cream. Due to food safety concerns, many modern day versions (and also mine) uses whipped cream to replace the eggs. The resulting mascarpone cream is also rich and creamy =). To make the recipe even safer, the version that I am presenting is dairy-free/vegan, using non-dairy whipping cream as well as vegan cheese substitute, which should be able to sit out for around 2hrs.

So here goes the recipe! 

Love SG Raspberry Tiramisu

100g heavy cream + 100g mascarpone cheese (or 150g non-dairy cream + 50g vegan cheese substitute)
24g icing sugar
2g vanilla extract
1/2 cup strong coffee (5 g coffee powder, 100g hot water, 7g sugar)
1/2 tbsp kahlua/rum/marsala *optional
200g raspberry preserve/compote (recipe below, or store bought)
16 ladyfingers (savoiardi) - 2 fingers/tiramisu
Cocoa powder (for sifting in between layers)
Raspberry powder and snow powder (for sifting decorations on top)

1. Make strong coffee by dissolving coffee powder and sugar in hot water. You can also use espresso. Add 1 tbsp kahlua/rum/marsala (optional).

2. Mix mascarpone cheese, icing sugar and vanilla until combined.

3. Beat heavy cream until medium-stiff peaks.

4. Whisk in mascarpone cheese mixture and beat again till smooth. Transfer the mascarpone cream mixture to piping bag.

5. Smoothen the raspberry preserve and transfer to a piping bag.

Assembly:

1) Dip the ladyfingers quickly in a shallow dish of coffee and line the base of the glass cups.

2) Pipe a layer of mascarpone cream.

3) Pipe a layer of raspberry preserve. 

4) Sift a thin layer of cocoa powder.

5) Line a layer of coffee-infused lady fingers (try to pack neatly).

6) Pipe a layer of mascarpone cream.

7) Sift a layer of raspberry powder (with design), or sift a layer of raspberry powder, followed by snow powder (with design)

*You can repeat steps 1)-4) if your jar is taller. 


Raspberry compote/preserve (You can DIY or use store-bought)

240g raspberry (2 cups)
14g granulated/castor sugar (2 tbsp)
10g lemon juice (2 tsp)
4g pectin (1 tsp) or 4g cornstarch (2 tsp)* optional

1. Place the raspberries and lemon juice in a saucepan.

2. Add sugar, or sugar mixed with pectin (or cornstarch), to the saucepan. Stir with a whisk or spatula.

3. Bring to a boil over low heat and allow to thicken (few mins) till the compote coats the back of a spoon.

4. Allow to cool and transfer to piping bag. Keep in the fridge until ready to use.

Here's a short video tutorial I made before to make the raspberry compote/preserve. It was actually for another online class I had :)


Ladyfinger sponge (savoiardi) (You can DIY or use store-bought)

100g egg whites
½ tsp cream of tartar
83g castor sugar
3g salt
83g egg yolks (5 egg yolks)
83g plain flour, sifted

1. Whisk egg whites with cream of tartar using an electric mixer. Add sugar and salt in 3 additions and whisk till stiff peak.

2. Whisk in egg yolks using the mixer (< 5sec).

3. Fold in the plain flour in 2 additions.

4. Transfer to piping bag and pipe 2” long fingers.

5. Sieve icing sugar over.

6. Bake at 180C for 8 min.

And here are some other versions :)


Hope you enjoy this creation! =)

With lots of love,

Susanne


Read More »

Saturday, 12 August 2023

Ice-Cream Cone Marshmallow Surprises (Class)

 This is the first marshmallow class I planned after finishing my work with Deco Marshmallows: Ice-cream cone marshmallow surprises!


I intend to share a few kid-friendly flavour combinations in this Junior chef class. Participants are of course free to mix-and-match whichever way they prefer!

Just look at the yummy surprises inside!


Strawberry marshmallows with homemade strawberry jam centers. The cones are coated with strawberry white chocolate inside. I use a combination of freeze-dried strawberries and strawberry paste to impart the flavour and colour to the marshmallow.

Biscoff and vanilla marshmallow with crunchy Biscoff surprise inside! The cones are coated with dark chocolate.

Strawberry and vanilla swirl marshmallows with cookies n cream marshmallow and Ferrero Rocher surprise inside. Cones are coated with dark chocolate.

Here's a reel of piping the swirls, squishing and cutting open the cones!

https://www.instagram.com/reel/CuO-W8lgtC4/?igshid=MzRlODBiNWFlZA==

If you are interested to join this class with your child, please click on this link for more details or to register.


with love,

Phay Shing

Read More »

Sunday, 6 August 2023

Bear Sando Toaster cake with a Flower Surprise


Bear Sando Toaster cake with a Cheesecake and Flower Surprise! 💕🌷 

Hope this made you smile! 

Tutorial can be found here

With lots of love, 

Susanne 


Read More »

Saturday, 5 August 2023

4-Ingredient Gluten-Free Coffee Cashew Butter Bear Cookies

 These gluten-free and dairy-free bear cookies are soft, chewy, fragrant and tasty, BUT insanely easy to make! 


This is so easy even young kids can help to make the dough! If you don't bother with the bear design, it is also very quick to make these cookies. You only need a mixing bowl, hand whisk and spatula to make the cookie dough. The recipe can be applied to any nut butter. I used the coffee cashew butter from Redman but you may omit the coffee bit and just use any nut butter of choice. The coffee in the nut butter I used isn't too strong and I feel helps to round out the flavour. My kids love it!


Cookie dough
(makes about 22 rounds or 19 bears)
250g (1cup) coffee cashew nut butter
140g brown sugar 
1 egg (60-65g with shell on)
1 tsp vanilla extract
1/8 tsp salt (optional)
1/8 tsp caramel essence (optional)

Decoration
White chocolate chips
Mini dark or milk chocolate chips
Black cocoa powder (optional)

Steps:
1. Preheat oven to 180C. Line baking tray with baking paper/mat.

2. Dump everything for the dough into mixing bowl. Lightly beat the egg with a whisk. 

3. Mix everything with whisk & switch to spatula when it gets too thick to whisk. Sugar doesn't need to be dissolved but dough should look homogeneous.

4. Set aside for 10min to firm up. 

5. Shape into balls of about 20g each. Place on baking tray at least 5cm apart. Flatten the balls of dough. Add ears of about 1g each if desired.

6. Bake for 8-12 min or until edges are lightly browned. Cool on tray. 

7. Decorate bear face if desired, with chocolate chips & melted chocolate.

Tips & Notes:
- I used Central Sugars Refinery's "Better Brown low GI sugar" that tastes great but only has a glycemic index of 55 (that's way less than plain flour!)
- Salt & caramel essence are optional but they serve to improve the flavour
- I reshaped the bear heads to be slightly oval but that's optional
- Use a fine zester to smoothen the edges of baked cookies if you wish
- Make sure excess black cocoa powder is dusted off thoroughly or you may stain the cookie if you accidentally drop it on the bear.

You may refer to my Instagram reel for the tutorial of shaping and decorating the bear face. You may choose to decorate it any way you want or leave it undecorated too!

https://www.instagram.com/reel/Cvdzdc-gHkM/?igshid=MzRlODBiNWFlZA==


Here's a peek at the insides!


with love,

Phay Shing

Read More »

Saturday, 29 July 2023

Chocolate Hazelnut Bear Swiss Roll

 Phoon Huat wanted me to create content with detailed recipe sharing using their chocolate hazelnut spread, Hazella, once again, so I chose to share this simple bear swiss roll!


I had simplicity in mind when I made this so I used as few ingredients as possible & kept it to only one round of baking. You may have noticed I baked a very thin sponge. That's to make it easier to roll without cracking & you get more rounds within the swirl for a more aesthetic effect. Feel free to use whatever pan sizes you have at home & use the principle shown here to create your own bear Swiss roll! I used the tray (37x31.5cm base area) that came with my built-in oven.

Ingredients:
Egg yolk batter
3 egg yolks (60-65g with shell on)
45g boiling hot water/milk*
90g Hazella (chocolate hazelnut spread)
1/2 tsp vanilla extract
48g cake flour
1/4 tsp baking soda*

Meringue*
3 egg whites
1/4 tsp cream of tartar*
45g sugar (use up to 60g if you prefer more stable meringue & sweeter cake)

Chocolate hazelnut whipping cream
75g whipping cream of choice*
75g Hazella 

Decoration
White chocolate chips
Mini dark/milk chocolate chips

* See technical tips/notes.

Steps:
1. Line base of baking tray(s) with Teflon sheet (preferable) or baking paper. Preheat oven to 175C (no fan)/160C (fan)

2. Make egg yolk batter. Whisk hot water or milk with Hazella until smooth. Add egg yolks & vanilla. Mix well. Gradually sift in cake flour with baking soda. Mix well.

3. Make meringue. Beat egg whites with cream of tartar until foamy. Gradually add sugar & beat until firm peaks.

4. Fold meringue into egg yolk batter in 3 additions. Add meringue to egg yolk batter for first two additions. For the last addition, pour the mixture into the meringue. Fold gently to avoid deflating the meringue.

5. Pour batter into prepared tray(s). Use bench scraper to smooth out batter into thin layer. Bake for 9-12 min or until done (skewer comes out clean). Immediately flip baked sponge onto fresh sheet of baking paper, roll up to cool. Note that baking temperature & time are oven dependent so adjust accordingly.

6. Cut out 2 squares & a long rectangle (as long as you can) sponge using cakeboards or baking trays as guides. I used 6" cakeboards. You may use small rectangle pieces instead of square pieces for the ears if you prefer the bear to have smaller ears. Just make sure the width (the side of sponge perpendicular to rolling direction) of all 3 sponge pieces are the same. Keep in airtight condition until ready to assemble.

7. Make chocolate hazelnut whipping cream by whipping whipping cream of choice to stiff peak. Add Hazella & mix well. Adjust ratio of whipping cream & Hazella according to preference.

8. Spread thin layer of cream on square sponge pieces for the ears. Roll the sponges very tightly. Cling wrap & shape the rolls. Spread slightly thicker layer of cream on the rectangle sponge for the head. Roll up & cling wrap. Freeze all 3 rolls for at least 2 h. Refrigerate unused cream.

9. To assemble, cut off 1/3-1/2 of the ear rolls length-wise. Apply cream to the cut surface. Stick onto large roll. Freeze for at least 10 min before slicing. Decorate slices with white & mini dark chocolate chips for the bear eyes, nose & snout. 

*Technical tips/notes:
🥛Hot water or milk, choice of ingredient ratios:
Most chocolate hazelnut chiffon cake recipes you find from a Google search copy from the same original source which used milk. That recipe has very high wet to dry ingredient ratio. The result is a denser, moister cake which may be trickier to work with due to the high fat/moisture/cocoa content because all these interfere with the meringue stability. You may use those recipes as reference if you wish, especially if you are a seasoned chiffon cake baker. My rationale for a "drier" sponge batter (but still way higher wet to dry ingredient ratio than regular chiffon cakes) is to make this bake as easily successful as possible for beginners. Hazella already contains milk so you may use water if you don't have milk on hand.

🫙Baking soda & cream of tartar:
Again, I included these to increase chances of success. You may omit them both if you are a seasoned baker. Cream of tartar is an acid that helps with meringue stability. Using it will prevent the meringue from deflating prematurely so your sponge remains light & airy. The type of cocoa powder in Hazella is not specified so I am assuming it isn't alkalized. Using baking soda helps to counteract the acidity in the cocoa, as well as from the cream of tartar.

🥚Meringue:
Make sure that you can consistently make firm peaks (peak that stands tall with a small curl at the end) all over your meringue. Gently whisk by hand & test several times to make sure. At any time the meringue flops instead when you test, you need to continue whipping. Underwhipped meringue will deflate quickly during folding stage. But be careful not to over whip your meringue or it becomes broken, not smooth. Using more sugar helps the meringue to be more stable & gives you a larger margin between just nicely whipped & overwhipped. Use low to medium speed to whip egg whites to build the meringue slowly. Meringues that are built up slowly are more stable without large air bubbles. Use fresh eggs! They really make a difference in the quality of meringue! Make sure your metal or glass mixing bowl is dry & grease-free.

🍦Whipping cream of choice:
I chose the simplest option of non-dairy, pre-sweetened & stabilized cream. It's impossible to overwhip & doesn't melt into a puddle in tropical Singapore. You may use dairy or a mix of both types for better taste. Be careful not to overwhip dairy cream or it will split. You may choose to add sugar &/or stabilizers if using dairy cream.

Please see the video tutorial of this from my Instagram reel:


Having tried other brands of chocolate hazelnut spread, I must say that Hazella comes across as the richest and most flavourful one, both for chocolate and hazelnut flavours in the spread. Whatever bakes you make with it will taste rich!

I hope you find these tips helpful! Happy baking!


with love,
Phay Shing


Read More »

Monday, 24 July 2023

Less Sweet Pandan Kaya Cake

This cake was tailor-made for my friend's mum's 70th birthday. How good was it? The birthday girl who has a long history of refusing cake because she doesn't like cream, butter or anything too sweet finished the slice given to her! The rest of the cake? Everyone else finished it within minutes despite being too full after a meal. It's tasty, refreshing & not too sweet. I decorated the cake with blueberry-apple marshmallow flowers & simple cocoa gula melaka chiffon basket weave ring.


Here's the review from my friend!

Those of you not familiar with the colloquial language of Singapore, siu-dai or siew-dai means less sweet. So I had the challenge of making a cake that is really less sweet but still tasty enough for the birthday girl and everyone else at the celebration.

Not many people make pandan chiffon cake the old school way from homemade pandan juice concentrate nowadays because it's a labour of love! I use a combination of homemade concentrate & bottled pandan paste to impart flavour & colour that my recipients love so much over the years.

I adapted the recipe from this basket weave cake I made for my mum a few years ago.

Pandan Chiffon Sponge

(makes two 7.5" round sponges)

A)

45g oil

70g pandan juice concentrate*

40g coconut milk

12g Gula Melaka, grated (coconut palm sugar)

1/4 tsp salt

1/2 tsp vanilla extract

1/2 tsp pandan paste 


B)

120g cake flour, sifted into large bowl


C)

6 egg yolks


D)

6 egg whites

1/2 tsp cream of tartar

72g caster sugar (use more if prefer sweeter & for more stable meringue)


Pandan Kaya pudding

E)

720g coconut milk

300g water^

60g clear pandan water*^

45g Gula Melaka, grated (use more & add caster sugar if prefer sweeter)

3/4 tsp vanilla

3/8 tsp pandan paste

3/8 tsp caramel essence (optional)

1/4 tsp salt

3/4 tsp green liquid colouring (optional)

2 tsp agar powder


F)

78g cornstarch

390g water^


* Blend about 25-30 mature pandan leaves with 120g of water. Strain juice & squeeze out as much liquid as you can from pulp. Let juice settle over 3 days in fridge. Separate clear water from concentrate. 

^ Traditional recipes use pandan water from water boiled with a few pandan leaves. Over here I just used what is usually discarded. It saves you the effort for one step!

Steps:

1) Line pans with parchment paper or teflon sheet. Preheat oven to 140-150C (no fan) with optional steam baking. Note that baking temperature and time is oven dependent so adjust accordingly.

2) Place A) in saucepan & heat until gula melaka is dissolved & mixture is 80C.

3) Pour 2) into B) & whisk until a dough forms.

4) Add C) 2 yolks at a time. Whisk until well combined after each addition.

5) Make meringue (D). Whip egg whites with cream of tartar until firm peaks form, adding sugar gradually once egg whites are foamy. Slowly build up your meringue using medium speed to avoid creating large air bubbles and to help with stability.

6) Fold meringue into 4) in 3 batches. I like to use the whisk to fold in the first two batches and finish off using a silicone spatula.

7) Fill pans until 80% full. Bake for 40 min or until done. 

8) Cool completely & unmold. Slice each cake horizontally for 4 pieces of sponge.

9) Mix F) in jug. Set aside.

10) Put E) in pot, whisk to disperse agar & set aside for 5 min. Bring to boil while whisking continuously. Continue simmering for 1 min while whisking. 

11) Whisk F) again to disperse cornstarch before pouring in a thin stream into 10) while whisking continuously. Continue cooking pudding for another 1-2 min. Remove from heat.

12) Assemble cake by alternating sponge and pudding layers within a cake ring or acetate sheet. Stir pudding mixture in pot to prevent it from setting during assembly. Refrigerate for at least 3 hours before unmolding. Neaten the pudding layers if need be by carefully cutting stray bits off.

See my Instagram reel for snippets of the process!

https://www.instagram.com/reel/CvE_U7PgJKl/?igshid=MzRlODBiNWFlZA==

Traditional pandan kaya cake is usually totally covered with the pudding and garnished with some desiccated coconut or finely grated fresh coconut. I kept the design clean and simple for this cake so I omitted the coconut and revealed the pudding and sponge layers as part of the aesthetics.

See how squishy my marshmallow flowers are in this post! I used some sugar-replacement to replace white sugar so it is overall a little more diabetic-friendly. Keep a lookout for my Deco Marshmallows book which will cover how to make marshmallow flowers made from lots of fresh fruit, as well as how to make them without white sugar too!


Do give this cake a try if you are looking for something that's tasty, refreshing and not too sweet for birthday celebrations! 


with love,

Phay Shing


Read More »

Tuesday, 11 July 2023

Chocolate Hazelnut Bear in Panda Suit Choux Pastries

I was given two bottles of Hazella, a chocolate hazelnut spread, by Phoon Huat (Redman) to try. I decided to share something cute, yummy, simple and uses minimal ingredients. Here are some chocolate hazelnut bears in panda suits!


There is no added artificial colouring too! I shared the recipe and decorating steps in my Instagram reels where you can see how I created the panda cap and bear filling. As mentioned in my caption with the reel I recommend watching my youtube videos for choux pastry technique if you are new to making choux pastries as it is a bake that requires some attention to detail and knowing how to work with your oven as well, but much as it is easier than macarons or chiffon cakes.

Chocolate Hazelnut Choux Pastry Bears 
(makes about 15 small pastries)

Please scale quantity according to preference as this is a small batch.

Choux pastry:
Craquelin:
21g unsalted butter
18g sugar
21g plain flour, sifted

Batter:
60g water
20g unsalted butter
1/8 tsp fine salt
1/2 tsp sugar
30g plain flour, sifted 
1 large egg, lightly beaten

Bear filling:
200-250g whipping cream of choice* 
250g Hazella (or any chocolate hazelnut spread)

Decoration:
Mini chocolate chips
Mini chocolate Crispearls (optional, for bear's nose)

*I used non-dairy cream that's pre-sweetened, stable in hot Singapore & impossible to over whip. Please use an electric mixer to whip the Whip Topping. Be careful not to over whip dairy cream if that is what you choose.

1. Make craquelin. Mix sugar & butter briefly. Add flour & form a dough. Roll until 2-3mm thick. Freeze until firm. Cut out 3cm circles & freeze until needed.

2. Preheat oven to 180C(fan)/190C. Line tray with perforated mat or baking paper.

3. Make batter. Place water, butter, salt & sugar in small pan. Bring to boil. Pour flour in & mix until dough forms. Cook over med-low heat to evaporate some water. Cool briefly in bowl. Add egg gradually until batter is able to hold a long "V" on spatula. 

4. Transfer into piping bag with round tip. Pipe generous mounds about 2.3cm at the base. Place craquelin on top. Bake for 20 min. Reduce temperature to 140C(fan)/150C & bake for 25 min until thoroughly dry inside.

5. Cool completely. Cut off the top of pastry & decorate with mini chocolate chips/melted chocolate for panda.

6. Whip cream until stiff. Mix 100-150g cream with 250g Hazella. Adjust ratio according to taste. Pipe bear with creams. Use melted chocolate & Crispearls to decorate. Assemble panda hat & refrigerate or freeze (Ice-cream version😋!)

A note about using melted chocolate for decoration. Please melt it using low heat and be careful not to overheat. You may use microwave or double-boiling to melt chocolate. Add a little shortening/butter/oil to make the consistency a little runnier for ease of painting/piping the features. It also helps prevent the chocolate from setting too fast. Adding a fat is optional but I find it helps to make it significantly easier to work with.


Besides using Hazella as a toast spread, why not try this as a simple two-ingredient chocolate hazelnut ice-cream! You may consume the creampuffs refrigerated or frozen (my preference!). I was honestly rushing when I took the photos and videos, hoping that I could still make use of some natural sunlight. This forced me to keep everything as simple as possible. So feel free to add Biscoff spread (crunchy one please😋) or Fererro Rocher to add even more dimension to you pastries!


with love,

Phay Shing

Read More »

Monday, 10 July 2023

Garfield 45th Birthday Chiffon Cake


Happy 45th birthday to our favorite cat!🎉

So honored to make this surprise cake for Nickolodean Asia!💖

Assembly reel can be found here!

With lots of love,

Susanne


Read More »

Saturday, 8 July 2023

Shiba Mitarashi Dango Vegan Macaron Class

 This is the second vegan macaron class I am offering: Shiba Mitarashi dango macarons!


The Swiss meringue method is covered in this class. Just like the first vegan macaron class, vegan royal icing is also covered. I wanted to include an essential ingredient in Mitarashi dangos, which is soy sauce, into the macarons so the filling is soy sauce caramel with toasted white sesame ganache.


The shibas are coloured using Hojicha powder so as to minimize the use of artificial colouring.

For more information or to register, please refer to the link below:

https://artzbakingculinary.com/product/vegan-shiba-mitarashi-dango-macarons-teens-adults-parent-child-workshop-by-instructor-book-author-tan-phay-shing/


with love,

Phay Shing

Read More »

Monday, 3 July 2023

Bears-in-Box Heart Chiffon Cake


What's Sweeter Than a Bear-in-a-Box? A Bundle of Bears!💕I love making cute bears! This is another bear-in-box in a heart-shaped box! Hope this made you smile!

With love,

Susanne


Read More »

Hanami Dango Vegan Macaron Class

 I am pleased to announce that I am finally adding vegan macarons in my repertoire for classes!


I cover Aquafaba-based Italian meringue method macarons in this class. I will also be sharing how you can decorate your macarons using vegan royal icing and filling them with a vegan ganache base that can take on various flavours. The macaron shells are coloured using matcha powder and strawberry paste. 

Please click on the link below for more details or to register:

https://tottstore.com/classes/vegan-hanami-dango-macarons/


with love,

Phay Shing

Read More »

Monday, 26 June 2023

Shirokuma and Furoshiki Vegan Macarons

 I had requests for vegan macaron classes so I have been doing rigorous testing for vegan macaron recipes. After trying French and Swiss meringue methods, I decided to try Italian meringue because Italian meringues have the added advantage of the stabilizing effect of sugar in the form of sugar syrup. After some attempts, I am satisfied with this Italian meringue method recipe especially since it is stable enough for a creation like this!


It's summer in the Northern hemisphere now and this year has been especially hot with the El Nino effect going on. Watermelons are definitely welcomed! Shirokuma thinks so too! 

You may ask why did I choose this theme and subject? It's because of the testing I have been doing for class material. I have decided on making simple character Hanami dango macarons with the colours pink, white and green so naturally this image of Shirokuma and Furoshiki came to mind! Note that this design is not for class material. I will be sharing the simple character vegan macaron class material soon so you can sign up for it with Tottstore.

Piped batter. I am sure you can't tell the difference between vegan and egg white based!

Freshly baked shells!

I used royal icing transfers (vegan of course) for the watermelon slices. They can be baked together with piped macaron batter, just like regular macarons.

These macarons are filled with the filling I will be sharing in my class too, which is matcha, vanilla and strawberry vegan white chocolate ganache.

See my reel for the piping process and the filling!


Stay hydrated and cool during this hot spell!


with love,

Phay Shing

Read More »

Wednesday, 21 June 2023

Hidden Superhero Chiffon Cake


Finally back after a few weeks away! Here's my belated Father's day post!
There's a Mighty Superhero inside every Dad! Happy Father's Day!❤️
With lots of love,
Susanne


Read More »

Tuesday, 20 June 2023

My Melody and Kuromi Macaron Carousel

 My friend requested for a My Melody and Kuromi macaron carousel and this was what I made!


I used my default Swiss meringue method recipe for the macaron shells.


Here's a video tutorial on how I create My Melody's lop-eared fold. A secret I have kept for many years! Some people asked how I did it way back in 2017 but I wasn't ready to reveal it yet.

The details are added on using royal icing and edible marker. I made royal icing transfers for My Melody's flower

I like to experiment and change designs along the way so this time round, I did something a little different for the carousel frame.


These are some of the standard pieces.

I included some small flowers piped using #2D tip from underfolded batter.

Blueberry ganache is the logical choice for filling to match the purple frame so that's what I used as the filling. The natural purple from fresh blueberries is lovely! I used a stiffer and darker coloured ganache for the middle of the carousel frame, hidden from sight by adding some freeze-dried blueberry powder to impart a stronger blueberry flavour without adding moisture. 

Blueberry yuzu ganache
Blueberry compote:
150g blueberries
15g yuzu juice concentrate (or lemon juice)
15g sugar

Light colored ganache:
150g white chocolate (finely chopped from bar or use couverture chips)
75g compote
15g unsalted butter, slightly softened at room temperature

Dark colored stiffer ganache:
150g white chocolate
45g compote
5g yuzu juice concentrate (or lemon juice)
20g freeze dried blueberry powder
10g unsalted butter, room temperature

You may not use all the ganache for the carousel but they cam be kept frozen for longer storage.

Steps:
1. Prepare blueberry compote. Cook over medium-low heat until reduced to about 140g in total. Press through sieve to remove the skins.

2. Melt white chocolate over double-boiler or using microwave at medium-low power in 10 second bursts, stirring between each heating cycle.

3. Mix warm compote with freeze-dried blueberry powder and yuzu for the stiffer ganache. Heat it up again slightly if it has cooled down after mixing.

4. Pour warm compote/compote mixture over melted chocolate. Stir in one direction until well mixed. Use an immersion blender if you wish.

5. Add softened butter and mix well. Press cling wrap onto surface and refrigerate for at least half an hour or until ready to assemble.

I added some chopped toasted hazelnuts coated in dark chocolate in the middle of the larger macarons like the base and the roof. I used a 1:1 ratio for nuts: dark chocolate by weight.

In order to support a softer filling than I normally use for load-bearing macaron structures, I piped a ring of medium-stiff royal icing for the central pillar pieces of the carousel frame.

I also reinforced the straw with royal icing so that the characters don't have the risk of sliding down the straw.

As usual, I let the weight bearing pieces rest overnight after partial assembly before adding on more load. This is to allow the royal icing time to harden fully.

I think the carousel frame looks lovely on its own 😍

Here's a reel of the assembly process:

https://www.instagram.com/reel/CttiocAAq95/?igshid=MzRlODBiNWFlZA==


with love,

Phay Shing 

Read More »

Wednesday, 14 June 2023

Easy Custard Pudding (Father's Day Special)

Wondering what easy and delicious treat to make for Father's Day that can be adapted for a variety of preferences? This easy pudding can take on many flavour variations and you can set it in tart shells to make them into tarts! Scale portion according to your needs.


I shared the custard pudding earlier in 2020 (see this post) but made slight modifications to it in this updated post.

Custard pudding

Ingredients:
6g gelatin, bloomed in 30g ice water
2 egg yolks
40g sugar*
Pinch of salt
100g + 160g milk**, room temperature
1 tsp vanilla extract
1/4 tsp caramel flavouring (optional)

Steps:

1. In saucepan, heat 100g milk until hot but not boiling

2. Whisk yolks, salt & sugar in heavy jug/bowl

3. Pour hot milk in thin stream into egg mix while whisking continuously

4. Pour back into saucepan & cook over medium-low heat, whisking continuously

5. Once custard starts to thicken or reach 71C, remove from heat.

6. Wait for 1 min or until custard is 60C. Add gelatin & whisk until melted

7. Sieve mixture through fine sieve. Add vanilla & 160g milk. Whisk until smooth. Spoon into jars/tart shells to avoid bubbles. Pop bubbles with skewer if need be

8. Refrigerate for at least 2h or overnight. Consume within 3 days. Highly recommend to serve with maple syrup if you are keeping it plain.


* Adjust amount according to taste. Replace/mix with brown sugar for a caramel note.


**🥛Richer: Replace part or all with cream

🥥Non-dairy: Replace with other types of plant milk

🍵Infusion: Heat milk with herbs, tea leaves/flowers

☕ Coffee: Replace part with coffee

🍫Chocolate: Add finely chopped dark chocolate to hot custard, reduce amount of gelatin

🥞Caramel: Sub a small portion with maple syrup & reduce sugar. Use brown sugar

🍓Fruity: Replace half with reduced fruit puree. Reducing over low heat destroys gelatin-destroying enzymes & intensifies fruit flavours.

This is a great way to use up excess yolks too!

Catch a glimpse of the texture and how jiggly it is in my Instagram reel:

https://www.instagram.com/reel/CteLk-kAwPu/?igshid=MzRlODBiNWFlZA==

In case you are wondering what the black decorative parts are made of, it is marzipan naturally coloured and flavoured with black cocoa powder. I didn't wait for it to dry at all before placing on the pudding, thinking that it is just for photography so I was going to take photos/videos shortly after decorating. It turned wet so quickly😆. Feel free to use chocolate for the decoration instead. Marzipan works too but make sure you dry it thoroughly and only place it on shortly before consuming. Homemade marzipan, uses only a few ingredients, tastes great and it is easier to work with than chocolate, especially in hot and humid kitchens in Singapore. It works like fondant but tastes much better.

Black cocoa marzipan 

Ingredients:
24g superfine almond flour
18g icing sugar + extra as necessary*
4g black cocoa powder
1/2 tsp water
1 tsp honey (about 4-5g)

* I use icing sugar with cornstarch already added. 

Steps:

1. Sift together almond, icing sugar and cocoa powder. 

2. Add honey and water and mix until a ball of dough forms. 

3. Roll out between parchment paper to 2-3mm. Cut to desired shapes. Dust very lightly with icing sugar if it gets too sticky.

4. Leave marzipan cutouts to dry in the open or loosely covered box at least overnight before using it to decorate. Store any unused marzipan cling wrapped in airtight condition for up to 6 weeks at cool room temperature.


with love,

Phay Shing

Read More »

Thursday, 8 June 2023

Deco Marshmallows

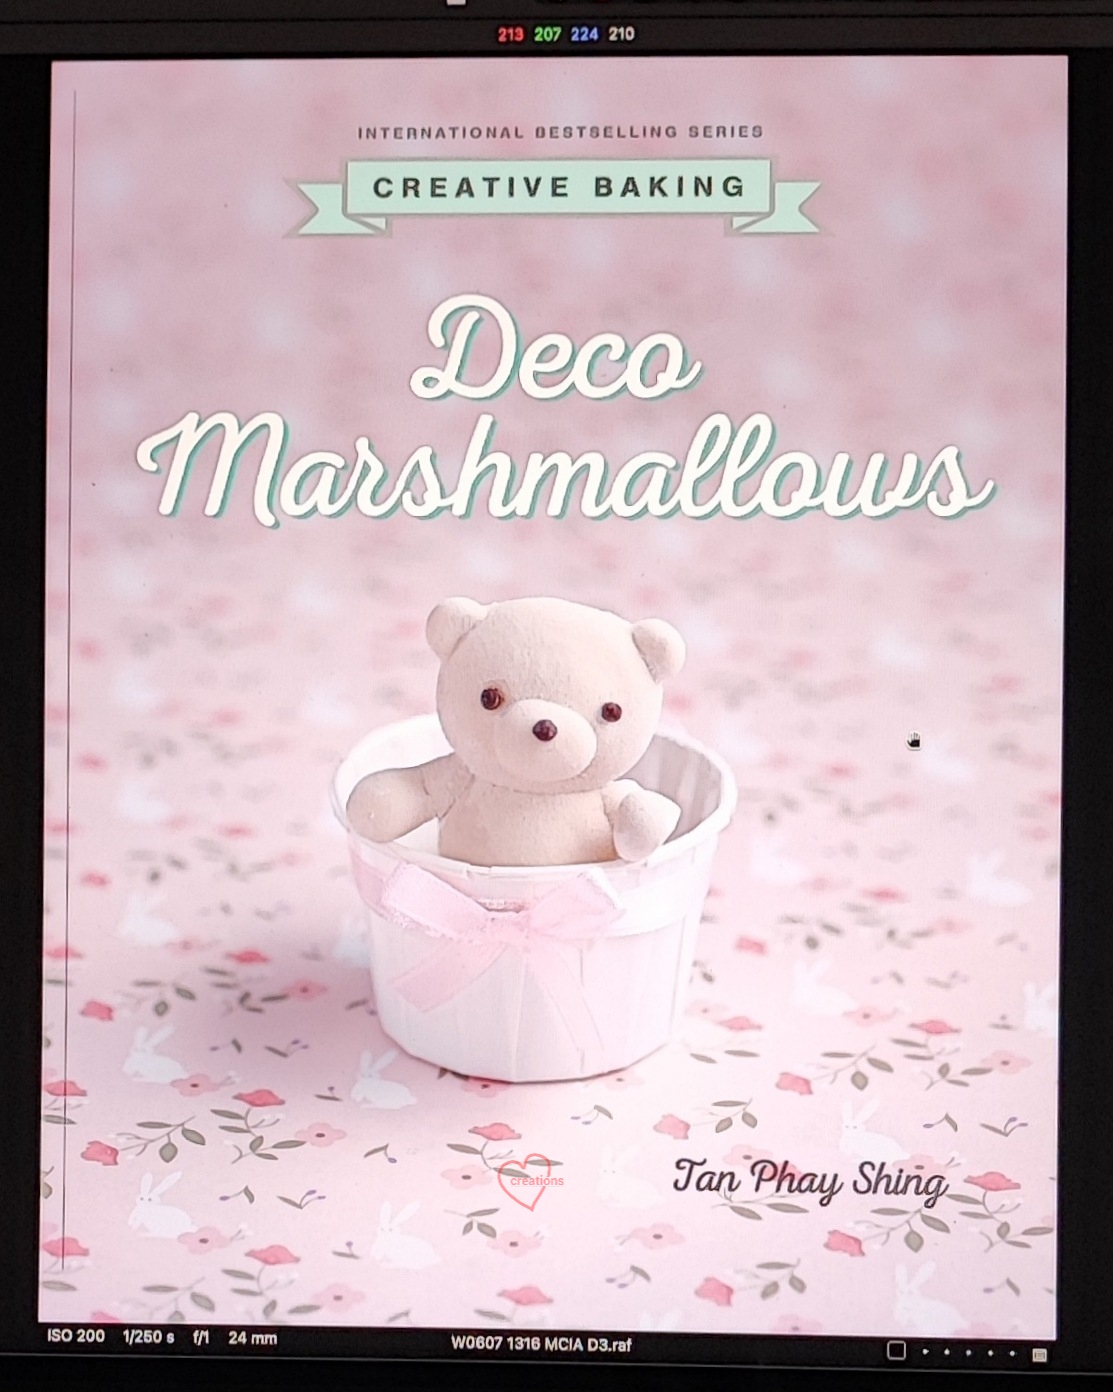
I am super excited to share what Deco Marshmallows is about and will update this blog post periodically once I receive any news from Marshall Cavendish about the book.

ISBN: 9789815084191

Here are the dates of release for various sources that I received from the publisher and what I gathered from the internet and people who notified me.

Singapore: Available at Popular, Kinokuniya and Amazon Singapore.

UK*: Available on Amazon and other bookstores  (no longer available from 1 Sept 2024)

Australia and New Zealand: October 2024 (Already available for pre-orders on Angus & Robertson)

Malaysia: Available at MPH

Thailand: Available at Kinokuniya 

USA*: October 2024 (Already available for pre-orders on Amazon US and Barnes & Noble) (Will not be available from 30 Dec 2024)

Ebook: Amazon, Google, Kobo and Overdrive in due time

I have received many of requests for getting the book earlier overseas when unfortunately the wait for it to be on Amazon or ebook forms is a long one. You may try this service that matches travellers to buyers if you would like it earlier at a more affordable shipping cost.

*********************************************

I stumbled into the arena of marshmallows by accident because I had no intention of exploring what to me a couple of years ago, was simply one-dimensional tasting candy. Someone wanted to learn character marshmallows and one of the  baking studios I work with asked if I could teach. One thing led to another and after discovering the endless possibilities and depth of flavour you can achieve, I decided to do a book to share my discoveries!

What motivated me to write yet another book despite knowing the tremendous amount of work involved was precisely what I am going to share in Deco Marshmallows:

1. You can use templates to create piped shapes more consistently instead of using freehand piping. Great for the artistically challenged!

2. You can do away with piping on a bed of dusting so you save a lot on dusting.

3. You can use gelatin or agar-agar as gelling agents according to your dietary preference so vegetarians can have a go at marshmallow-making too! (Note that egg whites are still used so it is not vegan but I have a vegan option mentioned in the book)

4. You can make it sugar-free if you like and it will not look any different from marshmallows made with regular sugar! Diabetics can have a taste of cute marshmallows too!

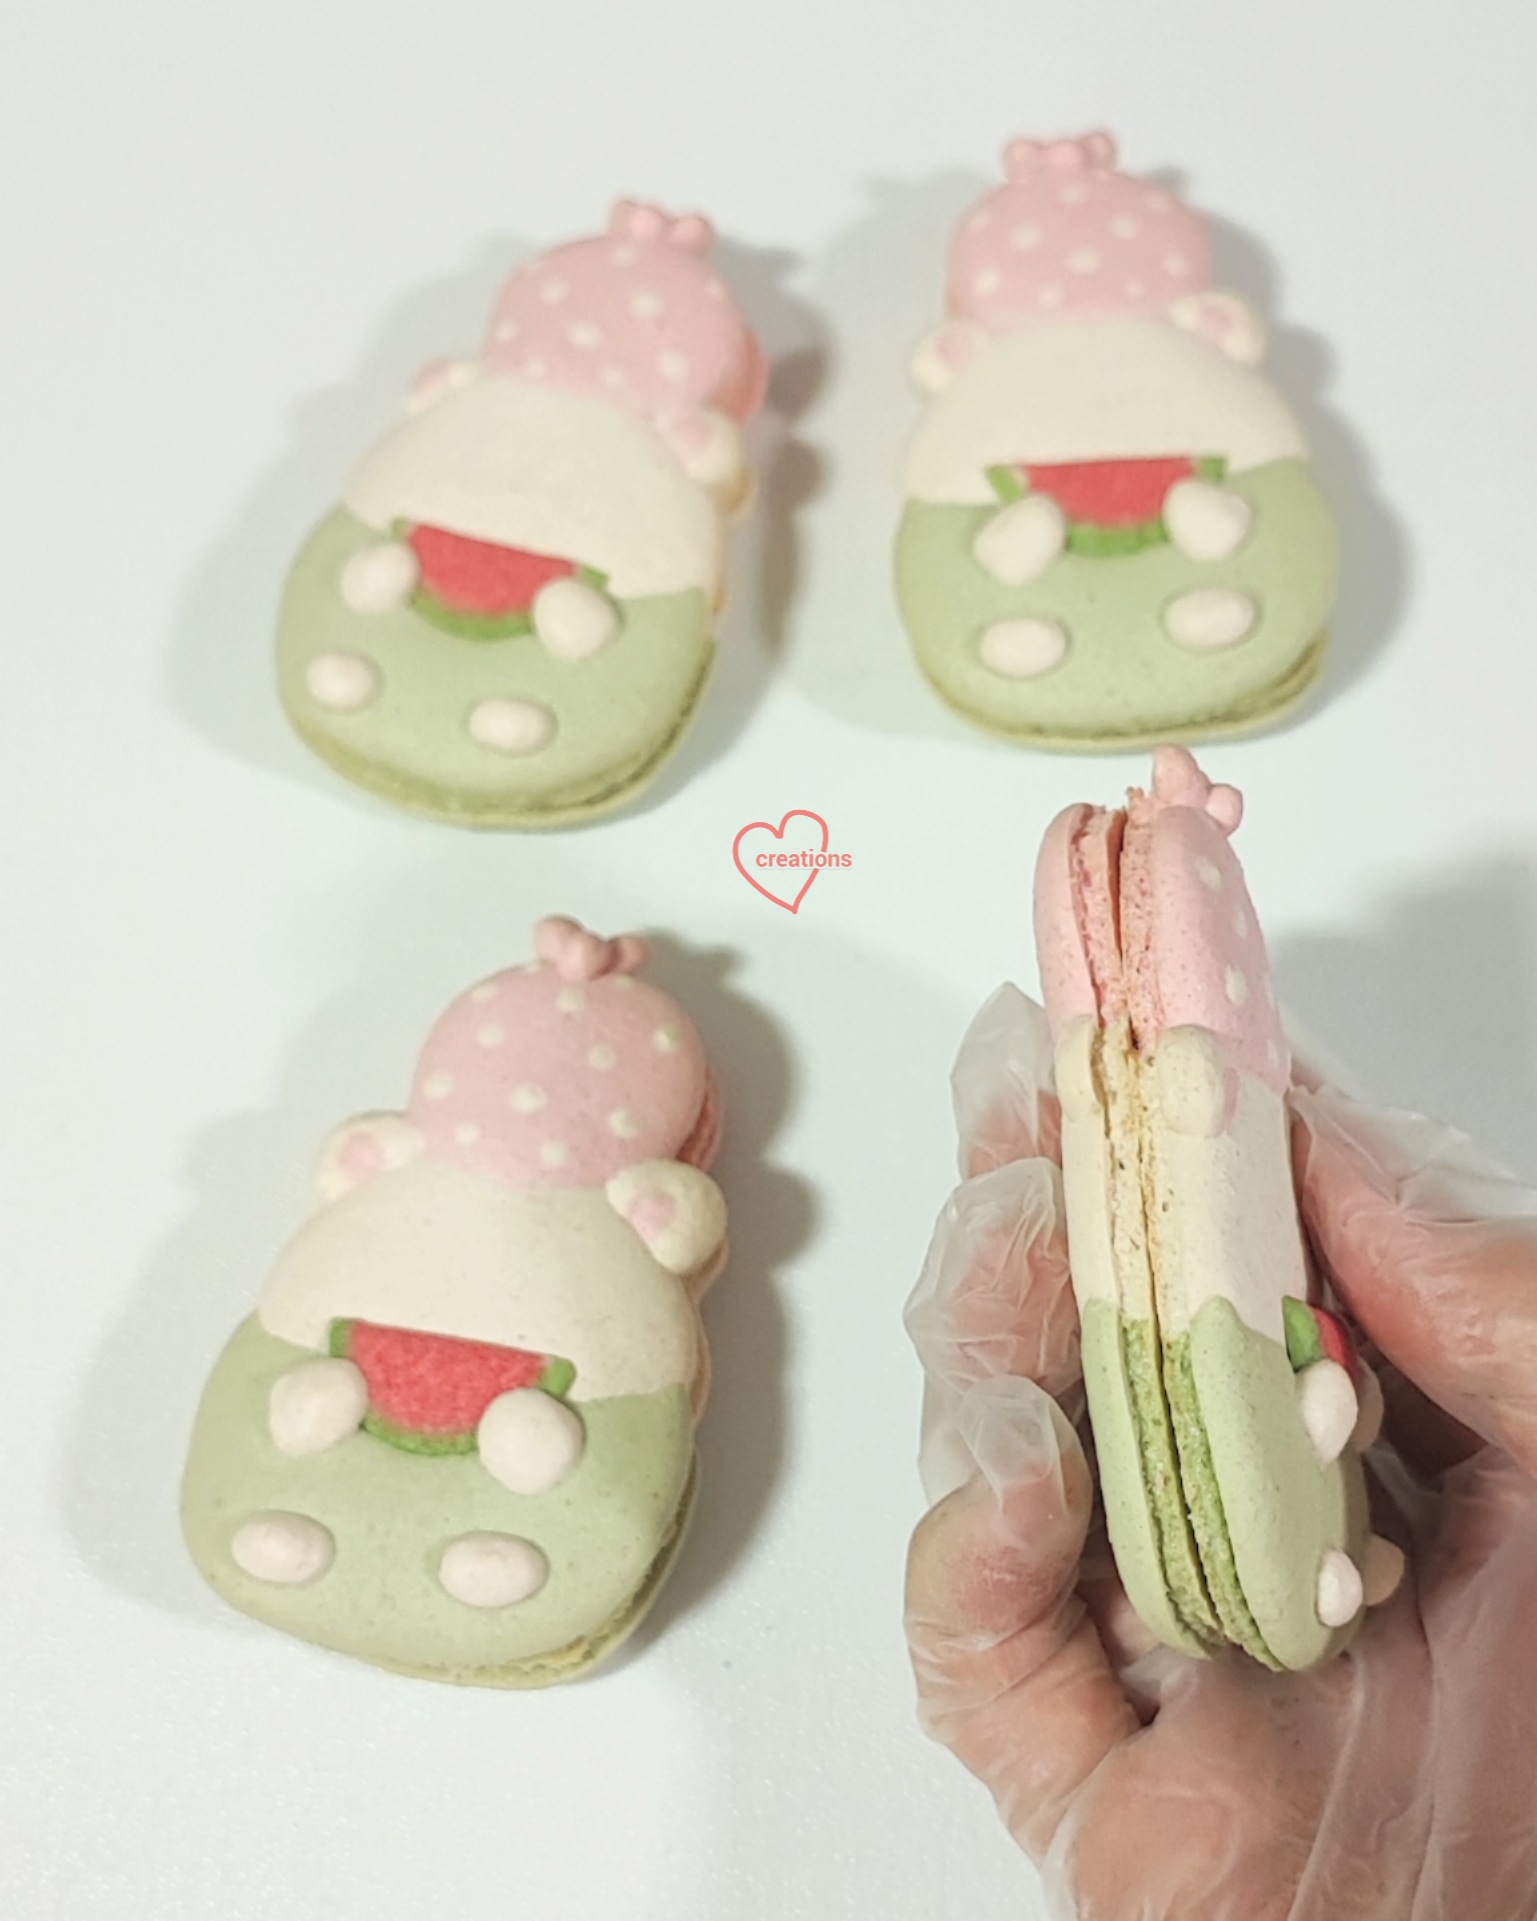
5. Many types marshmallow flavours from natural ingredients, various fillings and coating options are covered in the book to show you how to make marshmallows much more than one-dimensional tasting candies.

6. Marshmallows can be paired with other pastries or confections too to create something extraordinary!

7. I like to make use of common kitchen items like foil, zester/grater, citrus juicer, skewers and scissors as tools so you don't have to own a large collection of specialized tools for making cute marshmallows.

I am sharing what went on during four days of photoshoot. We took it at a more relaxed pace this time, spreading over more days than previous books. Note that these pictures were taken with my phone camera off the screen of the photographer's laptop or tablet so quality isn't the best but you can get the idea!


Back cover

Title page

Page fillers. My favourite shots because they are super whimsical and hilarious!

The gingy on the table looks like he is happily running towards his friend in the mug. "Wait for me! I want to join you in the hot chocolate onsen!"

I think this one is hilariously self-explanatory 😆

Grumpy octopus is not too thrilled about being with a cheeky friend and having an audience of narwhals

Cats in watermelon wonderland. This one has more of a subtle sweet feel and will be used with the acknowledgements/dedication pages.

The design portion of the book is broken up into three sections.

Pretty Awesome covers everything that is not a creature so it is mainly plants and objects.


Cute and Magical covers all kinds of creatures...well... cute and magical.


Update 06/10/23: There has been a delay in the book hitting the shelves due to potential copyright issues with one of the entries in this section "Cute and Magical". We have taken out the princess and replaced it with a cute girl dressed up for the Lunar New Year instead.

Perfectly Matched covers how marshmallows can be paired with other pastries, confections or desserts.


Here's a special behind-the-scenes reel I shared on Instagram! 

As with all our Creative Baking books, we cover the basics, techniques and frequently asked questions/troubleshooting in detail so you can apply what you learn for your own designs. My motto has always been "Teach people how to fish and not simply feed them the fish."

Having seen all these, are you as excited as me?
Stay tuned for periodical updates!

UPDATE 25/07/2024:
All the recipes in this book are based on the use of fresh egg whites. If you have concerns about having unbaked egg whites in your food or if the sale of food with unbaked egg whites is not allowed in your country, you may use egg white powder or meringue powder as replacements. I mentioned this briefly in the book but if you need exact ratios and method of using these replacements, please watch the reels and read the caption for :

Egg White Powder

Meringue Powder 

I also included a point-by-point comparison of all 3 forms of egg whites in the caption of the meringue powder replacement reel so that you can see which type is most suitable for your needs.


* UPDATE 09/08/2024:
I just received news from the publisher that their third party warehouse and book distributions partner in the UK has gone into administration. This means that my books will no longer be available in the UK market and on Amazon UK with effect from 1 Sept 2024, and will cease to be available in the US market and on Amazon US with effect from 30 Dec 2024.

So if you have been considering getting my books, you should try to get them before the dates given. In the meantime the publisher is trying to find other sources to reach the international audience. Book distribution within Singapore is not affected. Digital version is also not affected.


with lots of love,

Phay Shing


Read More »