Showing posts with label Pumpkin. Show all posts

Friday, 26 May 2023

Diabetic-Friendly Pumpkin Spice Latte Cake with Marshmallow Flowers

 I decided to make a simple cake that is assembled in a container for mum's birthday because this bake happened towards the tail end of my preparation for Deco Marshmallows' photoshoot.


The cake is a coffee chiffon sponge with thin layers of maple dark chocolate ganache and chopped toasted hazelnut, pumpkin spice diplomat cream and coffee jelly. I tried to make the components as diabetic-friendly as possible but had to use some maple syrup and Maltitol as Allulose alone doesn't taste as good. Maltitol is a sugar replacement often used as a sweetener for sugar-free chocolate but still contributes to glycemic index. Maple syrup is a tasty refined sugar-free syrup substitute that has a low GI. Why this choice of flavour combination? Because I have leftover pumpkin puree from making an entry in my marshmallow book 😆. 

The florals are made of agar-based marshmallows. I used apple or pumpkin puree for them. The yellow roses are naturally coloured from pumpkin and are made sugar-free. The other florals and leaves were extras I kept from making for the book.

I will share the detailed recipe for the four components of the cake. Feel free to vary the ratio of components during assembly according to taste. You may assemble in smaller cups too for individual sized treats! Freeze the whole thing and it's an ice-cream cake! Diplomat cream frozen is like ice-cream 😋

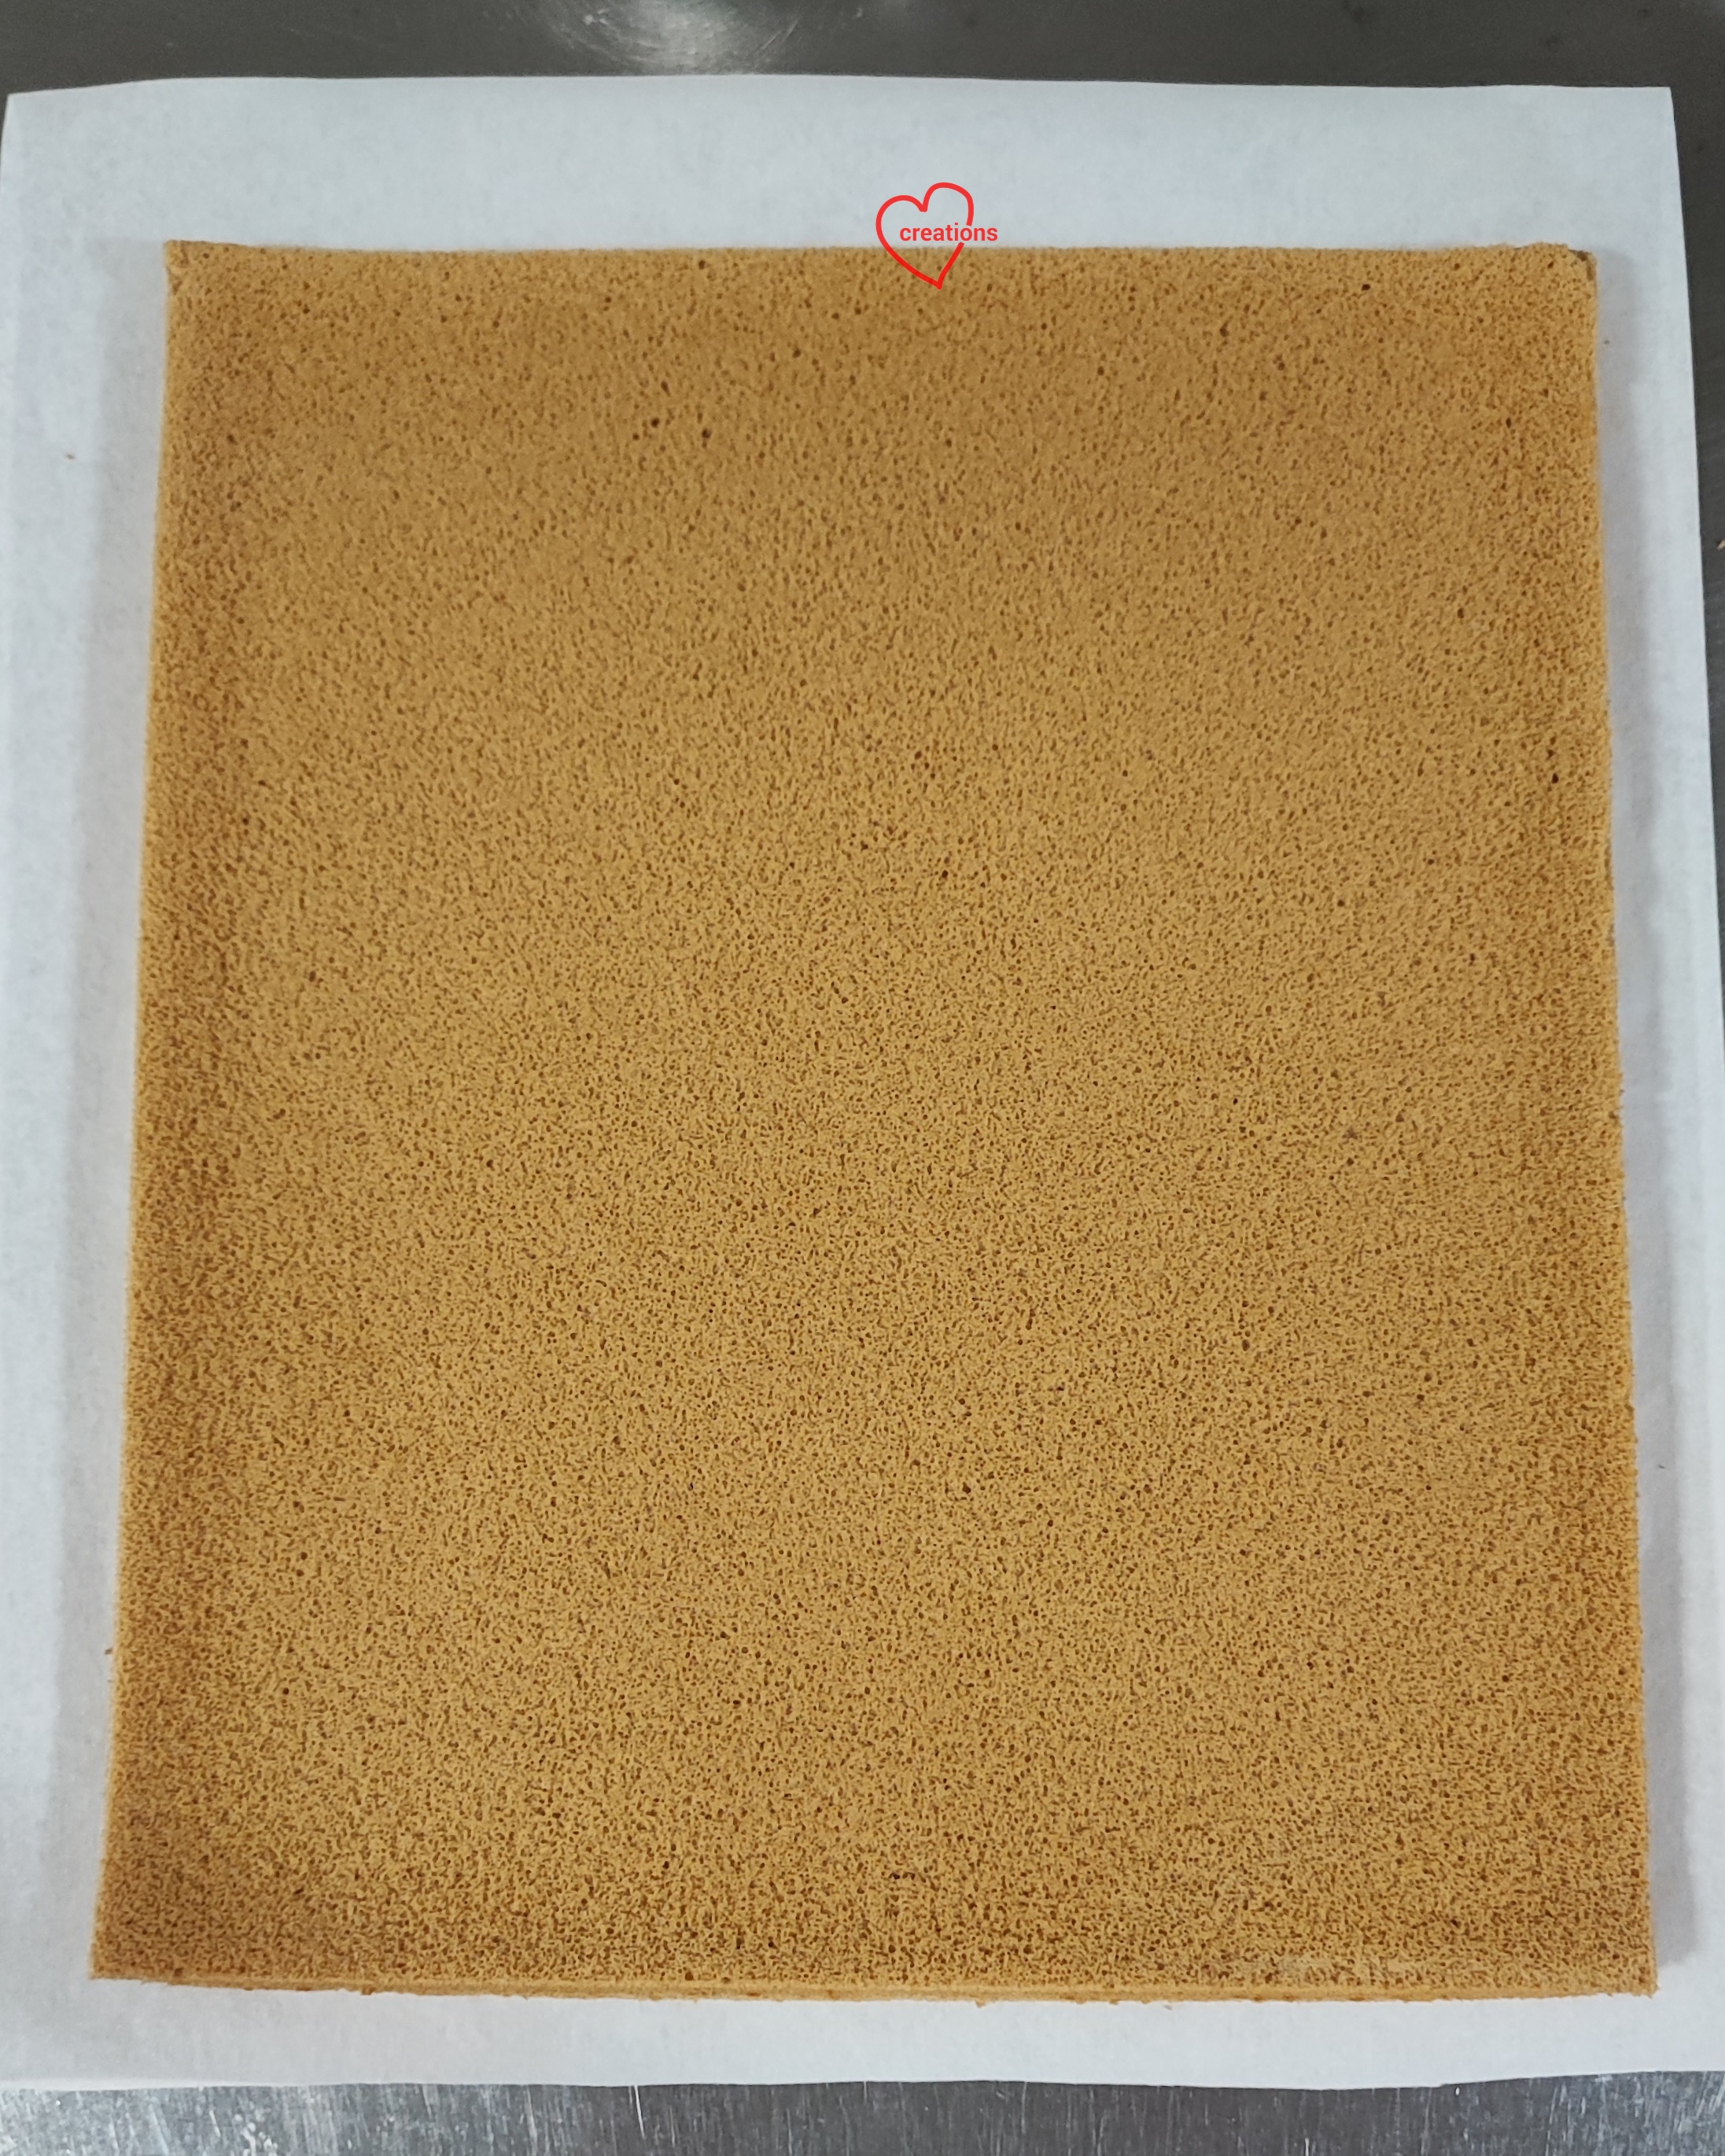
Sugar-free coffee chiffon sponge 
(10 x12" sheet cake)
Egg yolk batter
3 egg yolks
10g maple syrup (replace with zero calorie sugar replacements for totally sugar-free sponge)
30g vegetable oil
20g fresh milk, warmed (increase to 30g if using dry sugar replacements)
6g instant coffee
1tsp vanilla extract
Pinch of salt
45g cake flour

Meringue
3 egg whites
20g Inulin or Alchemy fibre
50g Allulose
1/4 tsp cream of tartar

Steps:
1. Line 10 x 12 tray with Teflon sheet or parchment paper. Preheat oven to 170C (top and bottom heat only). Dissolve instant coffee in warm milk. Add vanilla and salt to the mixture and set aside.

2. Make egg yolk batter. Whisk egg yolks with maple syrup until thick and pale. Add oil and whisk until well combined. Add coffee milk and whish until well combined. Gradually sift in flour and whisk until no trace of flour is seen.

3. Make the meringue. In a small bowl, whisk together Allulose and Inulin. Set aside. In a clean metal bowl, beat egg whites with cream of tartar until foamy. Gradually add sugar and beat until firm peaks. Use medium speed to beat to build up the meringue slowly for a more stable meringue and finer air bubbles. Make sure you are able to consistently get firm peaks before you stop beating to ensure meringue is sufficiently firm.


4. Gently but quickly fold meringue into egg yolk batter in three additions until no trace of meringue is seen. Pour into prepared tray.

5. Bake for 12-13 minutes or until skewer comes out clean. Immediately flip onto fresh parchment paper and cool completely covered with another parchment. 


Sugar-free pumpkin spice diplomat cream
1 egg yolk
20g Allulose (or sugar of choice, quantity according to taste)
Pinch of salt
9g cornstarch
100g milk
150g pumpkin puree, sieved*
1/2 tsp vanilla extract
3/4 tsp Pumpkin spice**
100g whipping cream of choice***

* Bake pumpkin until softened and press through a fine sieve to get the puree. If your puree is very wet, you may reduce it over low heat if you wish. I didn't want to be too heavy handed with the spice component so adjust quantity according to taste.

** I didn't have pumpkin spice mix so I used what I have at home, which was 1/2 tsp cinnamon, 1/8 tsp ginger and 1/8 tsp Allspice

*** You may use dairy or non dairy, add sugar or omit it according to taste and type of cream. Pumpkin is naturally sweet. I used a pre-sweetened non-dairy whipping cream. You may use Everwhip for a sugar-free dairy-free whipping cream that is pre-sweetened with sugar replacements.

Steps:
1. Heat pumpkin puree, milk, pumpkin spice and vanilla in saucepan until steaming hot (not boiling).

2. In the meantime, whisk together egg yolk, Allulose, salt and cornstarch until smooth in a heatproof heavy bowl or glass jug. 

3. Pour hot pumpkin milk in a thin stream into the egg yolk mixture while whisking the egg yolk mixture continuously. Pour everything back into saucepan. Cook over medium-low heat while whisking continuously. Once mixture starts to thicken and bubble, whisk for another 1 minute before removing from heat.

4. Transfer into a bowl and press cling wrap on the surface. Refrigerate for at least 2 hours or overnight.

5. When ready to assemble the cake, whip whipping cream of choice to firm peaks. Briefly whisk pumpkin spice pastry cream to loosen it. Fold whipped cream into pastry cream in a few batches. Transfer into piping bag with a hole cut.


Sugar-free coffee jelly
(set in lined 7x7" tray)
16g gelatin sheets
120g ice water
4g instant coffee
120g hot water
20g Maltitol (or sugar of choice, according to taste)

Steps:
1. Soak gelatin sheets in ice water in a microwave-safe bowl. Set aside.

2. Dissolve Maltitol and instant coffee in hot water. 

3. Microwave bloomed gelatin to melt it using medium power for 10 seconds. Stir and repeat heating if necessary. 

4. Add coffee to melted gelatin and stir until well mixed. Pour into prepared tray. Refrigerate until firmly set. Cut into squares or small pieces, place on a lined tray and refrigerate.

Maple dark chocolate ganache with toasted hazelnuts
90-100g chopped toasted hazelnuts
50g no sugar added chocolate (I used the ones from Pascha)
60g heavy cream
30-40g Maltitol
25g maple syrup
Pinch of salt
20g unsalted butter, softened

Note: If you are using pre-sweetened chocolate, omit the Maltitol. Use dark chocolate if possible so it doesn't end up too sweet. You may use more chocolate as well if not using unsweetened chocolate due to the difference in fat content.

1. Place chocolate, finely chopped or use chips in a heatproof bowl.

2. Heat cream, maple syrup, Maltitol and salt in a saucepan. Stir until sugar and salt dissolves and mixture just starts to bubble a little at the edges. 

3. Pour hot cream mixture over chocolate and let it sit for a minute. Stir in one direction gently until chocolate is melted and smooth.

4. Add softened butter and mix well. Add hazelnuts and mix well.


Assembly
1. Line base container with sponge (cut to size of container). Brush with diluted maple syrup (hot water : maple syrup, 1:1)

2. Cover with thin layer of diplomat cream before coating with a thin layer of chocolate hazelnut. Coat with another thin layer of diplomat cream.

3. Line the sides of the container with coffee jelly. 

4. Fill up the middle of the cake with more cream and coffee jelly. 


Refrigerate for 5 minutes. 

5. Spread a thin layer of chocolate hazelnut.  Top of with some diplomat cream. 

6. Brush another layer of cut sponge with diluted maple syrup and place the sponge syrup down on the cake. Brush the top of the sponge with more maple syrup if you wish. Decorate the top circumference with some coffee bean shaped  chocolates.


Here's a peek at a cut slice! Pardon the messy cut!

My family enjoyed the cake even though it was after a buffet meal and it was a flavour that is not commonly found here❤️.


with lots of love,
Phay Shing
Read More »

Wednesday, 26 October 2022

3D Pumpkin Macarons

This is the second in my series of Fall/Halloween themed macarons and it is 3D! 


Each pumpkin is filled with pumpkin spice latte ganache, non-dairy whipped cream, Biscoff crumbs and Malteser. 

I used my default Swiss meringue method recipe for macaron shells and adapted the ganache recipe from Marina. I used decaf coffee instead of espresso to make it kid-friendly, and included the pumpkin spice in the ganache.

The video tutorials for this creation is in two parts. Please see the captions in the videos for details.

Part 1: Piping and assembling 3D pumpkin macaron


Part 2: Filling 3D pumpkin macaron


Here's another look at my macaron creations, 2D and 3D, together!


with love,

Phay Shing

Read More »

Tuesday, 25 October 2022

Candy Corn and Pumpkins Chiffon Cake Pops


*Recipe* The happiest Candy Corn and Pumpkin Chiffon Cake Pops!🥰 

Flavored with LorAnn Oils Pumpkin Spice Bakery Emulsion, these treats are bursting with bold pumpkin flavor and the sweet spices of fall!💕✨️ 

Recipe (Recipe video reel here
3 egg yolks 
15g castor sugar (4 tsp) 
30g oil (2 tbsp) 
50g milk (3 ¼ tbsp) 
1.5 tsp LorAnn Oils Pumpkin Spice Bakery Emulsion, product of the USA 
57g cake flour, sifted (1/2 cup) 
LorAnn Oils Liquid Gel Food Coloring 

3 egg whites 
60g castor sugar (0.3 cup) 
1/4 tsp cream of tartar 

Steps  on Lorann Oils website =) 

Hope these bring a smile to your faces!❤️🥰 

With love,
Susanne

Read More »

Monday, 24 October 2022

Halloween Biscoff Pumpkin Spice Latte Macarons

 This is the first of two Fall/Halloween themed macarons that I made with video tutorials and for this design, templates as well!

Cheeky ghosts and scared kitty in scary pumpkin!

The tutorials are broken up into part 1 for batter piping and part 2 for post-baking decoration and filling. Please credit me if you share your work on social media. My apologies for putting this up late because it was rather impromptu 😅. The macarons were made from leftover batter for my display pieces for a cat macaron class.

Photo taken after class!

I only realised that the colours are so very Fall/Halloween as I was preparing for the class. Otherwise I wouldn't have shared this so late!

Here are the templates!


Please resize them to fit A4 size for each page. You may omit the eyes on the cat if you find it challenging to include it in batter piping.

I used my default Swiss meringue method recipe where egg whites are split into whipped and unwhipped portions. You may use whatever meringue method or recipe you are comfortable with.

Filling is adapted from Marina's blog post. I used decaf coffee (1.5 tsp) instead of espresso so it is kid friendly. I also added the spice into the ganache since my shells are not flavoured. I added some coarsely crushed biscoff crumbs into the middle of the filling as well.

Part 1: Video tutorial for piping macaron batter

https://www.instagram.com/reel/CkGVuVnAHoO/?igshid=NjZiMGI4OTY=

Part 2: Video tutorial for post-baking decoration and filling

https://www.instagram.com/reel/CkIesOtgGGY/?igshid=NjZiMGI4OTY=


Here's a peek at what other Fall creation I did!


with love,

Phay Shing


Read More »

Thursday, 29 September 2022

Pumpkin Zephyrs with Maltesers

This was an unplanned project that came about because the idea was so awesome I just had to try! Most bakers would use pumpkin shaped silicone molds for making pumpkin shaped desserts or marshmallows. But molds take up a lot of space and are expensive. For those of us who don't want to make that purchase, there is a simple way to create piped pumpkin shaped desserts!

Presenting my piped pumpkin zephyrs filled with Maltesers and topped off with chocolate chips!


Zephyr or zefir is a type of confectionery that can be considered as an agar-based marshmallow. It is usually made with lots of fresh fruit or vegetable puree. These pumpkin zephyrs are made with lots of pumpkin puree. I used Marina's recipe over here as my reference for pumpkin zephyr but with some tweaks to it.


Here's a better view of the cross-section. I feel the Malteser makes it look really intriguing! Not only does it look intriguing, the texture when you bite into it is awesome too! The light crunchy centers and rich chocolate coating of the Malteser present a nice contrasting textural and taste experience as you bite into the pillowy yet melt in your mouth pumpkin zephyr!


I was so excited my experiment worked that I had to take a photo of my first done and dusted (literally with icing sugar and cornstarch) pumpkin!


I shared a video tutorial of piping these pumpkins and posted it on Instagram:

https://www.instagram.com/reel/CjDAXeJAJ3D/?igshid=NjZiMGI4OTY=

Please read the captions that come with the reel for more tips on piping these pumpkins. I would appreciate it if you can credit me if you use this piping technique for your piped pumpkin desserts😊.


with love,

Phay Shing

Read More »

Wednesday, 17 August 2022

Cute Halloween Choux Pastry Special (Class)

 If you would like to learn how to make these cute pumpkin choux pastries, come and join me for this class happening in October!


The mini pumpkins are made of choux pastry too!

Each piece sits on a buttery sable!

The filling is not just one type but a total of four different complementary components put together to create a treat that is cute on the outside but tasty on the inside!


There's peanut butter diplomat cream, chocolate peanut butter diplomat cream, strawberry compote and vanilla whipped cream.

Here's a short video of cutting a pastry, revealing the insides!


I will cover the basics of choux au craquelin as well as how to create simple cute characters out of the fillings. As the design is simple but cute and interesting, this class is suitable for beginners. Please click on this link for more details or to register.


with love,

Phay Shing

Read More »

Wednesday, 1 September 2021

Pumpkin Patch Chiffon Cake


Pumpkin Patch Chiffon Cake!! ❤

*New Class Alert*

Excited to unravel a very fun new class @howtocakeit ! Here's what you will learn:

- how to use natural flavors and colors in cake (matcha, cocoa and pumpkin)

- how to shape chiffon pumpkins without special molds

- how to create the cute wave patterns at the side of your cake (see video here)

- marshmallow & ganache 'glue'

Live class on Fri Oct 22nd 8pm EST (Oct 23rd 8am GMT+8). Recordings and workbook available forever too! Bundle up with my Oct 1st class and get 25% off!

Link to sign up here.

Really excited about this one! See u soon 💓😍

With lots of love,

Susanne


Read More »

Tuesday, 2 October 2018

Witch Pusheen Chiffon Cake


Witch Pusheen is stirring up a blue pea flower cauldron of #meowgical potions! 🤩

Entirely made chiffon cake, including the pot, spoon, squashes, hat and of course the Pusheen! =)

This is actually part of a collaboration with Pusheen, for their limited fairytale meowgical fall edition. I am honored and thankful for the opportunity. The actual Pusheen plush has a glowing flashing blue pot! I can only make blue pea flower soup hehe =p


Hope you liked this cute creation!

With lots of love,
Susanne


Read More »

Sunday, 29 October 2017

Candy corn and Pumpkin Pusheen Chiffon Cakes


Pumpkin and Candy corn Pusheen Chiffon Cakes!

Aahh, who thought Pusheen could get any cuter?! These were inspired by the new Pusheen Fall Surprise Plush series!


Cuteness overload!!! =p


The Candy corn Pusheen was a bit similar to my previous Pusheen cat, except that I needed to play with colours this time. The base was vanilla-lemon flavoured.


Candy corn Pusheen Chiffon Cake 
(vanilla, vanilla-lemon flavoured)
                                    

 However, the Pumpkin Pusheen needed to be hand cut from a ball chiffon cake so that was pretty challenging.


Pumpkin Pusheen Chiffon Cake 
(charcoal, vanilla-orange-flavoured)


Thank God both were well-received by my friends =). Have a blessed week ahead!

With lots of love,
Susanne


                            NEW!


Read More »

Saturday, 28 October 2017

Monsters, Pumpkins and Cat Chiffon Cake pops (Orange cinnamon and Salted gula melaka)


Just posting this for documentation before I forget! Most pictures end up in my phone forever if I don't post it within the month =p.

This is a series of creative mini chiffon cake pops demos, inspired by monsters, pumpkins and cats, which were Orange cinnamon and Salted gula melaka flavoured which I did for LG in mid-Oct. Recipe for the chiffon cake "ondeh ondeh" should be out at LG retail outlets end of Oct.


With lots of love,
Susanne

Read More »

Tuesday, 4 July 2017

Tiger and Bear Pull-Apart Buns with Cream Cheese Filling (Naturally coloured!)

I love new challenges and bakes that break away from the routine of what I am familiar with. Although that means trial bakes may be necessary, I welcome the challenge if it is not out of my reach. And that was why I accepted the request for making my first cute pull-apart buns for sale! The cute bee on top is made from shortbread cookie.

Bee on tiger and bear buns!

Shortbread bees! Requested as part of the deco. Refer to this post for the recipe.

I am very much in favour of making cute buns for birthday celebrations as they are healthier than cakes or macarons. I use absolutely no artificial colouring at all for the buns. Although using cocoa powder would have been the easiest to create brown colour, I was told not to use it due to allergy. I experimented with dark brown sugar with a little Earl Grey powder, vanilla bean paste and a pinch of charcoal. It worked perfectly :). The deep orange colour was created using pumpkin powder and a pinch of paprika. I adapted the recipe from Victoria Bakes' killer toast recipe which stays soft for 5 days (I tested it myself). I bought both pumpkin powder and Earl Grey tea powder from Kitchen Capers.

It would also be easier to knead one large batch of dough, divide it into two and colour it separately when the dough almost passes the windowpane test. But because the brown colour is primarily coloured using dark brown sugar, the orange and brown dough have to be prepared separately as sugar has to be added at the beginning of making the dough. I did a few trial bakes before finally coming up with a satisfactory version. Here is one of my earlier trial bake.

How do I knead two separate batches of dough at the same time? I spend about 5-8 minutes kneading each colour at a time. This also allows the dough to relax in between 3 kneading cycles for each coloured dough. Those of you who have followed my blog posts will know that I prefer to knead dough by hand as I can feel the change of structure through my fingers. You may save yourself the trouble and use cocoa powder instead to colour the dough brown. That way you can just knead one dough and divide it later. Having said that, the brown sugar vanilla bread tastes awesome on its own!

Recipe for pumpkin and dark brown sugar cream cheese bun
Ingredients (makes 9 pull-apart buns in 7" tin):
Dark brown sugar dough
130g bread flour
25g dark brown sugar
1/2 tsp instant yeast
1/8 tsp Earl Grey powder (optional)
1/16 tsp charcoal powder (optional)
1g (or 1/2 tsp)  sea salt
1 tsp vanilla bean paste
85g half an egg and top up the rest with milk
15g unsalted butter

Pumpkin dough
110g bread flour
10g caster sugar
1/2 tsp instant yeast
20g pumpkin powder
1/8 tsp paprika powder (optional)
1g (or 1/2 tsp) sea salt
90g half an egg and top up the rest with milk
15g unsalted butter

Filling
9 pieces of Laughing Cow cream cheese (about 16g each piece)

Decoration
White compound chocolate
Charcoal powder
Edible markers

Notes: You may use any pumpkin bread recipe that uses fresh pumpkin but I find it more convenient to use the powder form here. You may also use any brand of cream cheese or any filling of your choice.

Steps:
1. Shape each piece of cream cheese into a ball and freeze it. Add vanilla bean paste into the egg and milk mixture for brown dough. Line a 7x7" tray with baking sheet.


2. Combine all ingredients for the dough together except butter. Cover the mixing bowl with cling wrap and let the mixture rest for 10 minutes. This is to help the flour absorb more moisture but it is optional. Knead until the dough is smooth. About 5-8 minutes. Add butter and knead until the dough passes the windowpane test (another 15 minutes or so). Place the resting dough in a bowl loosely covered with cling wrap to prevent it from drying out if you are kneading two separate balls of dough at the same time like me.

3. Place the kneaded dough in a bowl loosely covered with cling wrap. Let the dough proof for about 25 minutes at room temperature (27-28℃ in hot Singapore).

4. Punch down the dough to release trapped air bubbles. Divide the dough into 44-45g portions for the head and 3g for a pair of ears. You will end up having extra dough for one colour.

5. Lightly flour the work surface with bread flour. Flatten a ball of dough for the head and wrap a ball of cream cheese filling. Pinch seal the dough and place in baking tray seam side down. Repeat for all the heads.

6. Divide the 3g dough into two for the ears. Stick the dough on the head and use a toothpick to press down the edge of the ears as shown in the picture below. This is to prevent the ears from falling out during proofing and baking.


7. Cover baking tray loosely with cling wrap and proof until the buns double in size. This can take anywhere from 45min to 1.5h depending on proofing conditions.

Assembled buns before proofing

After doubling in size

8. Towards end of proofing time, preheat oven to 180℃ (fan off) and set the rack to lowest position. Bake for 10 minutes. Carefully tent a foil over the tray and bake for another 20 minutes at 150℃ or until done.

9. Let the buns cool in the tray for 10 minutes before letting them cool completely on a cooling rack.

10. Prepare some melted compound white chocolate to decorate the snout and ears. Colour the white chocolate with charcoal powder for the eyes and nose. Use edible marker to add the markings on the tiger and rosy cheeks.

All packed and ready to go!

Thank God these were very well received! The birthday boy gobbled up the bun before mummy could take a picture :p.

With love,
Phay Shing
Read More »

Tuesday, 25 October 2016

Pumpkin Monster Chiffon Cake


Last year I had the sudden inspiration to dress up my pandan chiffon cake as a 3-eyed monster! This year, the pumpkin version is in Deco Chiffon Cakes!


I love the pumpkin version as it is moist and light! Very different from the pandan chiffon version. This was my demo item at the Kinokuniya book event that just passed. Very touched by the love and those who came, especially the Indonesians who specially flew down!


I also made another simple Monster version. Just some ideas of the endless way we can decorate our chiffon cakes!


Some good news for my Malaysian, Indonesian and Thailand friends, Deco Chiffon Cakes has finally reached neighboring countries (25/10/16).

Malaysia: Kinokuniya, MPHonline, selected Popular
Indonesia: Periplus, Books & beyond, Kinokuniya
Thailand: Kinokuniya, Asia books

We are also working to get the book into other countries like Philippines and Australia. It's also available online at Localbooks.SG. It is also available for preorder on Amazon (dispatch Feb 2017), and kindle e-book versions available from 23/11/16.

Have a blessed week dear friends!

With lots of love,
Susanne

Read More »