Showing posts with label Angry birds. Show all posts

Tuesday, 24 January 2023

Mixed Berry Angry Bird Hatchling Macarons on Checkerboard Butter Cake

 My elder kid requested for macaron form of all the Angry Bird hatchling plushies we have at home for his birthday end of last year. I know this is a way overdue post but Lunar New Year came hot on the heels of Christmas so festive bakes had priority. He wanted a butter cake too. Here's what I made!
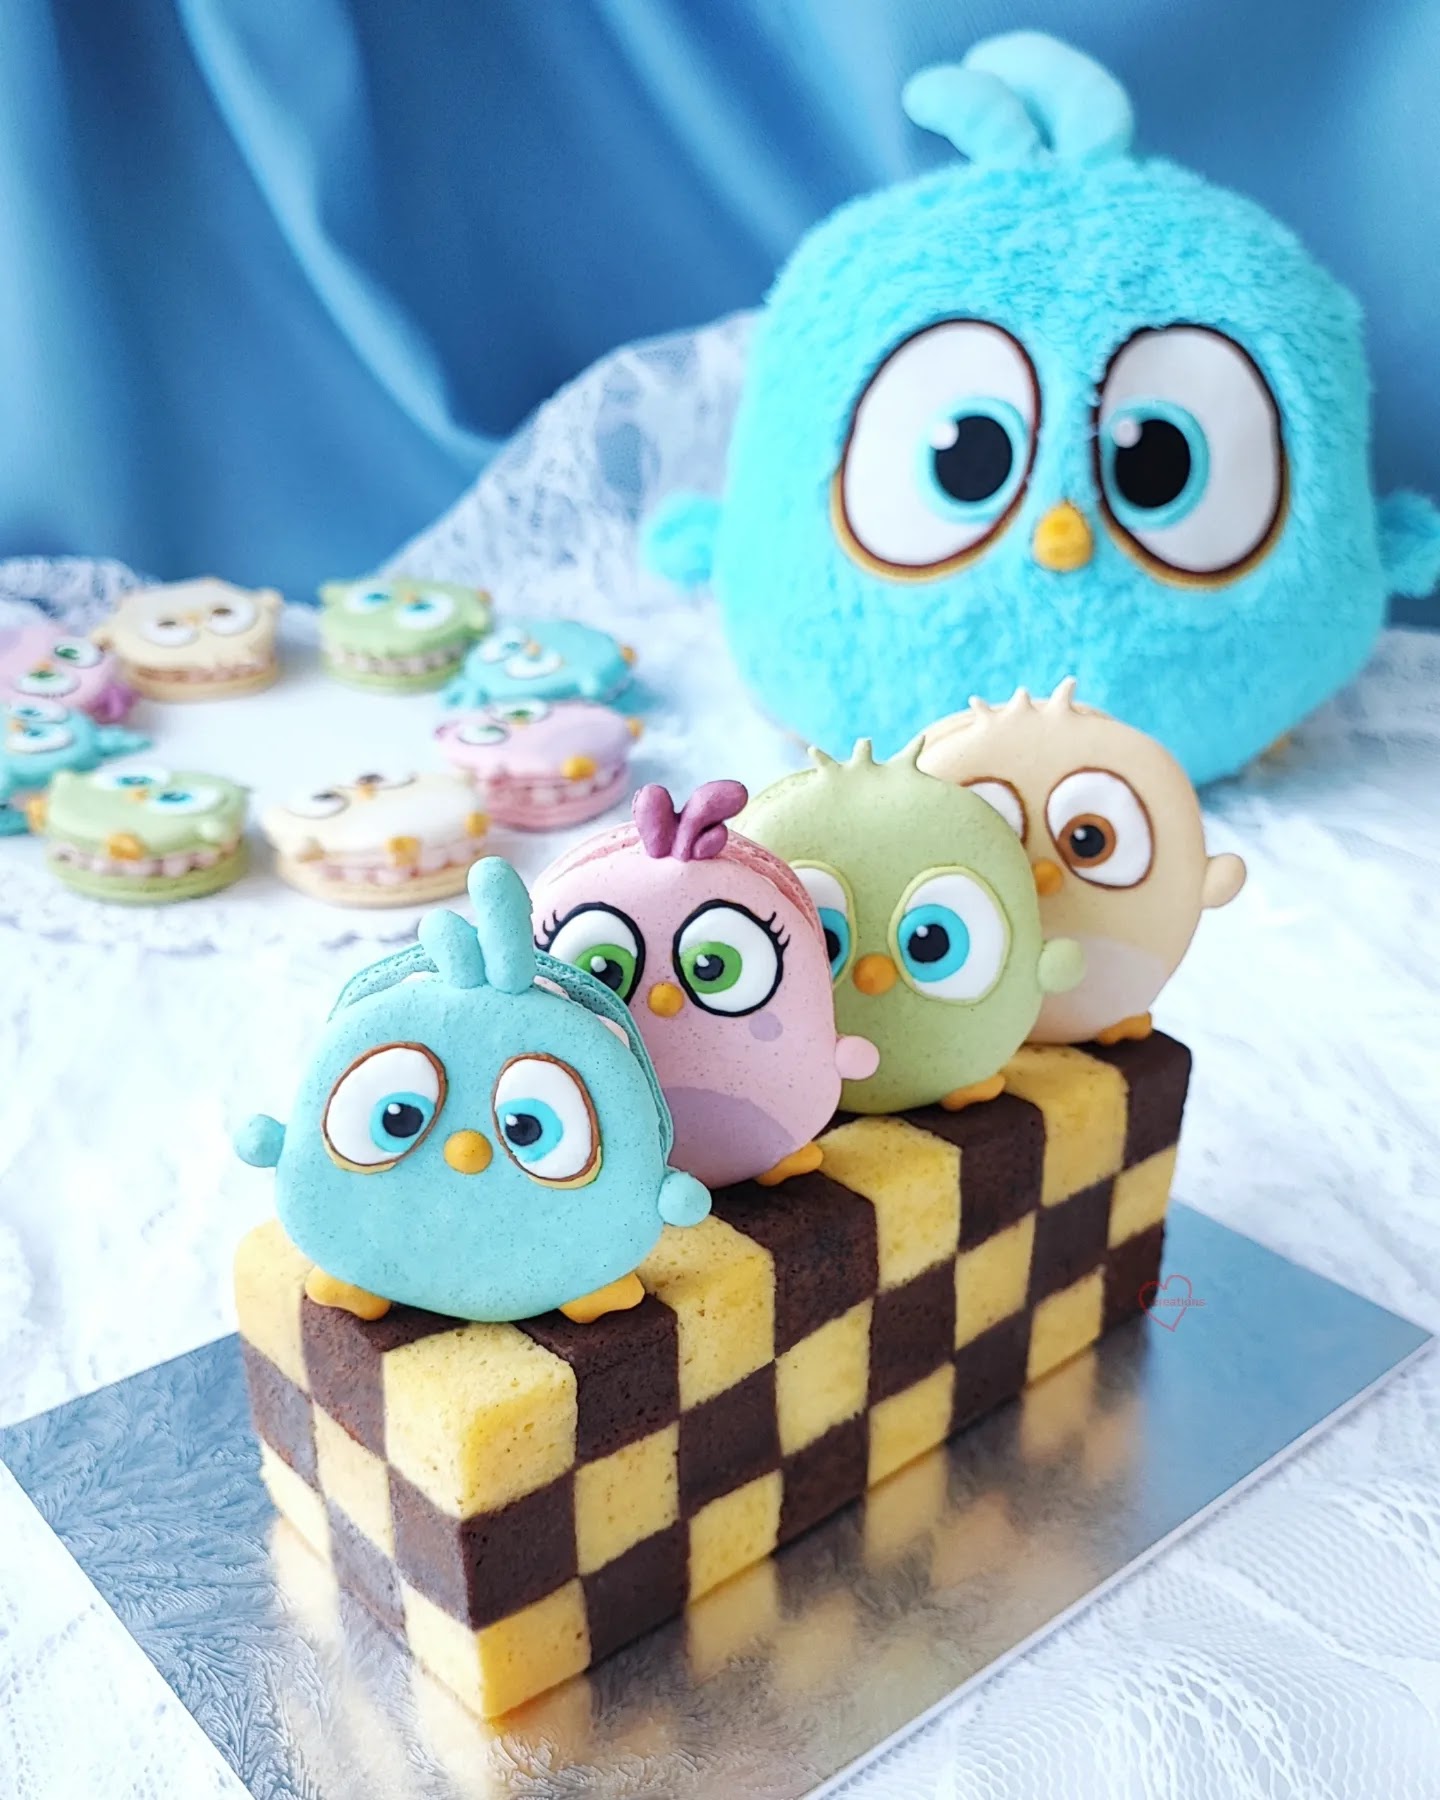
Strawberry raspberry macarons on top of checkerboard butter cake based on kek lapis type of recipe

Why kek lapis? Because I had 30 egg yolks at home due to my macaron masterclass in early December last year. But when it was time to bake, I decided not to make the traditional kek lapis with its numerous layers as I was already tired out from two full-day classes. I suddenly remembered my kid likes to play chess so why not make a checkerboard cake!

I split the batter into two and added cocoa and coffee into one portion. All it took was one round of baking without having to eyeball the oven for two hours. I cut the cakes into blocks before gluing the pieces together with marmalade. Butter-based cakes like this freezes well so I made it a few weeks ahead of time, right after the masterclass.

Cutting into rectangular logs before cutting into cubes. I had to run out to meet a friend so I wrapped this up before continuing.

Egg-yolk rich butter cake
Note: You may halve the recipe as this is a big portion. I just wanted to use up my excess yolks at one go since the cake freezes nicely.

Ingredients (makes two 7x7" cakes):
460g unsalted butter, cubed (cool and firm)
60g condensed milk
380g caster sugar (split into 80g and 300g)
1/2 tsp salt
500g egg yolks (About 30 yolks. Room temperature. You may use whole eggs for less rich cake)
100g milk (room temperature)
1 tbs vanilla extract

460g cake flour
1 tsp baking powder

2 tbs Instant coffee granules
2 tbs cocoa powder
2 tbs hot water

Steps:
1. Preheat oven to 160C (fan)/ 180C (top and bottom heat). Grease base and sides of trays and line bottom with parchment paper.

2. Sift together cake flour and baking powder. Set aside.

3. Dissolve instant coffee and cocoa powder in hot water in a small bowl. Set aside.

4. Beat egg yolks and 80g with electric mixer until it is pale and thick. This should take about 15min. Set aside.

5. Beat butter, salt and 300g of sugar with paddle attachment in standmixer until pale and fluffy, scraping down the sides several times in between. If you kitchen is too hot like mine (27-31C all year round), don't take the butter out too early. Beat the yolks first before working on the butter. It takes 10 min or less to soften the butter.

4. Gradually add half the beaten egg yolks while continuing mixing with paddle attachment. Don't add the egg too quickly. Add a third of the sifted flour and mix until just combined at low speed, scraping down the sides.

5. Continue to add the egg yolks and continue mixing until just combined. Gradually add milk, condensed milk and vanilla extract until just combined. Continue beating for 1 min.

6. Gradually add sifted flour and beat at low speed. Stop to scrape down the sides as necessary. Once there is only a little trace of flour left, complete by folding with a spatula.

7. Divide batter into two and fold in chocolate coffee paste into one of them. Pour into prepared trays.

8. Bake for about 25 min (can range from 20-30min depending on individual ovens) or until tops are lightly browned and skewer comes out clean. Cool in tray for 5 min before removing from trays to cool on rack.

9. Cut to desired size (or not cut at all!) and assemble by using marmalade of choice of jam. Consume within three days if stored at room temperature. Cling wrap tightly before freezing for longer storage. You may store in fridge as well but it will dry out with storage time. You may spread a thin layer of condensed milk to moisten the cake before eating if you wish! It is delicious especially with the rich butter flavour and mocha parts! 

I used my default Swiss meringue method recipe for making the macarons. A little white colouring was added to keep the colours pastel.


I used royal icing to add in details for the eyes. It was really tedious!
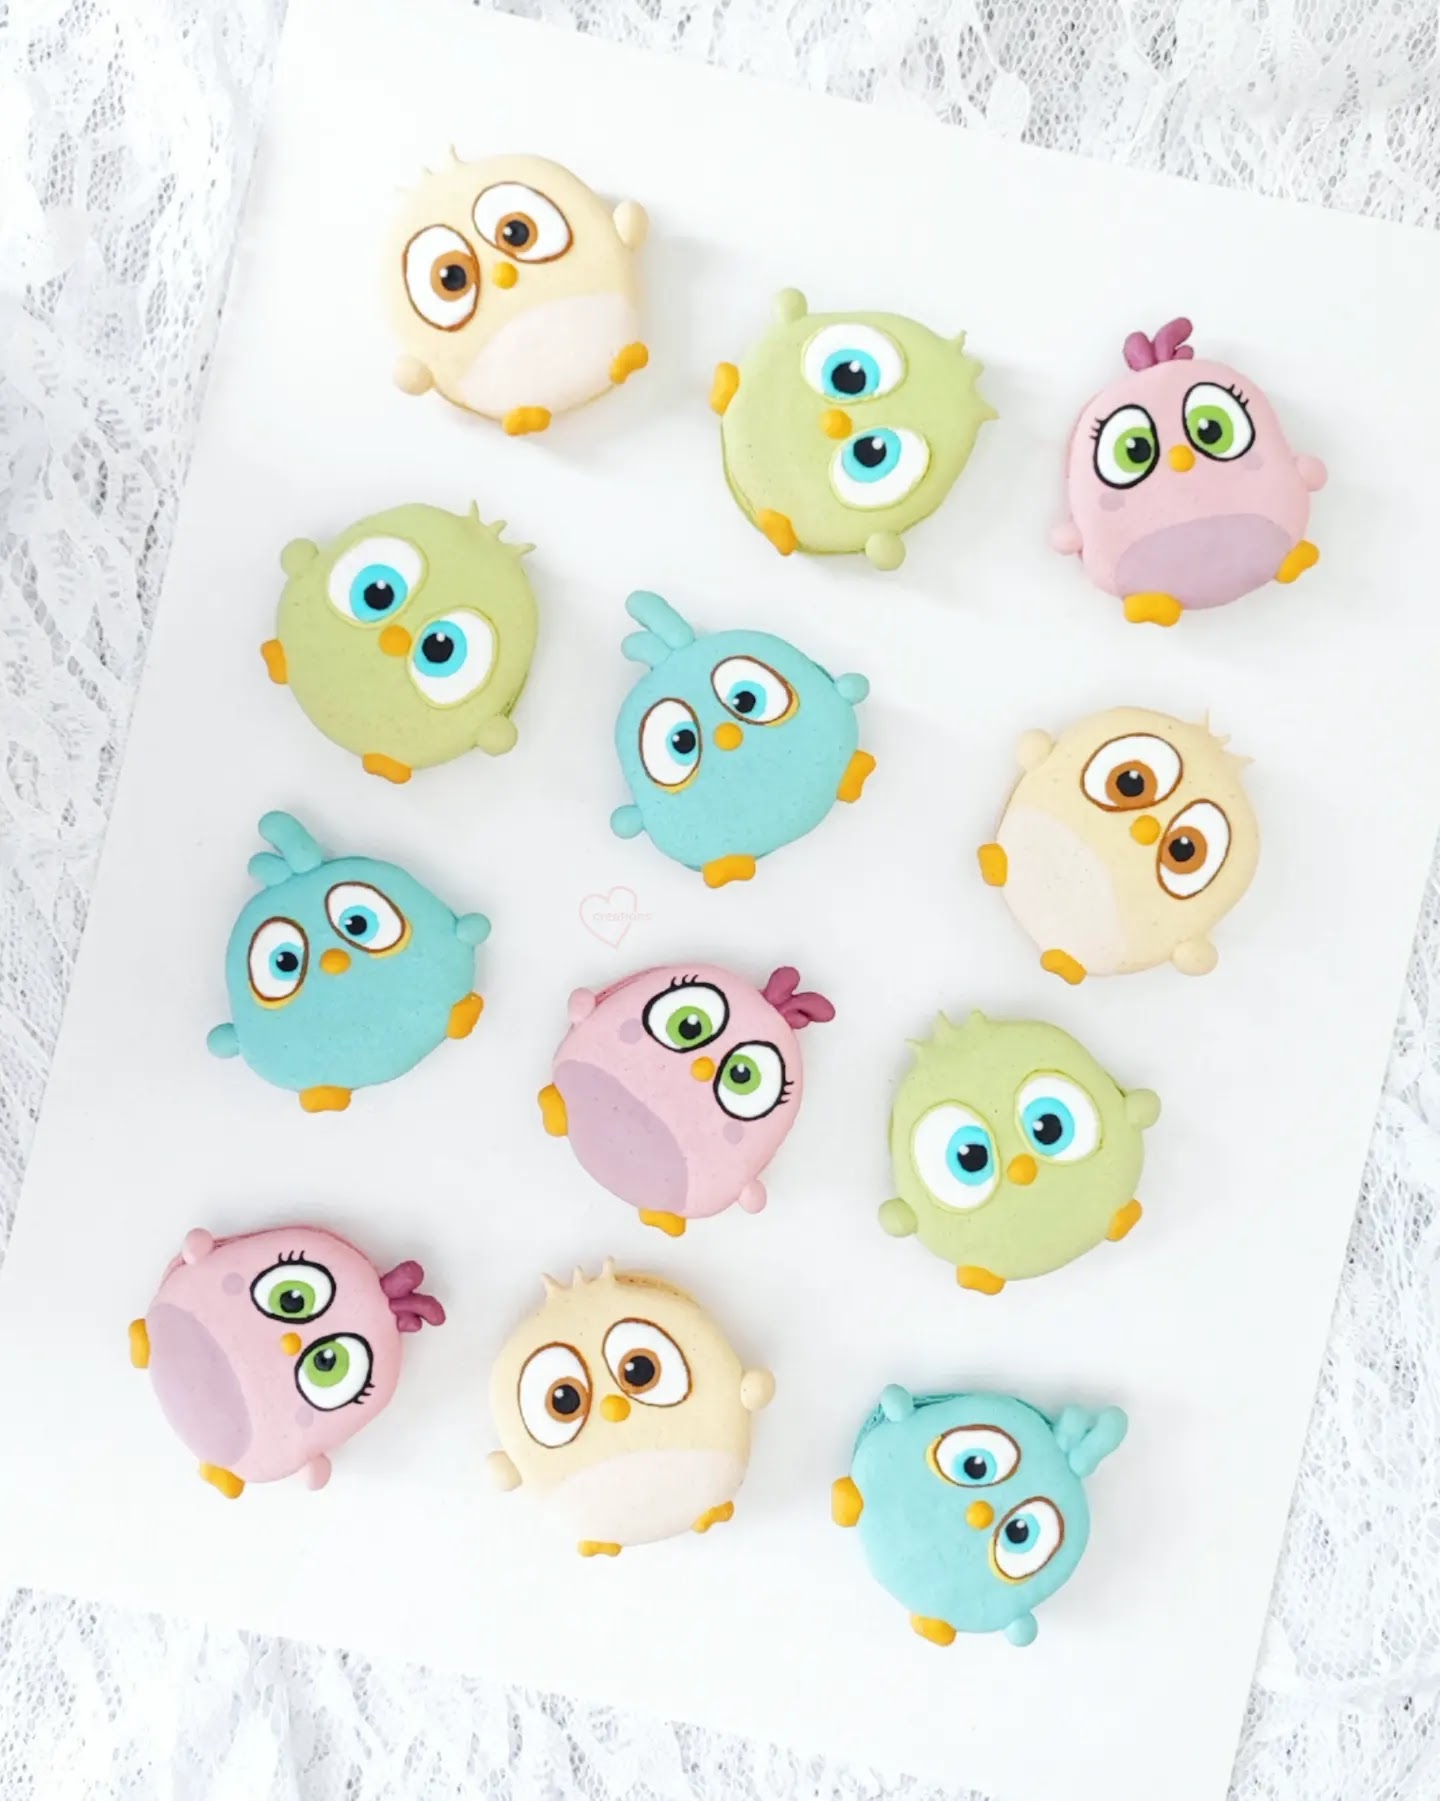


Here's a look at the feet on the macaron shells!

I was really busy during that period as I had another request to deal with so I settled for filling that was the same as that for my other project: strawberry-raspberry Swiss meringue buttercream with the same berry mix compote.

Mixed berry compote
Ingredients:
300g frozen or fresh strawberries/raspberries (sieve raspberries to remove pips if you prefer smoother compote)
30g sugar (or to taste)
Pinch of salt
1 tsp lemon juice

Steps:
Cook everything together in saucepan until reduced to 60% original weight on over low heat. 

Mixed berry Swiss meringue buttercream
Ingredients:
75g egg whites
50g caster sugar
Pinch of salt
135g unsalted butter, cubed and slightly softened
50g mixed berry compote

Steps:
1. In a clean, grease-free mixing bowl, double-boil egg whites, caster sugar and salt while whisking constantly until the egg whites reach 71.1C. Remove from heat.

2. Beat the egg whites at medium-high speed until cooled to room temperature and stiff peaks.

3. Add softened butter one cube at a time, waiting for each addition to be incorporated before adding the next. Continue beating for another 2min.

4. Add compote a little at a time, mixing well with each addition. You may add a little strawberry paste if you wish to enhance the strawberry flavour further.

Lovely cross-section view of the macarons!
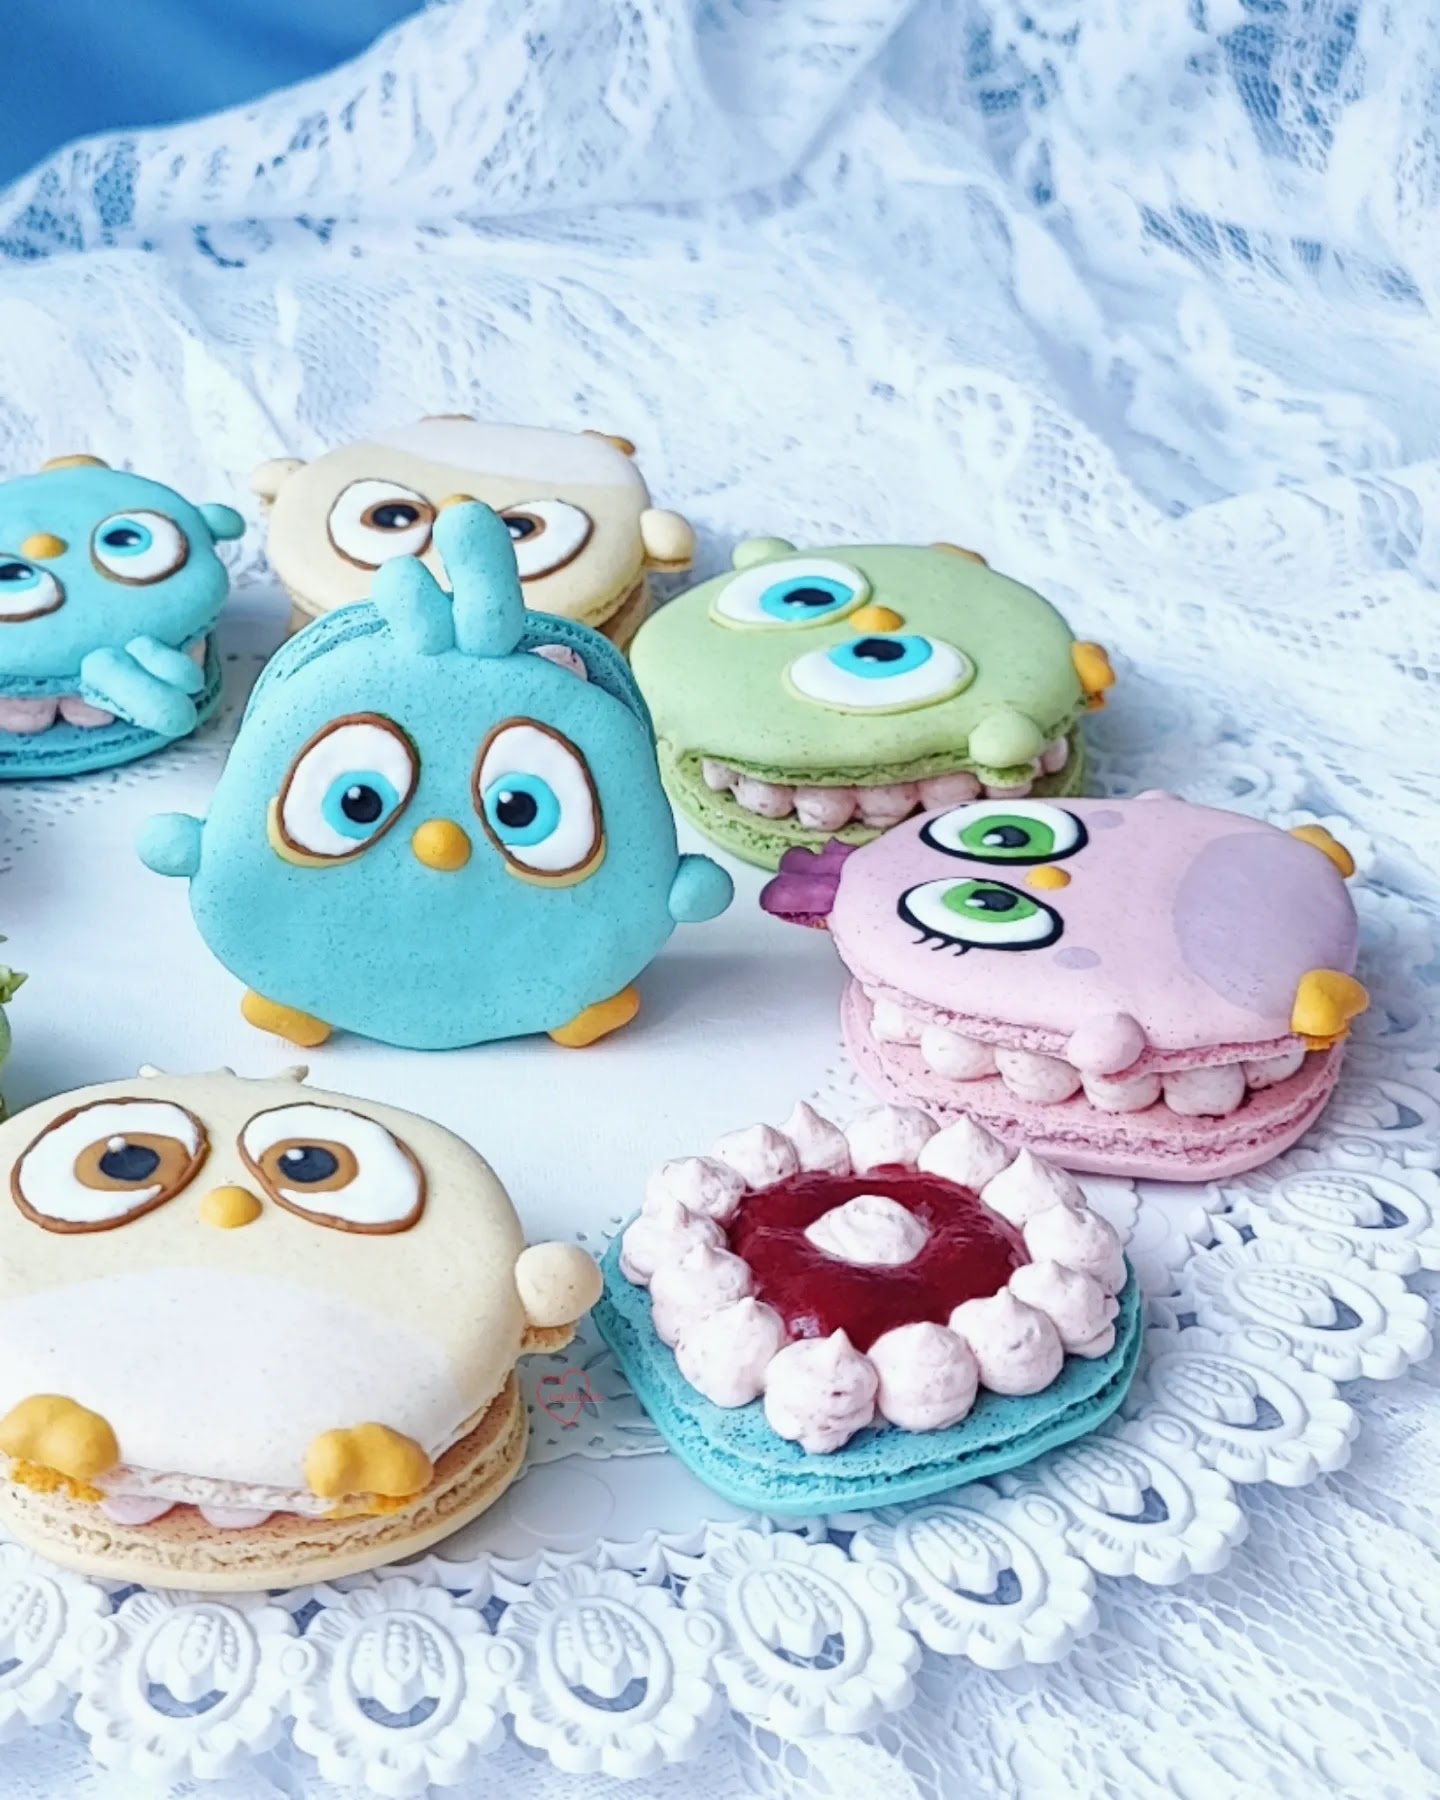

I insulated the compote with buttercream to prevent the macaron shells from turning soggy.


Thank God the birthday kid loved it!


with lots of love,

Phay Shing

Read More »

Tuesday, 1 November 2022

Angry Bird Hatchling Vanilla Caramel Coconut Plushiemallows

 This was a fun and hilarious birthday bake for my younger kid. Angry Bird hatchling marshmallows!


Here's a peek at the plushiemallows (the name I give my character marshmallows modelled after real plush toys) together with the actual plushies!

You can tell which is my kid's favourite by identifying the scruffiest looking plushie 😆

Here's a fun video I put together to show you how squishy they are!

https://www.instagram.com/reel/CjsYLJBgtRq/?igshid=NjZiMGI4OTY=

Marshmallows taste the best toasted in my opinion, because the caramelization of the exterior and transformation of the interior into moist gooey-ness brings a flavour explosion and textural contrast that non toasted marshmallows cannot achieve.

And so, I made another fun video of before and after toasting!

https://www.instagram.com/reel/Cj0DJspgO6o/?igshid=NjZiMGI4OTY=

I don't have a blowtorch at home so using the grill function of the oven takes some trial and error. A few seconds is all it takes to go from lightly browned to charred 😆.

Here's a side-by-side comparison of toasted and untoasted plushiemallows.


My apologies for not revealing much about the technical aspects of this bake as I am in the process of writing the next book in our Creative Baking series, Deco Marshmallows. These hatchlings are made using two techniques that I will share in the book. Templating technique and assembling various pieces to form a character.

Here's a peek at some of the small marshmallow parts made using templates before assembly:

Really excited about sharing the techniques as it will be really helpful for those of you who are artistically challenged and do better if you don't have to pipe everything by freehand, which is very much the status quo in the character marshmallows arena at the present.


with lots of love,

Phay Shing

Read More »

Wednesday, 27 April 2022

Angry Bird Hatchlings Marshmallows

While making a batch of brown sugar teddy bear plushiemallows for my friend, I made some marshmallows in the semblance of my kids' favourite plushies! 

Blue and green hatchling plushiemallows!

These were made with the same recipe and batch as this post so you may head over there for recipe. I would have preferred using all white sugar so I didn't have to compensate so much for the light tanned colour caused by the brown sugar but I didn't want to end up having too much marshmallow by making separate batches!

As usual I mark out the size and rough shape of the character so that they turn out approximately the same size and shape. I used a measuring spoon here.

Marking out the shapes on bed of cornstarch. You may use a mix of icing sugar and cornstarch if you wish.

Freshly piped marshmallows!

And of course I have to reveal the plushies I based my creation on!


Here's a video of the plushiemallow in action!


As mentioned previously, I prefer toasting marshmallows instead of floating them in beverages because toasting marshmallows bring out a wonderful caramel aroma and taste that cannot be found in untoasted ones. I didn't bake any Graham crackers at the time of making these plushiemallows so I used the plain crackers we have at home instead.

My kids had a good laugh seeing their edible versions of the plushies sunburnt😆


with love,

Phay Shing


Read More »

Friday, 29 October 2021

Green Hatchling Salted Caramel Choux Pastry

My younger kid has taken a liking to one of the plushies at home. It's the green hatchling from Angry Birds. He has it around when he reads in bed, and brings it to the study table when he studied for exams. The hatchling is named Grip by my kids so let's call him that. Grip has become a family member and friend of sorts so that's why I decided to make Grip salted caramel choux pastries for my kid's birthday! 

Grip with various expressions! I made it so as part of my first attempt at stop motion video. 

A view of the cross section! 

Have a look at the stop motion video over here

I used my default recipe for choux au craquelin but didn't bake from frozen batter. I will share the ingredient list here since some of you may be interested in the colouring I used. But please refer to the method in the reference post. 

Craquelin ingredients:
21g unsalted butter
18g sugar
21g cake or plain flour
2 drops lime green/mint green gel colouring 
2 drops electric yellow gel colouring 
1/2 tsp white powder colouring 

Extra notes for craquelin: 
You may scale up the recipe. I was making a small batch

Choux batter ingredients:
110g water
40g bread flour
20g plain flour
20g olive oil
20g unsalted butter
1/2 tsp salt
1/2 tsp sugar 
2 eggs
1 tsp white powder colouring 
A pinch of yellow powder colouring 
2 drops lime or mint green gel colouring 
4 drops yellow gel colouring (extra if necessary for the beak and feet batter) 

Extra notes for choux batter:
I divided the cooked dough in ratio of 1:4 for yellow: green, added the extra gel colours before adding the egg to the respective coloured batters. 


For Grip's hair, I used celery fibers that are blanched for 1 min and dehydrated in oven for an hour at 90-100C. 

Blanched and dehydrated celery fibers. 

So glad the "hair" and choux bun are so close in shade😍😍😍

I didn't take photos of the small parts like beaks, feet, tail and wings. They were all made of choux as well. The eyes were made from royal icing transfers. 

I drew the eyes on paper and used it as template for piping the eyes. 

The filling is salted caramel and salted caramel diplomat cream with mini crunchy chocolate balls. 

You may refer to this post for the salted caramel recipe. I thinned it with a little milk so it is more oozy. You may add crushed biscoff biscuits instead of crunchy chocolate balls. I just didn't want to buy an extra packet of biscuit for this😂. 


Salted caramel diplomat cream

Ingredients:

2 egg yolks

20g brown sugar

20g cornflour 

200g milk 

1 tsp vanilla extract 

1/4 tsp caramel flavouring (optional) 

15g unsalted butter 

20-30g salted caramel

65g whipping cream of choice (dairy, non-dairy or a combination) 

30g crunchy chocolate balls/crushed biscoff biscuits (adjust amount according to taste, omit if you prefer) 

Steps:

1. Heat milk, vanilla and caramel flavouring (if using) in a small saucepan until steaming hot (not boiling). In the mean time, whisk together egg yolks, brown sugar, cornflour and salt in a heavy bowl or glass measuring jug. 

2. Pour hot milk into egg yolk mixture in a thin stream while whisking the egg yolks continuously. Pour everything back into saucepan and heat over medium-low heat while whisking continuously. 

3. Once mixture thickens, remove from heat and continue whisking until mixture smoothens out. Place back on stove and whisk continuously while cooking to preferred consistency. 

4. Remove from heat and add butter and salted caramel and whisk until well combined. Press a cling film on surface of pastry cream and refrigerate until firm, at least 1h.


5. Whip up whipping cream of choice till firm or stiff peaks. Remove pastry cream from fridge and beat it briefly with spatula to loosen texture. Fold in whipped cream to make diplomat cream. 

6. Fold in crunchy chocolate balls or crushed biscoff biscuit crumbs. 


7. Transfer into piping bag. Fill pastries shortly before eating. Note that biscuit or crunchy cookie items do not stay crisp in the filling for long so if you want to enjoy the crunch within the filling, add in the crunchy bits only shortly before filling and serving. 

Grip is so cute I couldn't resist taking more pictures! 


Twinning! 

Pastry Grip with the real life Grip! 

As it is my kid's last year in primary school, I decided to make a graduation version as well! 

The hats are made of macarons and sour candy strips. You may refer to my Macaron Basics book for the regular sized macaron version. 

I hope this post puts a smile on your face as much as Grip (both real and pastry versions) did for my little one and all of us at home! 


With lots of love, 

Phay Shing


Read More »

Thursday, 4 August 2016

'Angry birds' Chiffon Cake


I made this simple small chiffon cake few months back for a friend (was following the Angry birds movie craze). It was lost in my phone until today I saw my son bring home the National day flag, I was suddenly reminded of it because of the National day colours, red and white lol! I made this by spooning cream and red batter side-by-side 2/3 and 1/3 in a ball pan. The beak was made by making some orange chiffon batter in a paper cone! =) The other features were cut from chiffon baked as sheet cakes. Thankful it was well-received!

With lots of love and happy National day in advance!
Susanne =)


Read More »

Saturday, 11 April 2015

Angry Bird and Ladybug Macarons

I had some leftover macaron batter after making Elmo macarons. Here's what I did with the leftovers :)

Red Angry Bird and ladybug!

I made a template as shown below...


I portioned out a bit of the red batter (about 2 tbs) and added charcoal powder (1/3 tsp) to create the black batter. A 5-6 mm tip was used for piping the rounds and a 3mm tip was used to pipe the finer features. Angry bird's tail was painted on using a toothpick as it's too fine to be piped.

Before and after baking the shells.

Pairing up freshly baked shells


Freshly iced with royal icing along with extra Elmos!

Filling with chocolate ganache and strawberry swiss meringue buttercream!

A friend's kids and my kids got to enjoy these extra macarons!

With love,
Phay Shing


Read More »