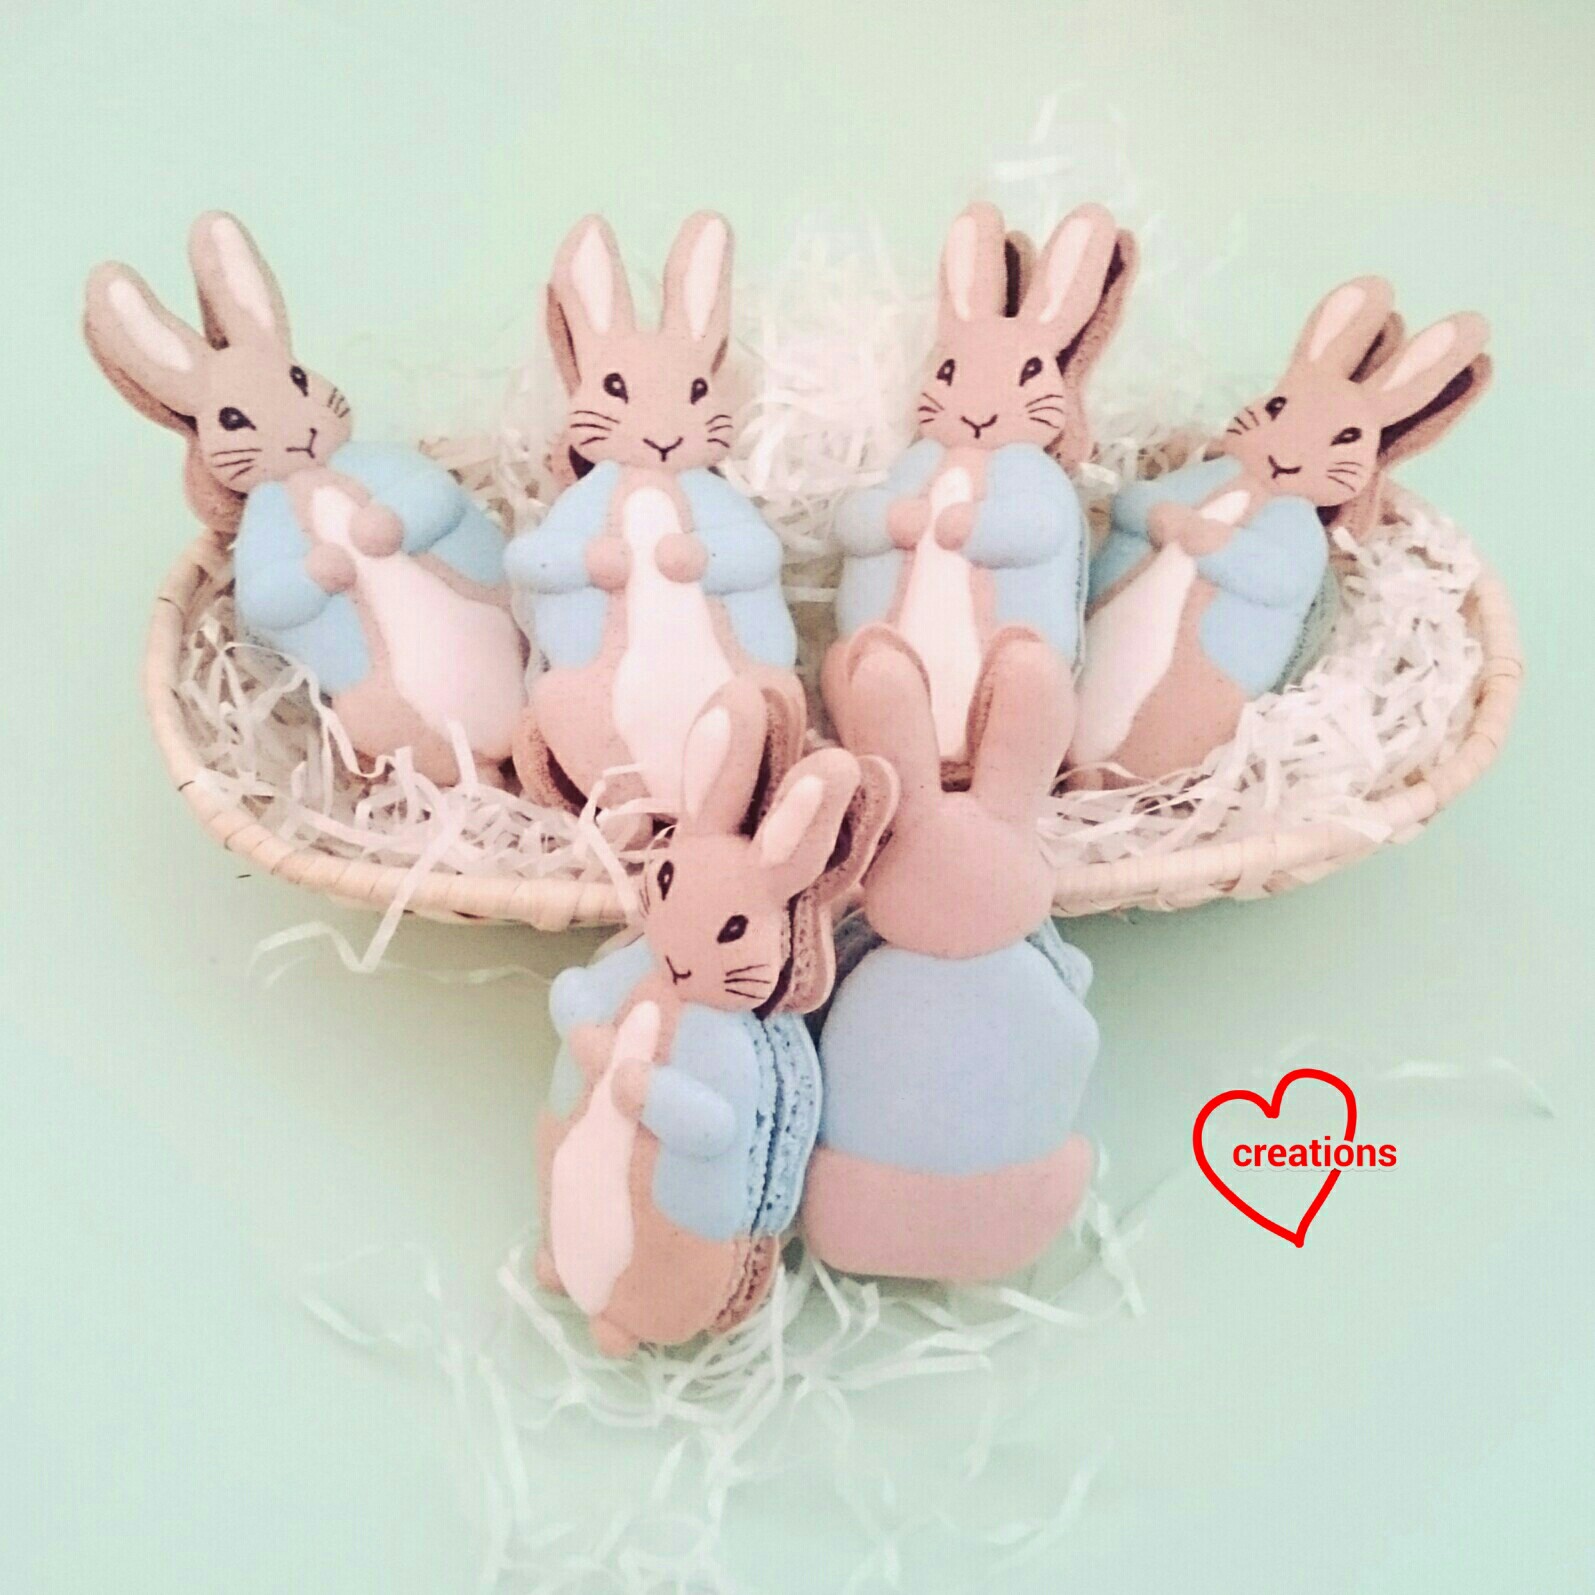
I have a request for Peter Rabbit macarons and got really excited about having a chance to work with such a classic cute character!
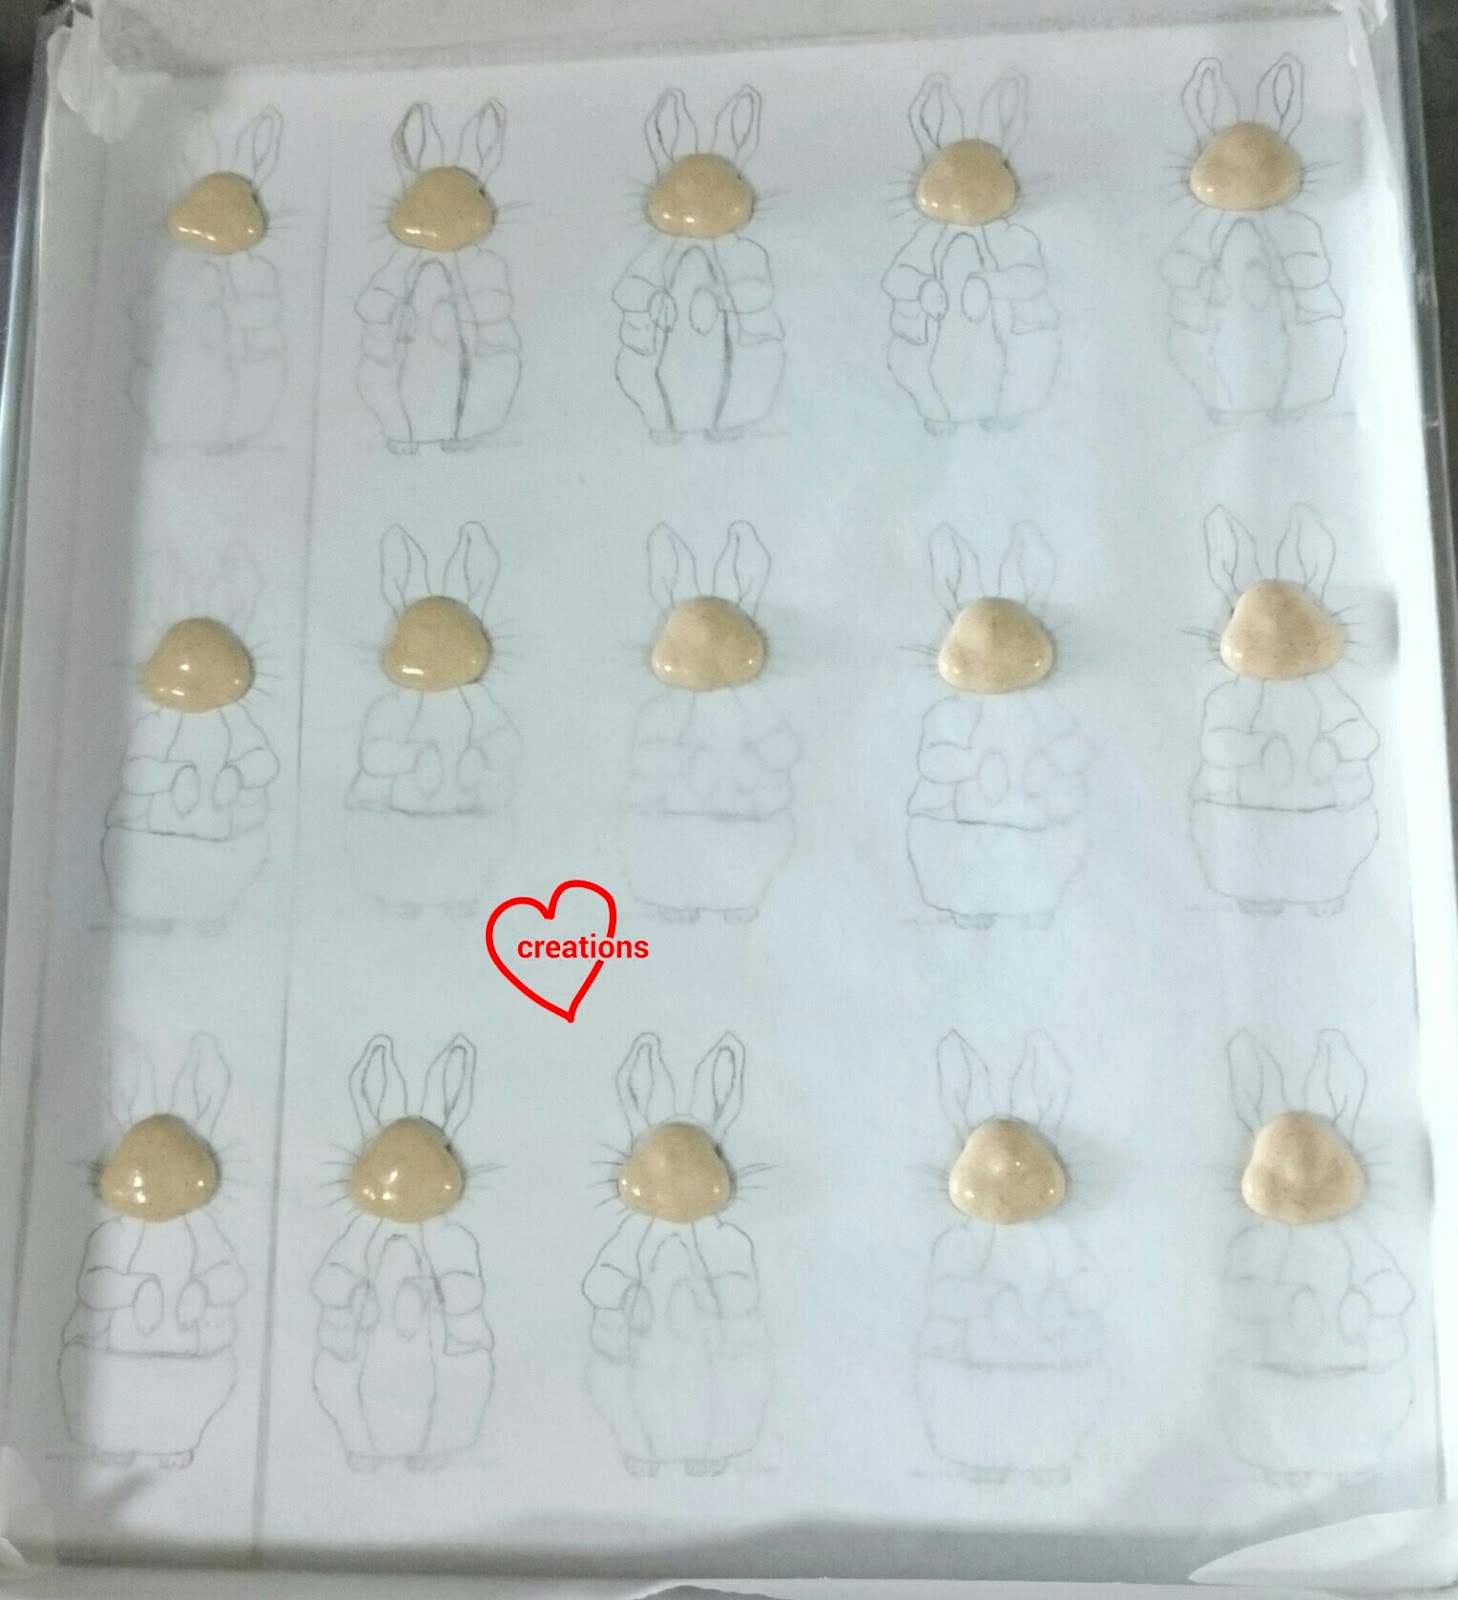
Peter Rabbit falls under public domain so I am able to share the template freely here. I edited line drawing images from
DragoArt to create the template. Please acknowledge the sources if you are using the template as I have taken time to work on it. The original Peter rabbit drawing is narrower but for macarons, it is preferable to have something rounder so I stretched the image horizontally for a "chubbier" Peter. You may print out the template on an A4 sheet.
Half of the images are mirror-imaged for the bottom shells.
Prior to baking macarons, I usually have to do some prep work planning e.g. drawing the details like the inner ears, white belly and complete the outline of Peter's coat to have a better idea of how the macaron should look like. I also work out the order in which the various features should be piped and the size of round piping tips for each feature. The numbers indicated are for Wilton tips. #5 tip is approximately 3mm in diameter, #6 is about 4mm and #8 is about 5mm.
Pardon the messy writing. I scribble :p
You may refer to my video tutorials on
macaron basics and
techniques for piping complex shapes. Grab a copy of my
Creative Baking: Macarons book for a more organized write-up too!
Recipe for Peter rabbit macaron shells
Ingredients (makes about 35-40 rabbits):
200g almond meal, preferably superfine
200g icing sugar
200g caster sugar
75ml water
160g egg whites, divide into two equal portions
Colouring:
White: 1/4 tsp white powder food colouring (optional)
Brown: 1/3 tsp Dutch processed cocoa powder + 1 drop yellow + 1 drop orange gel food colouring
Blue: 1/4 tsp white powder colouring (optional) + 2 drops sky blue + 1 drop royal blue + 1 drop purple gel food colouring
Steps:
1. Prepare baking trays with template on and baking paper over it. Stick the baking paper down on the tray with Italian meringue when you have made it.
2. Prepare the mass. Sift together almond and icing sugar. Add 80g egg whites and mix well to form a thick paste. Divide the mass according to the estimated surface area for each colour as follows:
I had to do the working on the go. Pardon the messy handwriting again
3. Add the respective colouring ingredients listed in the ingredient list to the masses. Sift the powdered ingredients before adding to masses. Mix well with a spatula.
4. Prepare the Italian meringue. Place caster sugar and water in a small saucepan and heat it without stirring until temperature reaches 115°C. In the meantime, beat 80g egg whites with electric mixer at medium low speed until soft peak stage. Do not beat past the soft peak stage. Reduce mixer speed if necessary. Once syrup reaches 115°C, turn mixer speed to medium high and slowly pour syrup into the egg whites, taking care to avoid the beaters. Continue beating for another 10 minutes until meringue is stiff, glossy and cool.
5. Portion the Italian meringue according to the formula: weight of meringue = 0.55 x weight of mass. I wrote down the weight in the handwritten table above. Fold the Italian meringue into the masses in two additions, with the first addition about a third of the meringue. Fold until the batter has a lava-like consistency. Transfer batter into piping bags fitted with respective tips. Prepare toothpicks for pulling/nudging the batter.
6. First, pipe the rabbit head. Bang tray on table. Remember to bang the tray after piping each subsequent feature.
Next, pipe the ears and body
Pipe the blue coat
Pipe the whites of the ears and chest/belly. You may find it handy to place a picture of Peter next to the macaron shells so that you know where exactly to pipe the white parts.
Leave it to dry for 15 minutes under the fan or in an aircon room until a sticky membrane forms. Pipe the blue sleeves, followed by the feet and paws. Have the picture handy for this step too for the arm positions.
Leave it to dry until shells are dry to touch. About 1-2 hours depending on humidity. I must stress that the finger test is a more reliable indicator than actual resting time. Yours may be less than an hour or more than two hours.
7. Preheat the oven to 135°C towards end of resting time. Set rack to lowest position. Bake for 10 minutes, rotate the tray and bake for another 7-8 minutes. Check to see if the feet on the shells are dry. If they are still wet, reduce temperature to 120°C and bake for another 5 minutes before checking again. Cool completely before removing the shells from baking sheet.
Freshly baked shells! I was so charmed by these already even though the faces have not been drawn on.
Use a really fine tipped black edible marker to draw the facial features.
I filled the shells with
firm dark chocolate ganache as requested. I used 10g of unsalted butter instead of 15g. You may use a different chocolate: cream ratio for your ganache. In Singapore's hot and humid climate, ganaches have to be made pretty firm. Refrigerate for at least 24h before serving. Let the macarons sit at room temperature for about 10-15 minutes before consuming.
Packing these individually took some time too!
Although it was a challenge to make so many complexed shaped macarons, it's a joy to see the results!
With love,
Phay Shing