Monday 29 March 2021

Salted Caramel Biscoff Cat Macaron Class (for teens!)

I have decided to conduct a macaron class for teenagers during the June school holidays. This cat face design is the same as the one I intend to teach for adults but a full body version


The filling is salted caramel and biscoff swiss meringue buttercream, a flavour that most young people love, including my younger kid! 


In this class, I will teach the basics of French method, how to pipe the simple cat head, how to decorate the face using edible markers and royal icing, as well as demo how to make the fillings. Due to time constraint, the fillings will be demo only but the macaron making and decoration will be fully hands-on. 

If you are interested in this class, please click on this link to register and for more details. 


With love,

Phay Shing

Read More »

Wednesday 24 March 2021

Heart Shaker Cookies (Culinary Arts Ministry)


Sharing this item for my church's culinary arts ministry class this Sunday 28th Mar. May you be blessed by it!


Heart-shaped Shaker Cookies (makes 9 shaker cookies or 18 window-pane cookies)

Ingredients for Cookie Dough
Vanilla Butter Cookie
58g unsalted butter (cold, cut into cubes)
50g castor sugar
28g whole egg (1/2 a whole egg)
¼ tsp vanilla essence (1.25g)
120g all-purpose flour, sifted
15g corn starch
1g salt (1/6 tsp)
Drop of red food colouring (optional)

Candy Window Pane
18g isomalt or crushed clear candies

Decorations
5g sprinkles
8g chocolate chips/candy melts + 1-2g oil/shortening* (*optional: adjust to pipeable consistency)


1. Line a baking sheet/tray with aluminium foil.

2. Using an electric mixer, cream butter and sugar till pale and fluffy. Scrape down the bowl, and add the egg and vanilla bit by bit. Continue beating till they are well incorporated and the mixture lightens in colour.

3. On low speed, mix in sifted flour, cornstarch and salt bit by bit. Add in red colouring (optional) and mix well.

4. Form the dough into a disc (chill for about half an hour in clingwrap – ideal).

5. If you chill, roll the dough to ¼-inch (0.6-cm) on a baking sheet. Cut out hearts from the dough using a larger 5-cm heart-shaped cutter. Place the cut-out hearts on the baking tray with aluminium foil. Punch out a smaller heart inside the bigger heart using the 3-cm cutter. Reroll the scraps and repeat till all the dough is used up.

If you do not chill, roll the dough to ¼-inch (0.6-cm) directly onto the aluminium foil. Cut out hearts using the larger 5-cm heart-shaped cutter. Remove the excess dough scraps around the hearts. Punch out a smaller heart inside the bigger heart using the 3-cm cutter. Reroll the scraps and repeat till all the dough is used up. You can also bake the cut-out hearts as cookies by themselves.

*Do not overwork the dough, especially with the heat from your hands.

6. Preheat oven to 170oC (338oF). Check with an oven thermometer to ensure the temperature is accurate so that you do not overbake your cookies by the time the isomalt melts.

7. Add in a thin layer of isomalt or crushed candies powder in the inside of the cookies (for isomalt around 2 tiny coffee stirrer spoons). Distribute evenly. If you are using crushed candies, the layer should be thicker than isomalt.

**See the video here to see the thickness of isomalt you should add for clear window.
 

8. Bake for 18 minutes or until all the isomalt/candies melt.

9. Let the cookies cool completely before lifting off the baking sheet to ensure that the candy has fully set.

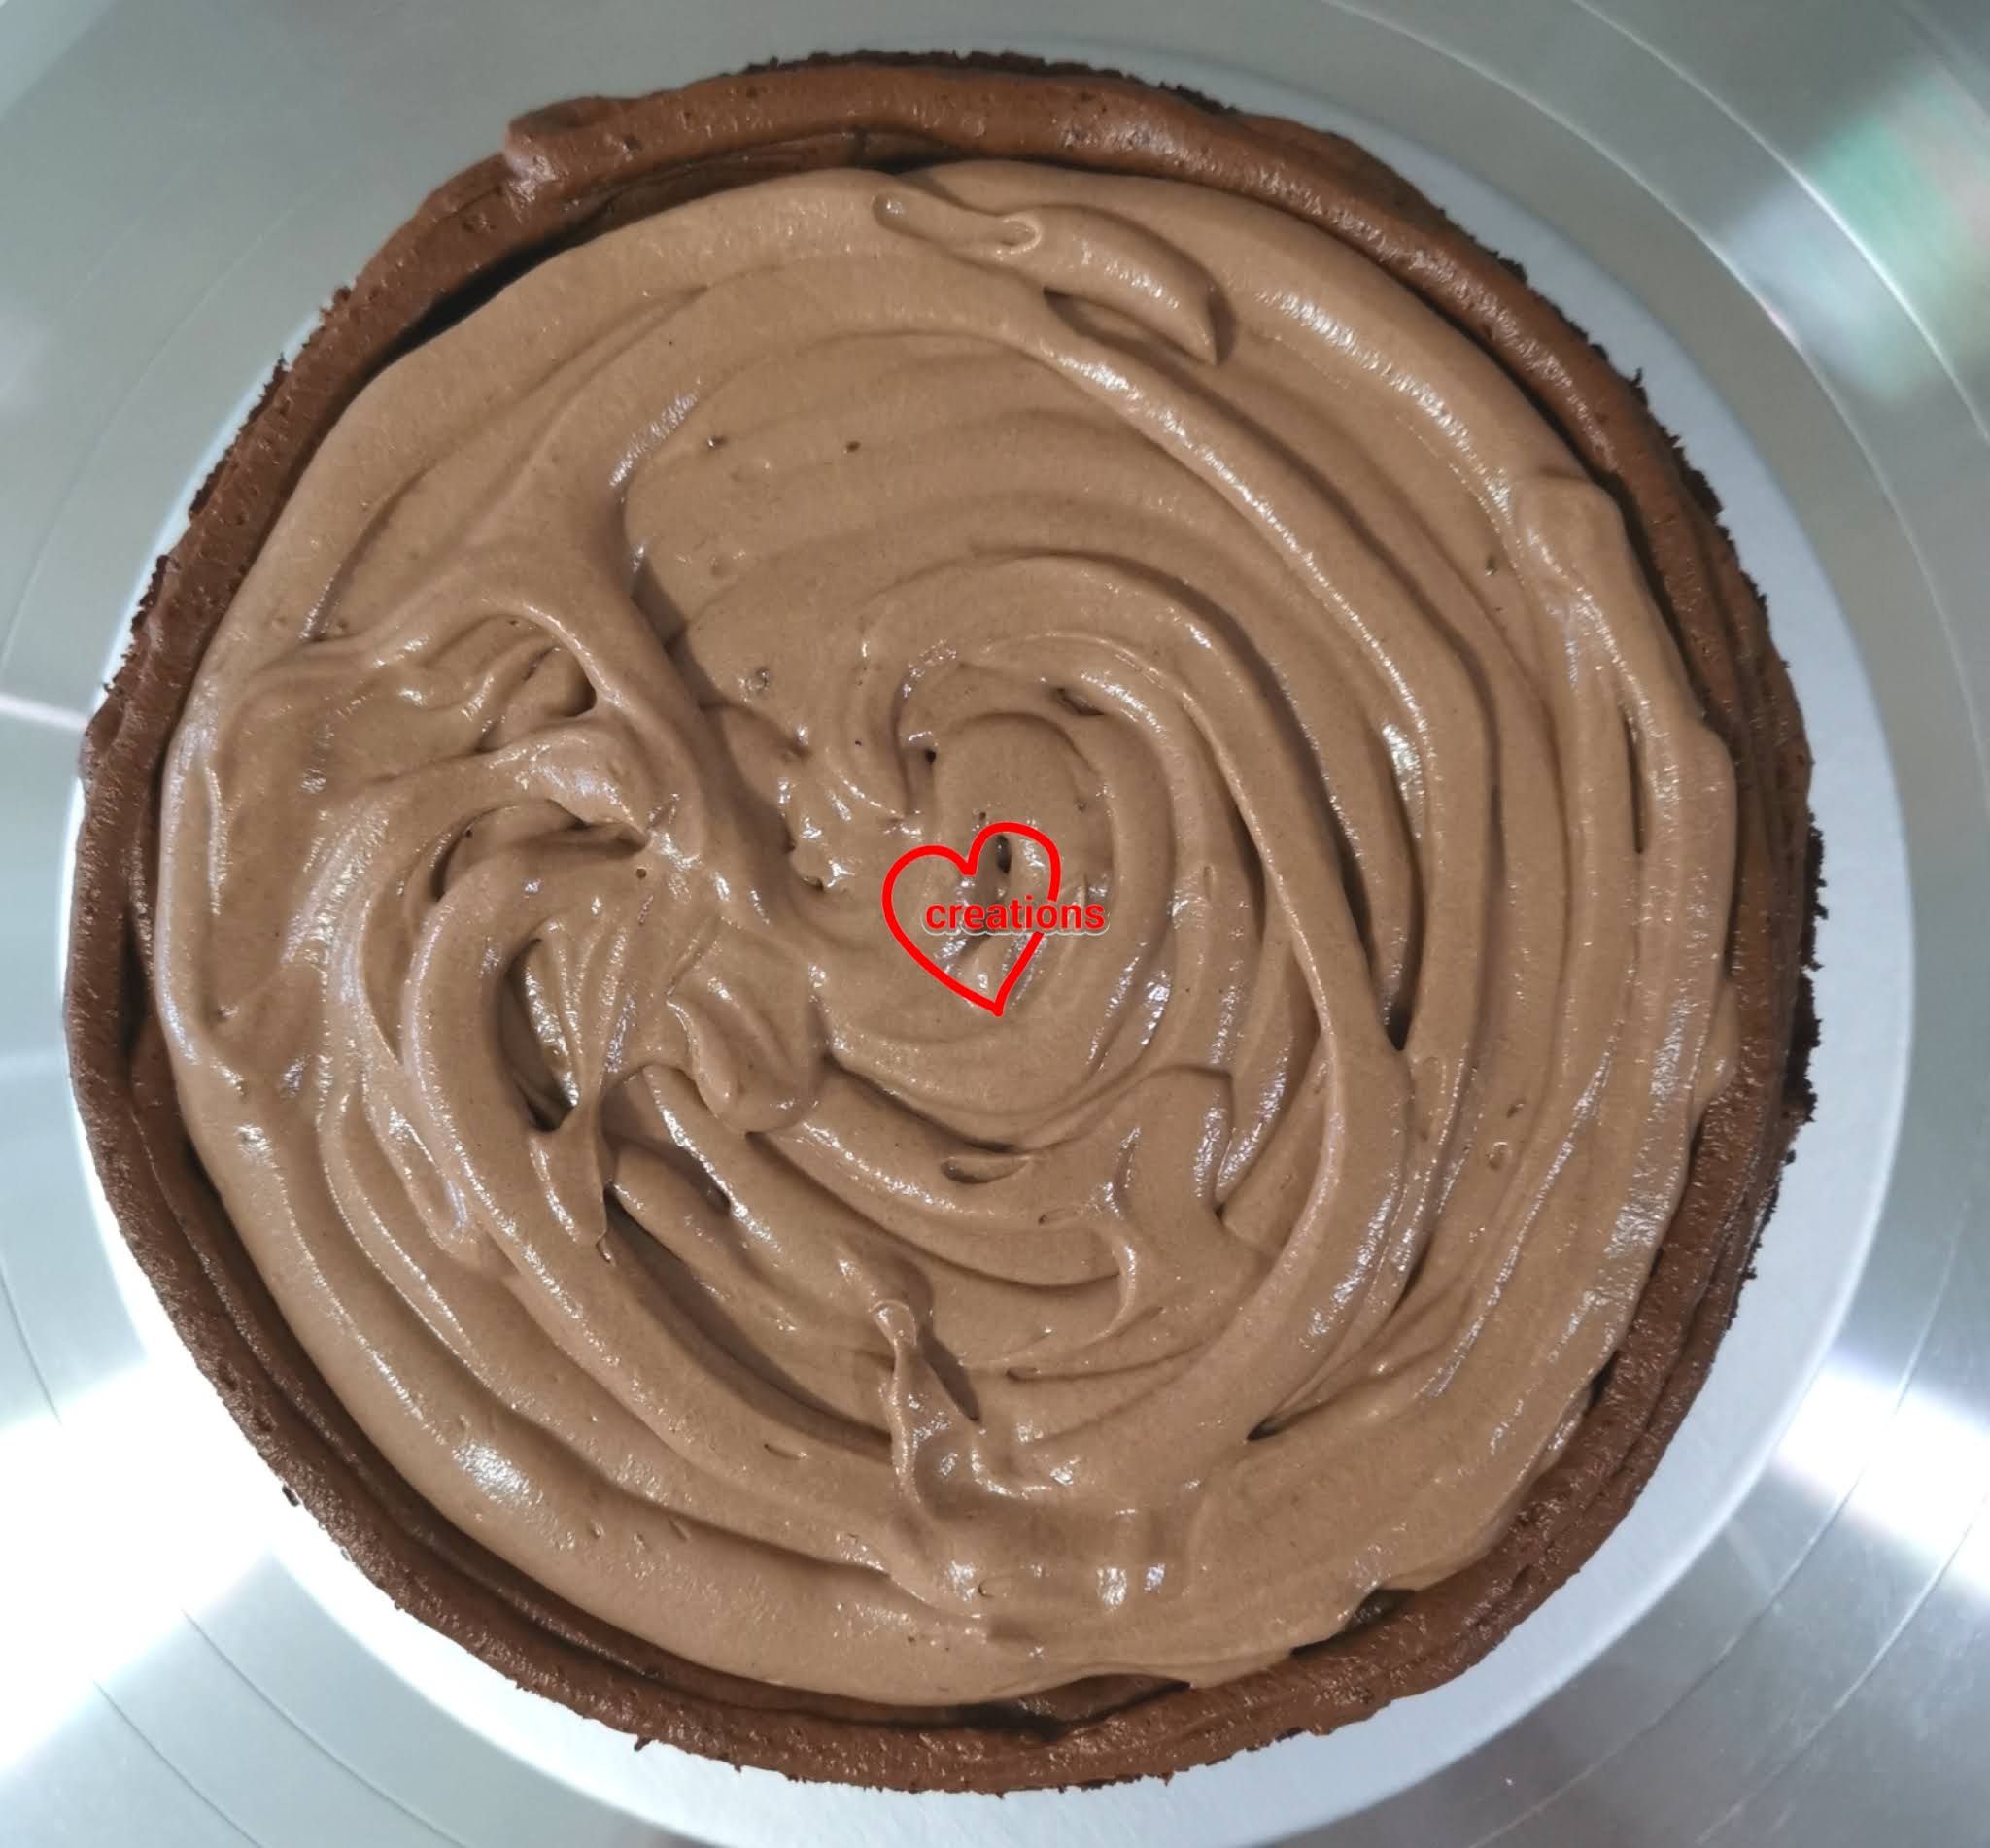
10. To assemble the shaker cookie, place sprinkles inside the window pane of one cookie. Melt chocolate in piping bag using a microwave (30s on high) or double-boiler. Pipe a ring of chocolate around the window pane and stick on another cookie. Decorate with more sprinkles if desired.

Hope you like it!

With lots of love,

Susanne


Read More »

Tuesday 23 March 2021

Mango Passionfruit 3D Cat Macaron Class

These may look impressive as 3D standing cat macarons but this class is actually targeted at beginners! 


Design is inspired by Kokoma's 3D deer macarons. 


If you are new to macarons and this character macaron intrigues you, come and join me for this class to make these rather uniquely designed macarons filled with a sour mango and passionfruit ganache! 

Please refer to this link for registration and more details. I will cover the basics of French method and how to pipe, decorate and assemble this car design. The shells are flavoured with mango and passionfruit freeze-dried fruit powders so they taste good on their own too! You will also learn how to make a filling that is not too sweet (sour in fact!), packed full of flavour but firm enough for Singapore's tropical climate. 


What are you waiting for 😉! 


With love,

Phay Shing

Read More »

Sunday 21 March 2021

Brioche Wool Roll Bread


I was really curious about this trending Wool Roll bread I saw everywhere on social media, first inspired from Apron (youtube). I used a different recipe from the original video as recently I love the rich buttery Brioche bread. I do think the wool roll adds a nice touch to the normal loaf and is quite pretty =). Do check out the original video for the shaping technique. Here is my modified recipe using Brioche dough. I am sharing this as there was quite a number of queries on the recipe after my Instagram post. I really love the rich buttery flavour and soft texture =).


Brioche Wool Roll Bread
105g Bread Flour
1.5g salt
6g castor sugar
1 cold egg (52g)
2g instant yeast
19g cold milk
32g unsalted butter, cold cut into cubes

1. Combine all ingredients except butter and salt in a mixing bowl. Using the dough hook, mix at low speed for 3 mins, then 6 mins at medium speed. Check for window pane by stretching a small piece of dough. Increase by intervals of 1 min until the window pane stage is reached. You can also knead by hand.

2. Add in salt and butter and mix for another 3-5 mins till well-combined and dough is smooth.

3. Give the dough a few folds and round into a ball. Cover lightly with clingwrap or damp cloth and allow to ferment for 1 hr (bulk fermentation).

4. Divide the dough into 3, round each piece into a ball and allow to rest for 10 min (bench time).

5. Use a rolling pin to roll each ball into an oval/rectangle, then use a knife or scraper to cut half of the dough into strips. Roll up the dough starting from the side with no strips. Place the first piece of rolled dough into a lightly greased 8x4-inch loaf pan, then repeat for the other two dough pieces.

6. Proof lightly covered at room temperature for 30 mins or until dough doubles in size and fills up the loaf pan.

7. Lightly egg wash and sprinkle with sugar (optional).  

8. Bake at 210oC for 14 mins till golden brown and loaf sounds hollow when tapped.


Hope you will enjoy this delicious loaf!

With love,
Susanne


Read More »

Thursday 18 March 2021

Cute Puppy Lavender Vanilla Honey Choux Pastries

Wondering what to make for Mother's Day? Why not join me for this class to learn how to make these cute and yummy puppy choux pastries! 


Instead of making the usual cupcakes or cookies, choux pastry might be a more unique treat. Crispy on the outside, cold and creamy on the inside, fragrant and not too sweet! 

I will cover the basics of choux au craquelin (cream puffs with a crispy cookie layer), how to make lavender vanilla honey diplomat cream, and how to assemble this puppy design. This design is naturally coloured so it is a plus point for those of you who are health conscious. Choux pastries have one of the lowest sugar content in all desserts so it may be just the treat you are looking for! 

Can you resist them looking at you this way? 


Click on this link for more details and for registration if you are interested! 


With love,

Phay Shing


Read More »

Wednesday 17 March 2021

Pooh Bee Chiffon Cake


Always wanted to try making a cute animated video on my cakes. Here is my humble attempt. Can you tell what is happening between Pooh and his friends?


With lots of love,
Susanne


Read More »

Monday 15 March 2021

Two-Ingredient Edible Rocks

Not all "bakes" with a wow factor are difficult, expensive and/or time consuming to make. Here is one quick and simple creation that only needs 2 ingredients and can be made in a matter of a few minutes! These realistic looking but edible rocks are presented by the hosts of my Youtube channel. 


My kids said the rocks look so much like the ones they pick up on our reservoir walks 😂. 

I did a video tutorial to show you how this is done! But for easy reference, let me type it out here as well. 

Ingredients :

30g compound white chocolate chips 
6g Oreo cookie crumbs (without cream) 

Steps:

1. Place chocolate chips on a sheet of cling film. Knead it using the film and your hands. The heat and pressure from your hands will melt the chips into one lump. 

2. Scatter some Oreo crumbs in a few additions, kneading until well combined with each addition. Don't worry about making it homogeneous as it looks more natural that way. 

3. Divide the lump of Oreo white chocolate into rocks of various sizes. Use a fresh cling film, gloved fingers or the back of a metal teaspoon to shape the rocks and smooth out the surfaces. 

4. Leave in a cool place to set. 

Youtube video tutorial can be found here. Feel free to scale the recipe up or down. Just keep in mind to use the same ratio of Oreo crumbs : white chocolate = 1:5.

Have fun! 


With love,

Phay Shing

Read More »

Tuesday 9 March 2021

Mango Passionfruit Cat Macarons

 I was testing out a new flavour combination for both macaron shells and filling in preparation for class material, and decided on a tropical combo of mango and passionfruit. Mangoes are in season now so it's a great time to test this out. And because I love cats, I made these 😊.


I had a hard time deciding which photo to use as the cover photo so I did a poll on Instagram and chose the most popular one as my cover. 

The macaron shells were made using French method but I added freeze-dried mango and passionfruit powders so the shells alone didn't taste too sweet and had a wonderful flavour on its own too! Exactly what I had in mind as my class material has shells that have no filling in a 3D assembly that I am working on. 

Just to share some pictures.... 

Freshly baked macaron shells! These took me over an hour to pipe! 


All the decorated shells! I used black edible marker and royal icing to add in the details. 


Check out the awesome feet! 

I made my own mango compote amd chose slightly sour mangoes for it. My formula for making compote for macaron filling follows this rough formula: add sugar to pureed fruit, about 10-15% by weight of fruit, add a dash of lemon or yuzu juice, add a pinch of salt, and cook over low heat until weight of fruit is reduced to half of original weight. 

Nice and thick mango compote! 

I needed a firm filling as I am testing out for a simple 3D macaron structure that won't soften too much in tropical Singapore. To do that, ganache base is the best as buttercream may not be as firm. You may choose to make passionfruit curd, mango curd, or buttercreams if you wish. 

Firm mango passionfruit ganache
Ingredients:
80g white chocolate, chopped or use chips
20g unsalted butter 
1/8 tsp salt
50g mango compote
4g freeze-dried mango powder*
8g freeze-dried passionfruit powder*

* adjust according to taste. I was going for really tart filling. Add more compote or butter if you want a softer ganache. 

Steps:
1. Melt chocolate, butter and salt together over low heat using microwave or double-boiling. Set aside to firm up to toothpaste consistency. You may chill in fridge for a few minutes to speed it up. 

2. Whip the mixture using a spatula until white and light like buttercream. You may need to repeat chilling and whipping to get to the consistency of buttercream.

3. In another bowl, add freeze-dried fruit powders to mango compote and mix well. 

4. Add one tablespoon of compote at a time to whipped white chocolate mixture and fold it in. 

Whipped white chocolate mixture and mango compote. 

5. Transfer into piping bag and fill the macarons. Store filled macarons in fridge in airtight container for at least 24h before consuming. Before serving, leave the container out at room temperature unopened for 15 to 20min before opening. This is to prevent condensation from forming on the shells 

A close up view of the filling. Look at the bits of fruit! 

I hope these kitties put a smile on your face as it did to me! 

With love, 

Phay Shing


Read More »

Monday 8 March 2021

Light Rye Sourdough Bread


Wasn't intending to post about this, but I had some friends interested in the recipe, so will just share =). In my experience, adding the dough conditioner/improver makes the bread so much more elastic and softer, but some may prefer not to add as it may not be as healthy. Also, this version is not so sour as my family is not into the real sourdough. If you prefer a sour version, you can proof overnight in the fridge to bring our the sourness of the levain. I didn't have a dutch oven, nor a steam oven, but I use a spray to create steam when the bread goes in to develop the crusty crust. This is the simpler homemade version of healthy bread. Hope it helps =)

Light Rye Sourdough (Bulk Fermentation)
80g Bread Flour
20g Rye Flour (can replace with bread flour)
0.3g Malt flour or dough conditioner (optional)
2g Salt
2g Castor Sugar
2g Milk Powder
2g Oil
20g Starter (Levain)
0.5g yeast (1/6 tsp, optional but helps proof faster)
58g water (use cold water as due to heat from mixer)

1. Add all ingredients except water, salt and oil in mixing bowl.

2. Using a dough hook, mix the ingredients at low speed and add in water gradually. Continue kneading for 2 min at low speed.

3. Increase the speed to medium high and knead for another 5 min. After 5 min, check for window pane. If window pane is not reached, increase in intervals of 1 min and check again.

4. Add in salt and oil, and mix for another 1-2 min till dough is uniformly mixed.

5. Cover in cling wrap or towel and allow to proof for 1 hr (or double in size). If not using yeast, proofing time is 3 hrs.

6. Divide the dough into 3, lightly shape into balls. Allow to rest for 10min (bench time) before shaping into batard or boule.

7. Proof for another 45 min or when the loaves double in size.

8. Score by sifting over some flour and using a knife dipped in oil.

9. Bake at 210 for 20 min or until bread is golden brown. Spray steam into the oven once in. After 10 min, open the oven and rotate the tray.


To grow the Starter
Day 1: 50g bread flour + 50g water
Day 2-Day 14: Everyday use 50g starter from previous day + 50g bread flour + 50g water

Day of using starter, remove 10g of starter, add 10g of bread flour + 10g water. Wait 4 hrs till bubbly and active before using.


With love, 
Susanne 
Read More »

Monday 1 March 2021

Mini Cooper Shortbread Cookie on Chocolate Drip Cake

I love a new challenge, much as it can be nerve wrecking sometimes. It pushes me out of my comfort zone and explore new techniques. This bake is one of them. Presenting my Mini Cooper themed chocolate cake! The whole car is made out of shortbread cookie and filled with M&Ms! 


The requestor wanted red car theme for the chocolate drip cake so I thought of experimenting with creating the entire car out of cookie. Although shortbread is a medium I have worked with since my early baking days, I have not built something like this before. I tried to stick to natural food colours as far as possible too. 

Shortbread cookie recipe
Ingredients:
Black
144g plain flour 
1/2 tsp charcoal powder 
1 tsp cocoa powder
100g unsalted butter, softened
50g icing sugar 
1/2 tsp vanilla extract
1/8 tsp salt

Red
150g plain flour 
1/8 tsp red powder colouring 
1/ 8 tsp cocoa powder
100g unsalted butter, softened
50g icing sugar 
1/2 tsp strawberry emulco
1/8 tsp salt

Steps:
1. Prepare the car template using plastic file sheets or parchment paper. Line baking tray with parchment paper or perforated mat. I use perforated mat as it helps to retain the shape of cookie cutouts better. I use it for choux pastries too. 

2. For each coloured dough, mix icing sugar, salt and butter until well combined. There is no need to cream until light and fluffy. Just mix with spatula will do. Add vanilla/ emulco and mix well. 

3. Sift together flour and other powdered colouring /flavouring. Fold into butter mixture until no trace of flour seen and a ball of dough forms. 

4. Roll the dough between sheets of parchment paper to thickness of about 6mm. Chill in freezer until firm, at least 30 min. 

5. Towards end of chilling, preheat oven to 150-160C.

6. Use a small knife to trace the car pieces and transfer to perforated mat, leaving a bit of space between cutouts. You may find it helpful to use freezer pack as your work surface to keep the dough firm longer if you live in the tropics like me. 

Dough cutouts on perforated mat on baking tray

7. Bake until firm. Timing may vary according to your own oven. I remove the smaller pieces and allow the larger pieces to bake longer. Smaller pieces need about 15 min and larger pieces about 20-25min. You may wish to reduce the temperature to 140C after 15min.

8. Cool completely before storing or decorating and assembling. 

A zester and specialised sandpaper for ktichen use is handy to grind meshing surfaces so that they sit nicely when you assemble the car. I decorate and glue the pieces together using royal icing. Stiff icing for gluing and medium/flooding consistency for decorating. 

Works in progress cookie pieces! 


Here's a 360° view of the car in this video! 

I mounted the car on a cakeboard and filled it up with M&Ms. 


My ultimate chocolate cake recipe can be found in this post. Do note that the recipe is dairy-free but for this cake I used regular cow's milk instead of soy milk. The cake tastes better after a day or 2 storage in the fridge when the filling and frosting had time to meld together with the sponge. Here's a peek at the chocolate diplomat cream frosting between sponge layers! 


I decided to line the base of the cake with more M&Ms to bring some rainbow cheer! 


Thank God I had great reviews in terms of look and taste! 

With love, 

Phay Shing 

Read More »

Giant Sushi Chiffon Cake


My giant sushi cake saying hi!

This giant sushi is a rice chiffon cake sandwiched by two patterned deco roll sheet cakes.

Here is my giant salmon:


And my giant wooden board below:


While you can replace parts of the cake flour with rice flour, I wouldn't recommend substituting all of it as rice flour gives a more "shortness" type of texture.

Check out my other "sushi" creations here! This one is my biggest sushi yet! =)

Hope this kawaii sushi made you smile!

With lots of love,
Susanne


Read More »