I love a new challenge, much as it can be nerve wrecking sometimes. It pushes me out of my comfort zone and explore new techniques. This bake is one of them. Presenting my Mini Cooper themed chocolate cake! The whole car is made out of shortbread cookie and filled with M&Ms!

The requestor wanted red car theme for the chocolate drip cake so I thought of experimenting with creating the entire car out of cookie. Although shortbread is a medium I have worked with since my early baking days, I have not built something like this before. I tried to stick to natural food colours as far as possible too.
Shortbread cookie recipe
Ingredients:
Black
144g plain flour
1/2 tsp charcoal powder
1 tsp cocoa powder
100g unsalted butter, softened
50g icing sugar
1/2 tsp vanilla extract
1/8 tsp salt
Red
150g plain flour
1/8 tsp red powder colouring
1/ 8 tsp cocoa powder
100g unsalted butter, softened
50g icing sugar
1/2 tsp strawberry emulco
1/8 tsp salt
Steps:
1. Prepare the car template using plastic file sheets or parchment paper. Line baking tray with parchment paper or perforated mat. I use perforated mat as it helps to retain the shape of cookie cutouts better. I use it for choux pastries too.
2. For each coloured dough, mix icing sugar, salt and butter until well combined. There is no need to cream until light and fluffy. Just mix with spatula will do. Add vanilla/ emulco and mix well.
3. Sift together flour and other powdered colouring /flavouring. Fold into butter mixture until no trace of flour seen and a ball of dough forms.
4. Roll the dough between sheets of parchment paper to thickness of about 6mm. Chill in freezer until firm, at least 30 min.
5. Towards end of chilling, preheat oven to 150-160C.
6. Use a small knife to trace the car pieces and transfer to perforated mat, leaving a bit of space between cutouts. You may find it helpful to use freezer pack as your work surface to keep the dough firm longer if you live in the tropics like me.

7. Bake until firm. Timing may vary according to your own oven. I remove the smaller pieces and allow the larger pieces to bake longer. Smaller pieces need about 15 min and larger pieces about 20-25min. You may wish to reduce the temperature to 140C after 15min.
8. Cool completely before storing or decorating and assembling.
A zester and specialised sandpaper for ktichen use is handy to grind meshing surfaces so that they sit nicely when you assemble the car. I decorate and glue the pieces together using royal icing. Stiff icing for gluing and medium/flooding consistency for decorating.

Works in progress cookie pieces!
Here's a 360° view of the car in this video!
I mounted the car on a cakeboard and filled it up with M&Ms.

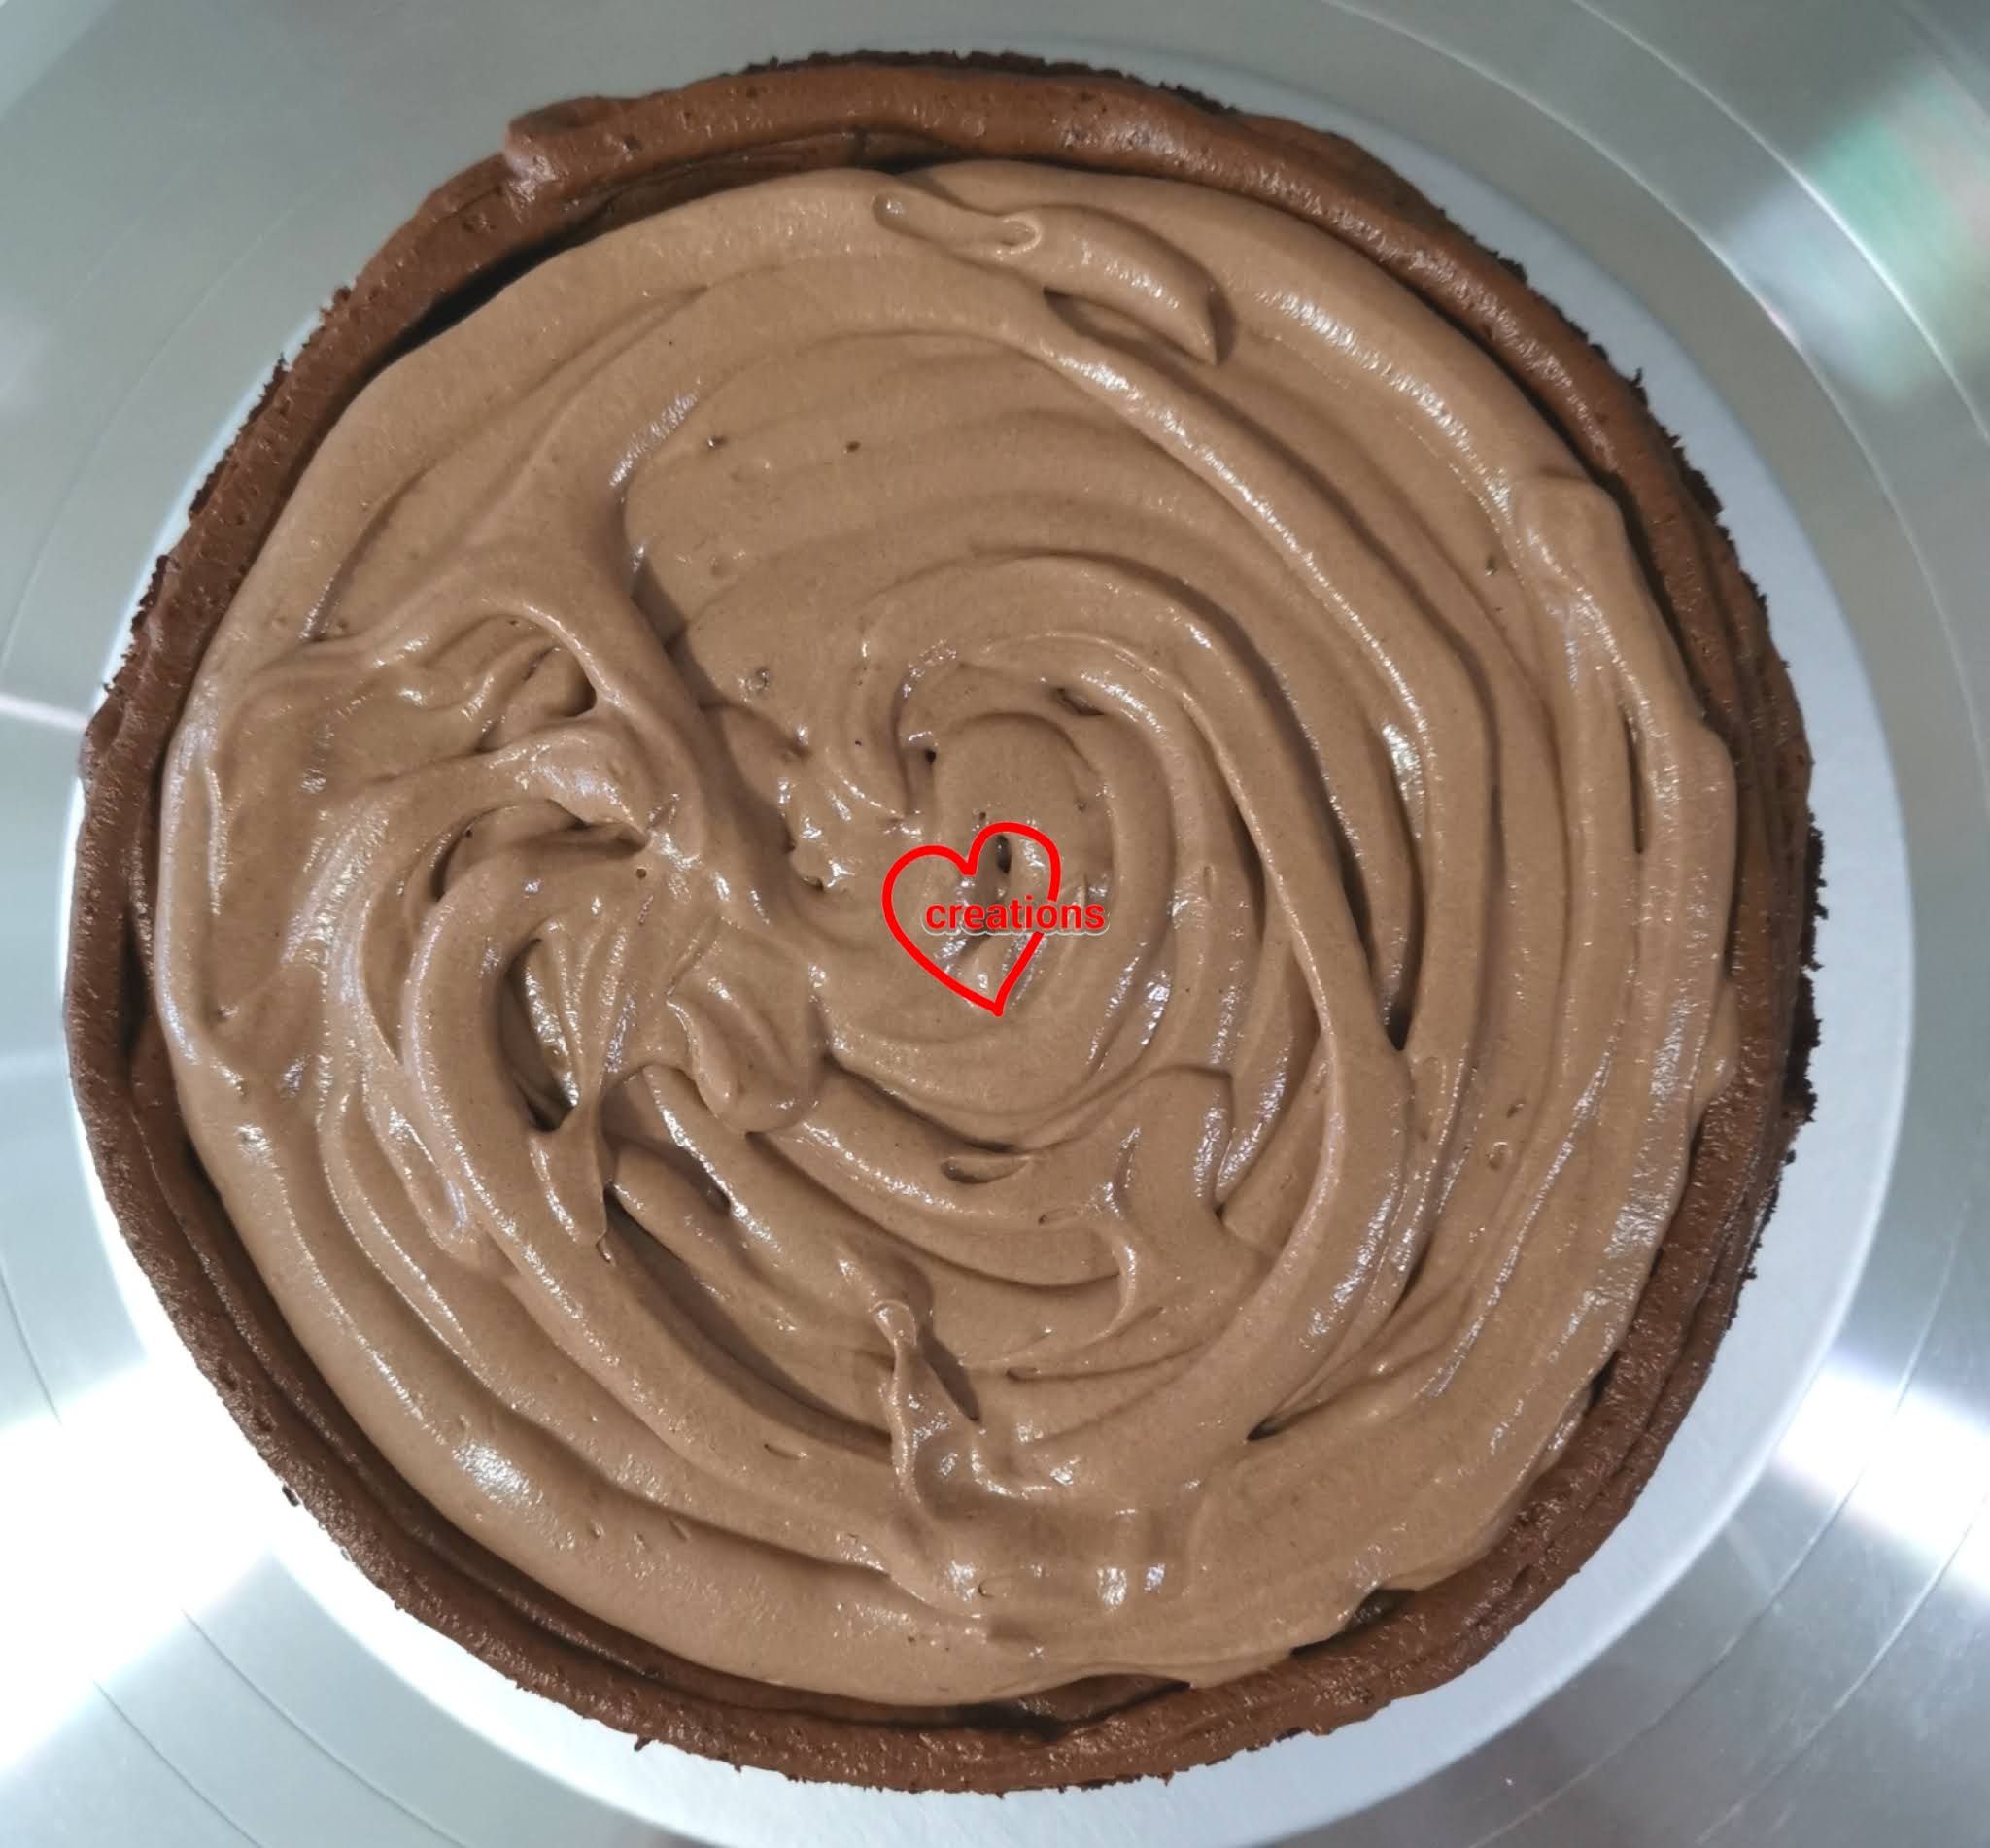
My ultimate chocolate cake recipe can be found in this post. Do note that the recipe is dairy-free but for this cake I used regular cow's milk instead of soy milk. The cake tastes better after a day or 2 storage in the fridge when the filling and frosting had time to meld together with the sponge. Here's a peek at the chocolate diplomat cream frosting between sponge layers!
I decided to line the base of the cake with more M&Ms to bring some rainbow cheer!

Thank God I had great reviews in terms of look and taste!
With love,
Phay Shing
The special sandpaper is food grade? Wow I never know there is such special tool. Where do you buy it from?
ReplyDeleteWendy