My elder kid requested for macaron form of all the Angry Bird hatchling plushies we have at home for his birthday end of last year. I know this is a way overdue post but Lunar New Year came hot on the heels of Christmas so festive bakes had priority. He wanted a butter cake too. Here's what I made!
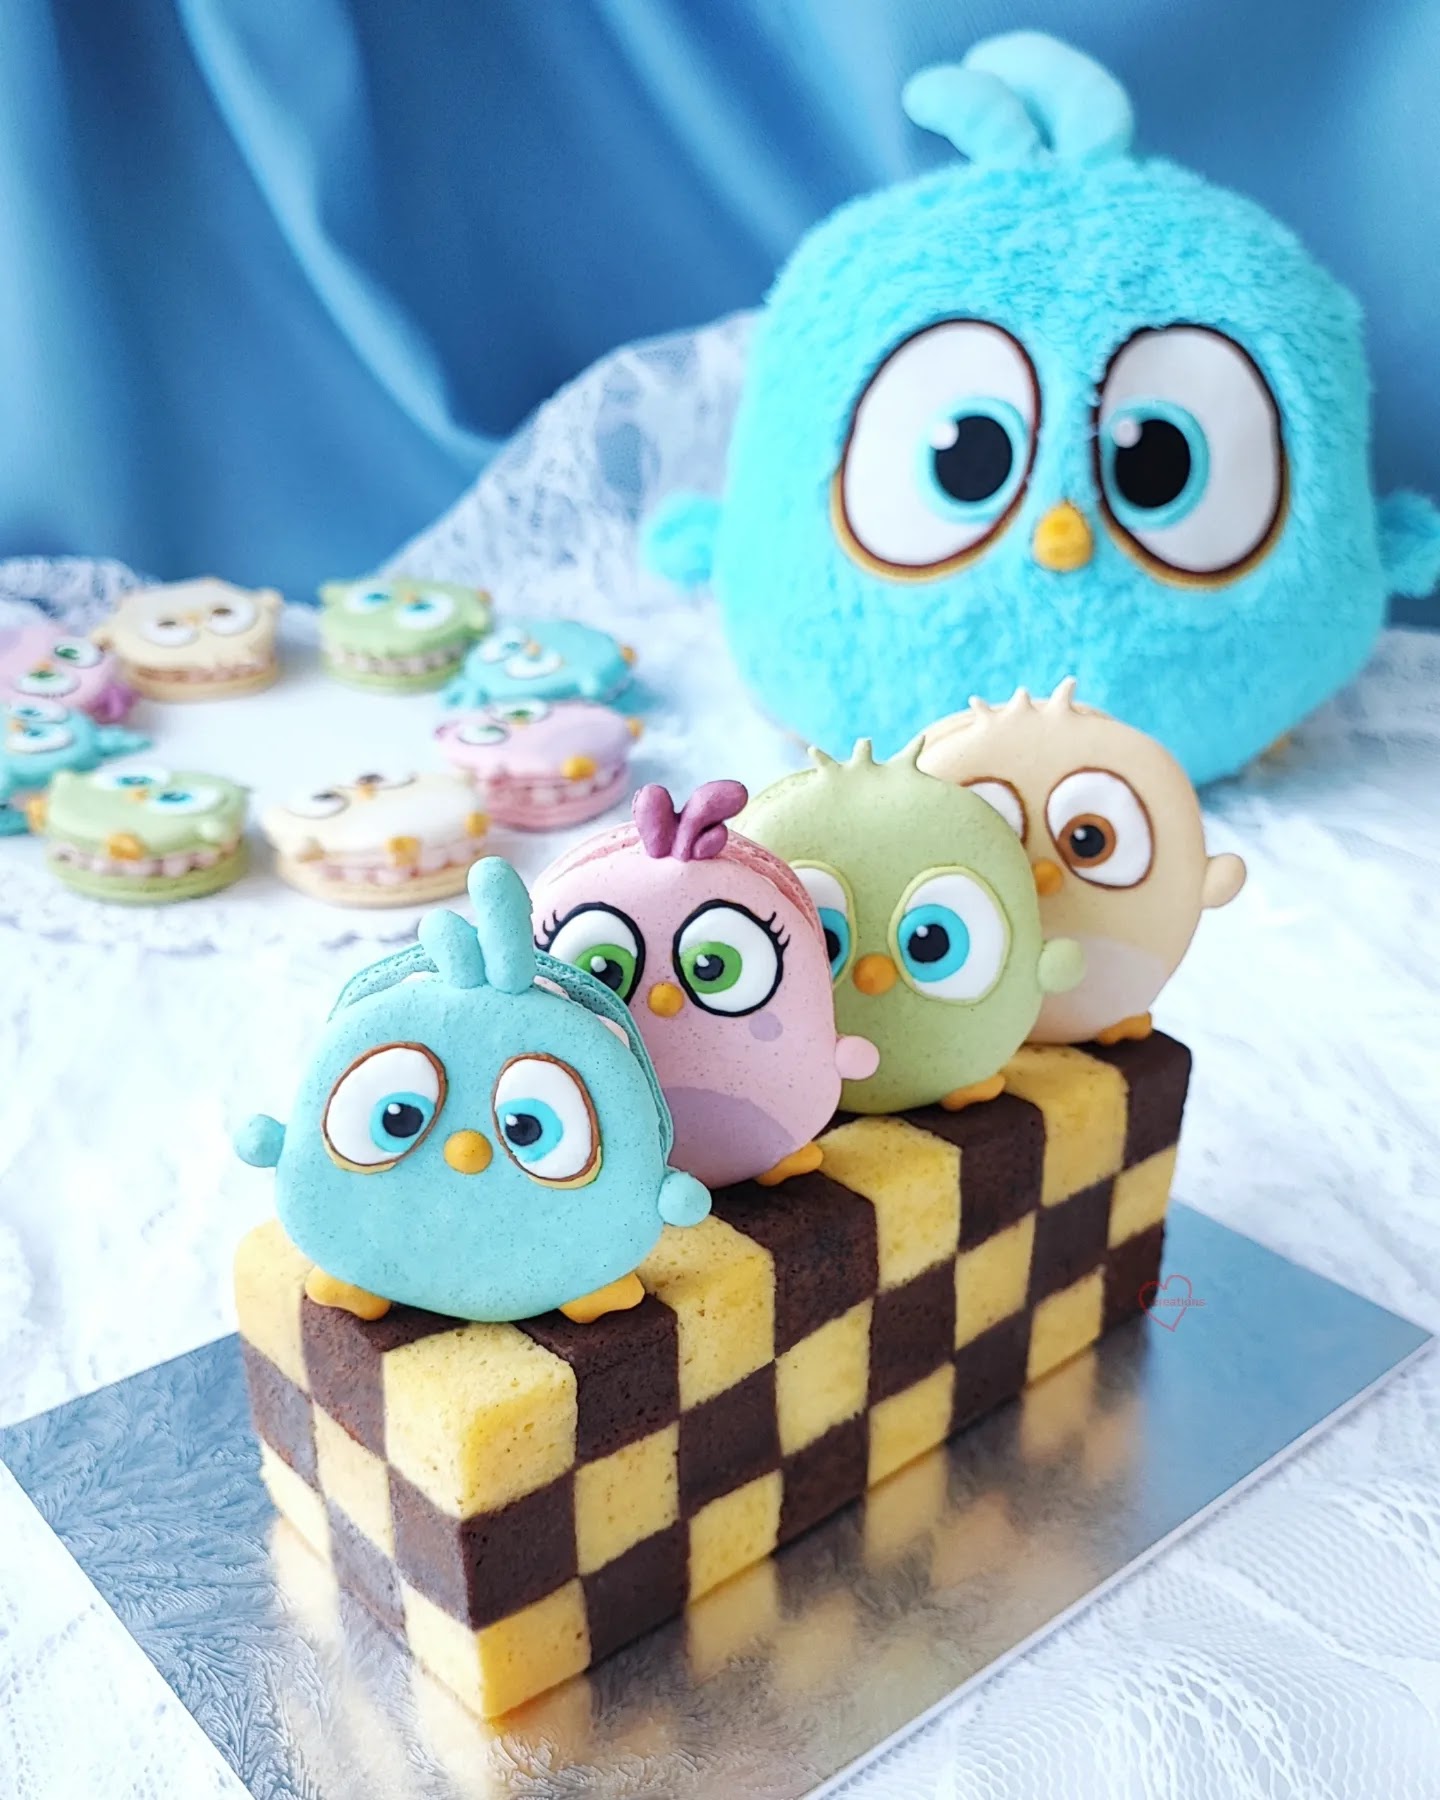
Strawberry raspberry macarons on top of checkerboard butter cake based on kek lapis type of recipe
Why kek lapis? Because I had 30 egg yolks at home due to my macaron masterclass in early December last year. But when it was time to bake, I decided not to make the traditional kek lapis with its numerous layers as I was already tired out from two full-day classes. I suddenly remembered my kid likes to play chess so why not make a checkerboard cake!
I split the batter into two and added cocoa and coffee into one portion. All it took was one round of baking without having to eyeball the oven for two hours. I cut the cakes into blocks before gluing the pieces together with marmalade. Butter-based cakes like this freezes well so I made it a few weeks ahead of time, right after the masterclass.

Cutting into rectangular logs before cutting into cubes. I had to run out to meet a friend so I wrapped this up before continuing.
Egg-yolk rich butter cake
Note: You may halve the recipe as this is a big portion. I just wanted to use up my excess yolks at one go since the cake freezes nicely.
Ingredients (makes two 7x7" cakes):
460g unsalted butter, cubed (cool and firm)
60g condensed milk
380g caster sugar (split into 80g and 300g)
1/2 tsp salt
500g egg yolks (About 30 yolks. Room temperature. You may use whole eggs for less rich cake)
100g milk (room temperature)
1 tbs vanilla extract
460g cake flour
1 tsp baking powder
2 tbs Instant coffee granules
2 tbs cocoa powder
2 tbs hot water
Steps:
1. Preheat oven to 160C (fan)/ 180C (top and bottom heat). Grease base and sides of trays and line bottom with parchment paper.
2. Sift together cake flour and baking powder. Set aside.
3. Dissolve instant coffee and cocoa powder in hot water in a small bowl. Set aside.
4. Beat egg yolks and 80g with electric mixer until it is pale and thick. This should take about 15min. Set aside.
5. Beat butter, salt and 300g of sugar with paddle attachment in standmixer until pale and fluffy, scraping down the sides several times in between. If you kitchen is too hot like mine (27-31C all year round), don't take the butter out too early. Beat the yolks first before working on the butter. It takes 10 min or less to soften the butter.
4. Gradually add half the beaten egg yolks while continuing mixing with paddle attachment. Don't add the egg too quickly. Add a third of the sifted flour and mix until just combined at low speed, scraping down the sides.
5. Continue to add the egg yolks and continue mixing until just combined. Gradually add milk, condensed milk and vanilla extract until just combined. Continue beating for 1 min.
6. Gradually add sifted flour and beat at low speed. Stop to scrape down the sides as necessary. Once there is only a little trace of flour left, complete by folding with a spatula.
7. Divide batter into two and fold in chocolate coffee paste into one of them. Pour into prepared trays.
8. Bake for about 25 min (can range from 20-30min depending on individual ovens) or until tops are lightly browned and skewer comes out clean. Cool in tray for 5 min before removing from trays to cool on rack.
9. Cut to desired size (or not cut at all!) and assemble by using marmalade of choice of jam. Consume within three days if stored at room temperature. Cling wrap tightly before freezing for longer storage. You may store in fridge as well but it will dry out with storage time. You may spread a thin layer of condensed milk to moisten the cake before eating if you wish! It is delicious especially with the rich butter flavour and mocha parts!
I used my default Swiss meringue method recipe for making the macarons. A little white colouring was added to keep the colours pastel.

I used royal icing to add in details for the eyes. It was really tedious!
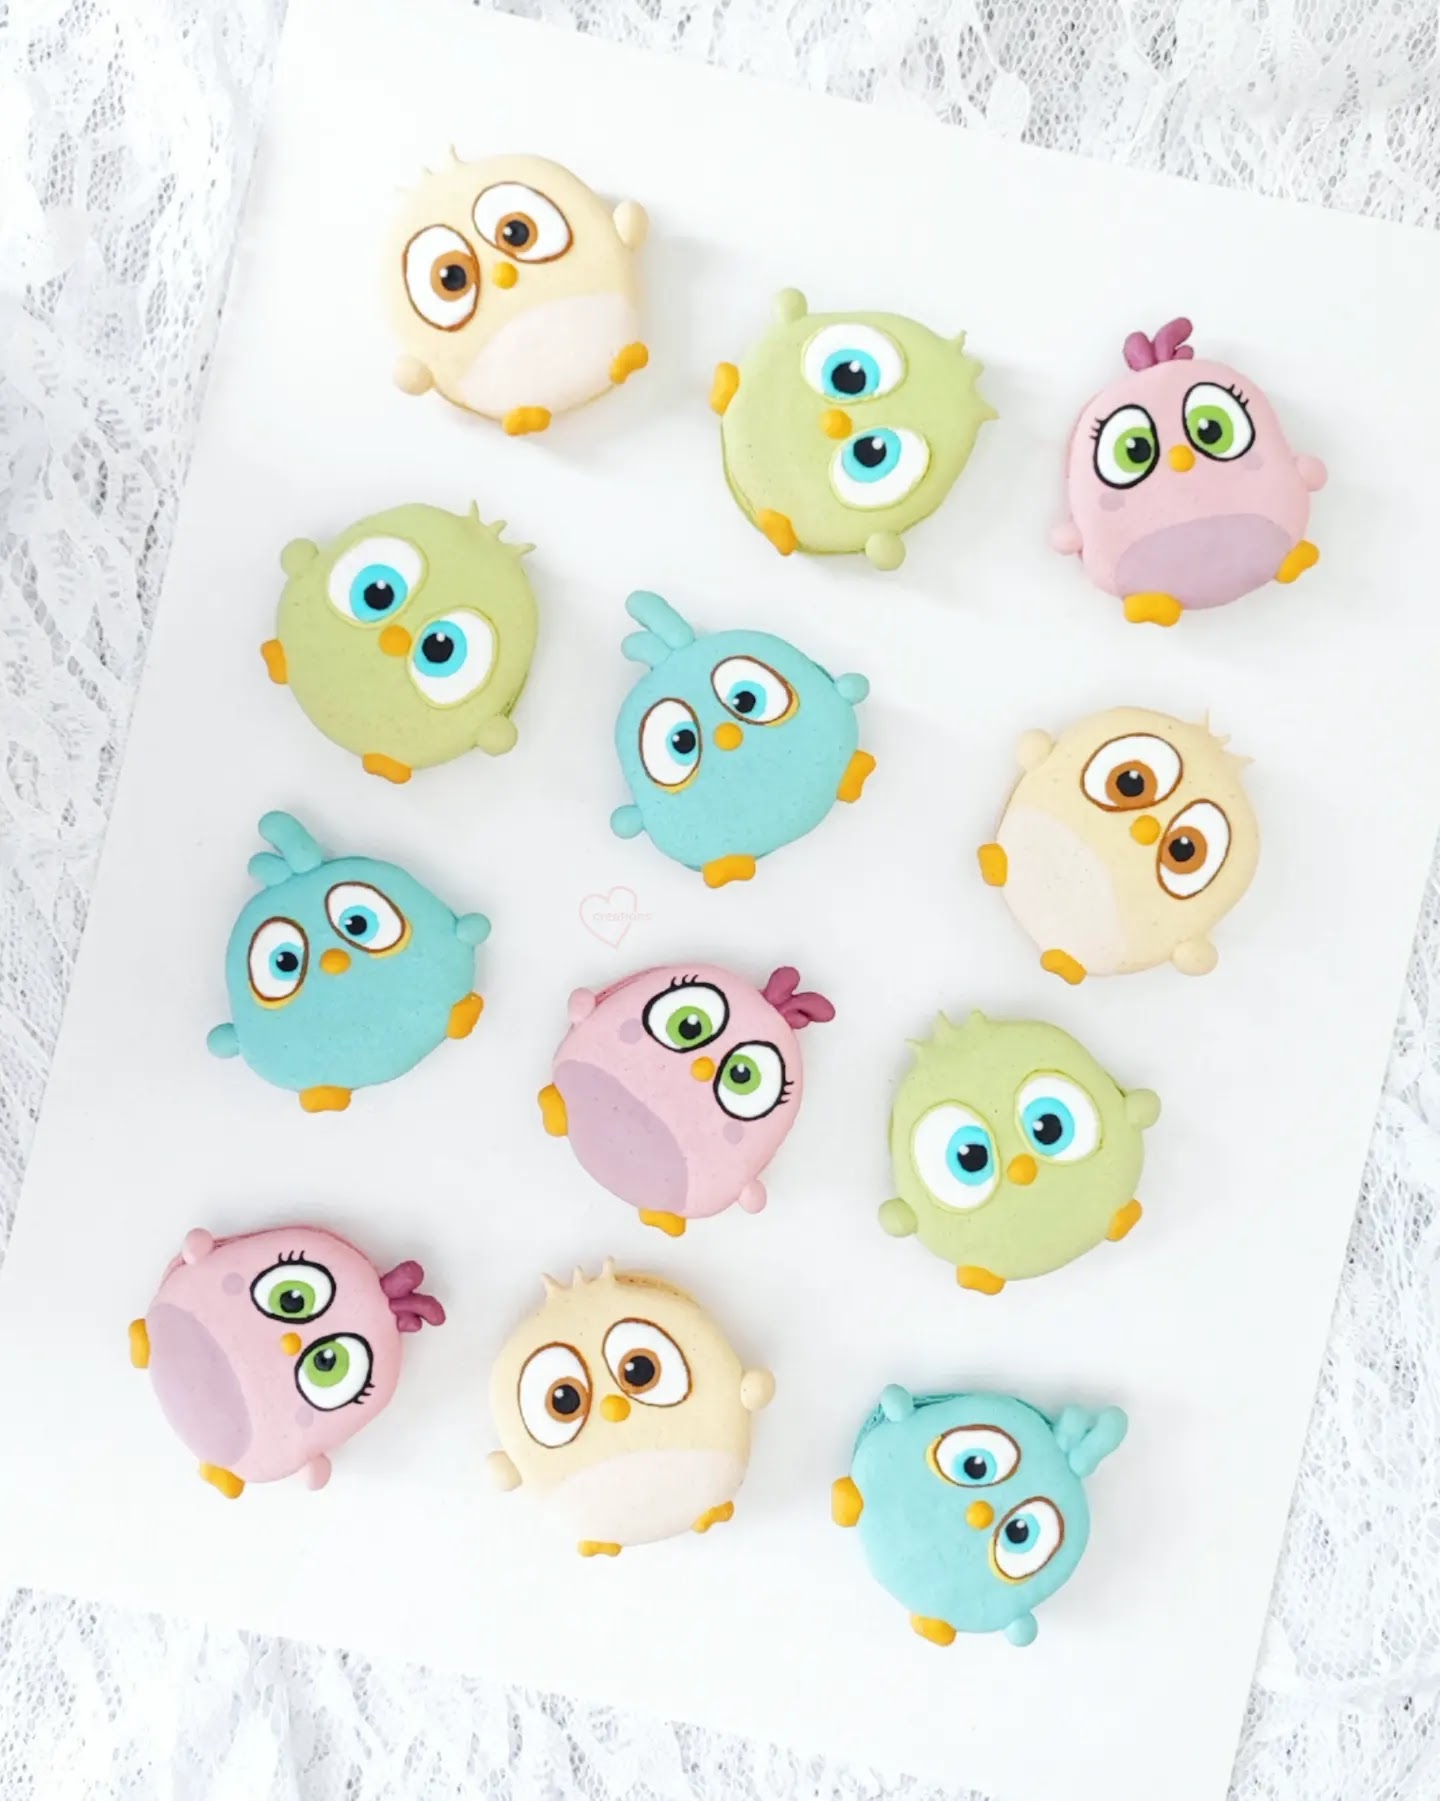

Here's a look at the feet on the macaron shells!
I was really busy during that period as I had another request to deal with so I settled for filling that was the same as that for my other project: strawberry-raspberry Swiss meringue buttercream with the same berry mix compote.
Mixed berry compote
Ingredients:
300g frozen or fresh strawberries/raspberries (sieve raspberries to remove pips if you prefer smoother compote)
30g sugar (or to taste)
Pinch of salt
1 tsp lemon juice
Steps:
Cook everything together in saucepan until reduced to 60% original weight on over low heat.
Mixed berry Swiss meringue buttercream
Ingredients:
75g egg whites
50g caster sugar
Pinch of salt
135g unsalted butter, cubed and slightly softened
50g mixed berry compote
Steps:
1. In a clean, grease-free mixing bowl, double-boil egg whites, caster sugar and salt while whisking constantly until the egg whites reach 71.1C. Remove from heat.
2. Beat the egg whites at medium-high speed until cooled to room temperature and stiff peaks.
3. Add softened butter one cube at a time, waiting for each addition to be incorporated before adding the next. Continue beating for another 2min.
4. Add compote a little at a time, mixing well with each addition. You may add a little strawberry paste if you wish to enhance the strawberry flavour further.

Lovely cross-section view of the macarons!
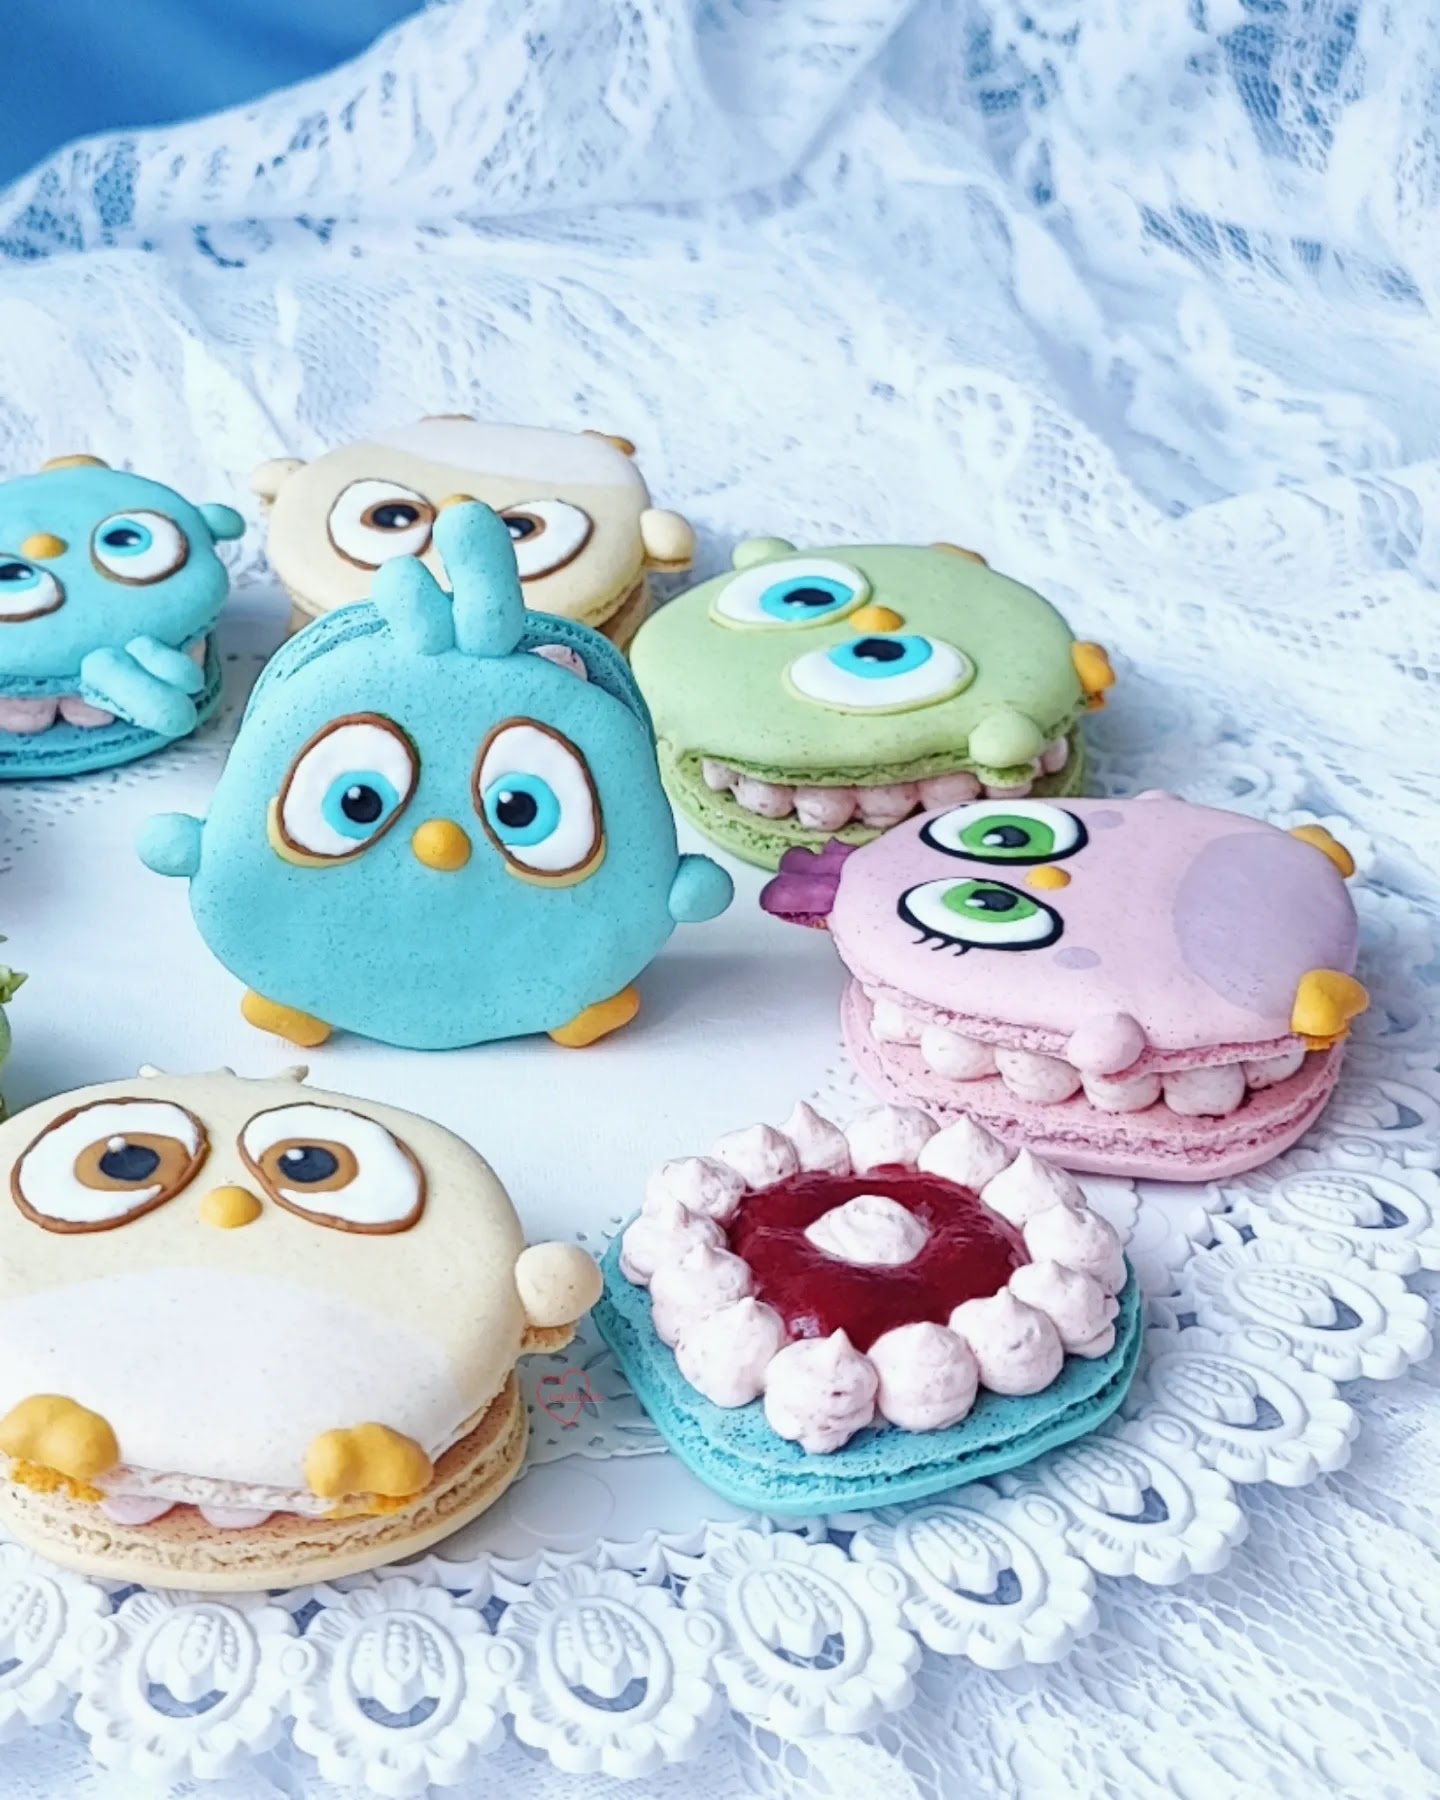
I insulated the compote with buttercream to prevent the macaron shells from turning soggy.
Thank God the birthday kid loved it!
with lots of love,
Phay Shing
No comments:
Post a Comment